
Wanna enjoy amazing waffles on every sunny weekend morning and don’t know how to use waffle makers? Don’t worry. You just need to know the simple process of using your waffle maker.
In this article, we are going to teach you the entire process of how to use waffle makers in detail. If you learn how to use waffle makers, you can make versatile uses of it.
Definitely it is a great thing for a waffle lover to learn how to use waffle makers by which they can make amazing waffles whenever they want. You can add your favorite flavors to the batter by yourself. So you can make waffles of your favorite flavors.
You can enjoy all your favorite flavored waffles at the same time. Add some whipped cream, cherry, blueberry, maple syrup whatever you want to make them more delicious.
Learn how to clean them as well. If you use it and want to make it long lasting, then you need to keep the waffle maker clean and store it in a safe place. Dry your chatter maker properly before storing.
Always keep in mind that the non-stick coating should be fine.
If your waffle maker does not have a non-stick coating and it is an older one, then you need to spray some cooking sprays or vegetable oil on the grid surface including the crevices.
But if your chatter maker has a non-stick coating, then don’t put cooking sprays on it. Otherwise the cooking spray may leave a grimy buildup on your waffle maker. Cooking oil can be a safe option for both types of chatter makers.
Types of Waffle Makers
There are many types of waffle makers. Some of them are expensive, some of them are budget friendly. No matter which type of chatter maker you have, you can make plenty of items as well as waffles.
Expensive chatter makers come with upgraded features and additional options. You can choose any chatter maker you want. Some types are given below:
1. Rotating or Non-Rotating
Rotating waffle makers can flip. You can rotate the plates while cooking and can make the both sides of your waffle crispy.
In non-rotating chatter makers, you can’t flip the plates. So only one side of the waffle gets brown in this type of chatter maker.
But both types of waffles are delicious and it is enjoyable to have them. While buying a waffle maker, you should keep in mind which type of chatter you want to enjoy as your weekend treat.
2. Belgian or Regular
Belgian waffle makers are upgraded and make more attractive waffles. Generally, Belgian waffle makers are larger than regular chatter makers.
Moreover, the crevices of Belgian waffle makers are deeper than the crevices of regular waffle makers. So, waffles made by Belgian chatter makers are bigger than the regular ones. Belgian recipes for making waffles are also unique.
You can add whipped egg whites, cinnamon, vanilla flavor, etc in a Belgian waffle which makes it taste more delicious. Many people like regular waffles more than Belgian waffles too.
So buy the waffle maker you like. It is absolutely up to your choice.
3. Removable or Non-Removable Plates
Many waffle makers have removable plates and many of them have plates that can’t remove at all. Both types of a waffle makers are good for making waffles.
Waffle makers with removable plates makes it easy to clean. You can just remove the plates once you are done making the waffles for the day.
Soak the plates in water and then clean it easily. But waffle makers with non-removable plates can’t soak into the water. You just need to wipe the area to clean as you can’t remove the plates. But cleaning in both processes won’t seem a trouble to you.
4. Switch
In some waffle makers, there are on/off switches which indicates the chatter maker is on or off.
Again in some waffle makers, there are no on/off switches. In those waffle makers, you just need to plug in the chatter maker to make it on and unplug the waffle maker to switch it off.
This is definitely not a big deal if your chatter maker has an on/off switch or not. It is just the difference between the waffle makers.
5. Controller Dial
If your waffle maker has a controller dial, then you are lucky. It is an easy process in which you can get the opportunity to set the timing dial.
You keep the dial in 4 or 5 to have a brown, crispy waffle. Once the dial is set, close the lid and let it cook until the waffles are done. Keep the dial in 6 which will make the waffle browner. Having an indicator dial is a good thing that will save your waffles from getting burnt.
Once your set time is over and waffles are cooked, it will give a signal or beep. So you will know it’s time to remove the waffles.
6. Beeping
Having a waffle maker which beeps sound is a good thing. It gives you a signal that your waffle builder is ready to cook and also gives a signal when your waffles are ready by beeping sound.
So by this beep, you get to know when your waffle maker is ready to cook. Also, it beeps when the waffles are done properly. Specially for the beginners, this type of waffle builder is amazing. It is easy to use as well.
7. Indicator Lights
Most of the waffle makers have indicator lights which makes them easy to use. There is basically a red light and a green light. The red and green lights are placed in the same part.
The red light gets on when you plug the chatter builder or turn it on by switch. It means your waffle maker is switched on. The red light also is on when the waffles are getting cooked. Once you close the lid, the red light gets on.
The green light is on when your chatter builder is preheated and ready to cook. The green light also gets on when your waffles are right.
So when you plug the waffle builder, the red light will be on. After that, when it is ready to cook the green light will be on. Then when you pour the batter and close the lid, the red light will turn on during the cooking process. After that, when your waffles are ready and cooked, the green light will be turned on.
So, these indicator lights let you know when your chatter builder is switched on, ready to cook, cooking and done. Aren’t these lights amazing?
To know more about how to use waffle chatter, keep reading.
Process of Making Waffles

People use waffle makers to make waffles, right? So now we are going to describe how to use chatter to make waffles. The entire process of making waffles are given below:
Read the Manual
Before you start making waffles, you need to read the instruction manual given by the manufacturers. You should know the instructions. Otherwise, any problem can arise.
Instruction manual gives you information about your chatter maker and the structure of it. By reading the manual, you get to know what you should put in your chatter builder and what you should never put. You learn about the allowances and prohibited things. So, read the manual first.
If your instruction manual is lost, then you can search the instructions for the model of your chatter builder in google. You can also check the website of the manufacturer company to read the manuals.
Make The Batter For Waffles
To make waffles, first of all, you need to make the chatter batter. You need some ingredients for that.
Ingredients:
- 3 cups of Flour(All Purpose)
- 2 tablespoons of Sugar
- 4 teaspoons of Baking Powder
- 3 Eggs
- 1 teaspoon of Salt
- 1 cup melted Butter
- 2 cups of Milk
- 1.5 teaspoons of vanilla flavour
You can add other flavors as you like. The measurement can be less or more than that according to your choice. The more waffles you need, the more batter you should make. The less waffles you want, the less batter you should make. Measurement of batter is totally up to you. Add sugar according to your taste.
Mix the Ingredients
- First of all, mix all the dry ingredients in a bowl. Mix them properly.
- Take another bowl. Put the eggs first. Beat the eggs with a hand beater properly. Then pour milk and butter into it. After that, add the vanilla flavour.
- Now pour the liquid mixture on the dry mixture slowly and keep mixing it at the same time. If you pour all the liquid at a time, it will not mix properly. So pour slowly and keep mixing them.
- Once you are done pouring all the liquid slowly into the dry mixture and the dry mixture is mixed with the liquid mixture, beat the mixture with a hand beater or a spoon. You can use an electric beater if you have that.
- The mixture should be not so thick, not so thin. Don’t make it so thick or so thin. Otherwise you will not be able to make perfect waffles. Be careful while mixing the batter. If your batter is perfect, then 50% of your work is right.
- Keep mixing the batter until properly mixed. Make sure that there are no lumps in your mixture. After mixing properly you can start the next step.
Use a Paper Towel
Put a paper towel under the waffle maker. So if you pour extra batter accidentally, it will be dropped in the paper towel. Use enough paper towel under the chatter builder so that the paper towel covers under the left,right and front area of your chatter builder.
Grease it Properly
You should grease the waffle maker properly before plugging it in. Put non-stick sprays all over the grid surface. Put enough non-stick sprays on the crevices so that your chatter does not stick.
You can use vegetable oil instead of cooking spray as well. But if you have a non-stick chatter builder, then you don’t need to spray it with non-stick sprays. Never put non-stick sprays on a non-stick chatter maker. Otherwise it may leave a grimy build up on the surface.
Putting a little bit of vegetable oil will make no big differences in both types of chatter maker. So you can put a little bit of vegetable oil in a non-stick waffle builder as well.
Plugin the Waffle Maker and Preheat it

Now it is time to plug in the waffle maker. Turn it on and preheat the chatter builder. If your chatter builder has indicator lights, then the red light will turn on when you plug in the waffle maker.
After a while, you will see the steams and the green light will be on and you may get a beep sound which indicates that your chatter maker is ready to cook.
If your waffle builder does not have indicator lights or beep sound features, just wait for the steams to come out. Once you see the steam that means your chatter builder is ready.
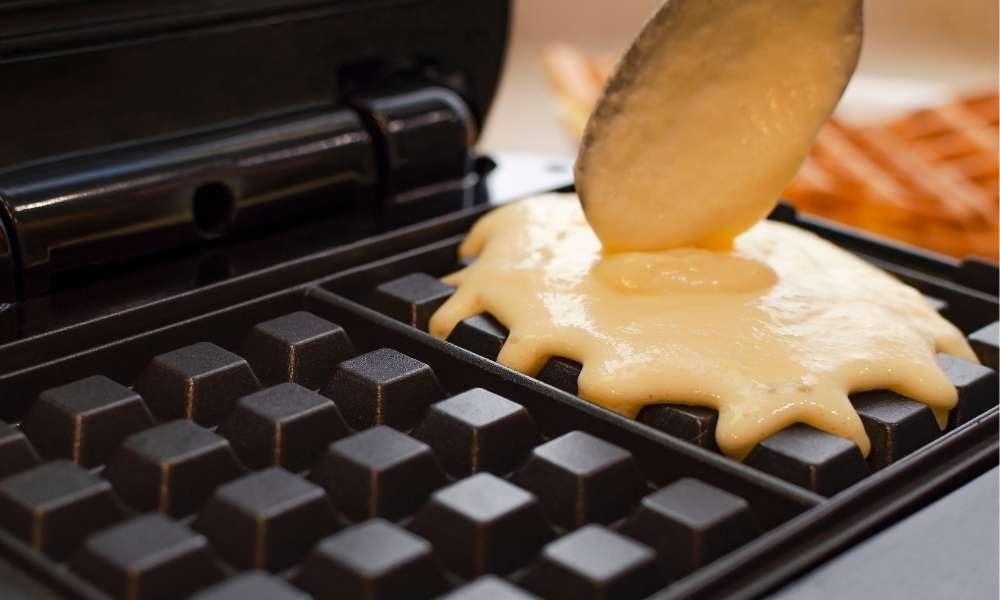
Pour The Waffle Batter
When your waffle maker is ready to cook, it is time to pour the batter. Pour slowly and perfectly. Don’t hurry. Keep in mind that the batter will rise while cooking so if you put lots of batter it will overflow and create a mess.
After pouring properly, close the lid. Now the red light will be on which indicates that your waffles are cooking.
Remove The Waffles

It is quite easy to know that your waffles are done. When the steam will not come anymore and the green light will be turned on and you will hear a beep which will indicate that your waffles.
Open the lid and remove the waffles with a plastic or wooden spatula. Don’t use any metal based tools which will scratch the surface. The waffles will easily come off when it is properly cooked.
If your waffles are sticking to the surface, add more non-stick sprays. But in non-stick chatter makers, you can’t use cooking sprays. So, in that case add some butter in the mixture and the problem will be solved.
Don’t open the lid while your waffles are in the cooking process. Otherwise, they will be torn apart. Wait for the time when the steam will disappear. If your chatter builder has indicator lights and a beep sound signal. It will beep and the green light will be turned on.
So there is no need to tear the waffles by opening the lid while cooking. Otherwise, all your hard work will go in vain. Use a plastic spatula and remove the waffles.
Keep them Warm in Oven
If you want to make waffles for your family or it is a get-together treat, then you need to do the process in more than one batch. While making another batch of waffles, the previous batch of waffles may cool down and if it cools down, it will lose the crispy and warm taste. As a result, the taste will be spoiled.
Keep them warm in the oven. Before putting them in the oven, preheat the oven. Keep the temperature at 200 degrees Fahrenheit and preheat it. Now put each batch of waffles in the preheated oven so that they remain warm when you are going to enjoy them.
Garnish Your Waffles
After removing the waffles from the oven, you need to decorate it. A little bit of garnish makes them more delicious. You can garnish your waffles according to your taste.
Put some maple syrup, cherry, blueberries, honey, whipped cream etc whatever you like. You can put the fruit syrup according to your choice.
Before enjoying the waffles, unplug the chatter maker and let it cool down. Enjoy your waffles and till then let your chatter builder cool down and it will be cool when you finish the waffles.
Clean Your Waffle Maker

As you are learning how to use waffle makers, you should know how to clean waffle maker. Because if you want to use your chatter builder for a long time, you have to keep it clean.
Start the cleaning process after it is cooled down. Otherwise, the non-stick coating may crack and the grid surface will damage due to thermal shock.
Dab a paper towel on the surface so that it can soak the grease from the surface. Then use a damp paper towel to wipe the surface properly. Make sure the paper towel is not dripping water.
You can use vinegar as well. Take a chopstick and wrap a paper towel in it. Now dip it in vinegar and apply on the grid surface. After that, wipe off the surface with a wet rag. Wring the rag before applying to the surface. Then use a dry rag to dry off properly.
If your chatter maker has removable plates then remove the plates once. Then submerge them in hot water. Leave the plates in hot water for 30 minutes and then rub with a soft sponge.
Now rinse properly with warm water. You can use a toothpick to remove tiny gunks. Dry off the plates with a soft rag. Make sure that no moisture is left before storing them back.
Try Other Type Of Batters
Waffle makers can be versatile using products. You can make brownies, sandwiches, omelets, pizza etc in a chatter builder. Learning how to use chatter can be very beneficial in that sense. You can make several items with a chatter builder.
To make brownies, omelettes and pizzas, make the batter with required ingredients. Preheat the chattermaker and then pour the batter. Close the lid and wait for the right time.
Generally 4-5 minutes is enough for brownies and pizzas. Omelettes need 2-3 minutes. After that, open the lid and remove them. Indicator lights will give you signals when your food is ready.
To make sandwiches or quesadillas, you need to apply another way. For sandwiches, preheat the waffle builder and put a slice of bread on the surface then put some grated cheese over the bread slice and now put another slice of bread. Close the lid and remove your grilled cheese sandwich after 2-3 minutes.
For quesadillas, preheat the chatter maker, put a slice of tortilla on the waffle builder and now put some grated cheese over the tortilla slice. Put another slice of tortilla and close the lid. Wait 2-3 minutes then remove the grilled quesadilla.
You can grill vegetables like potato, tomato etc in the waffle builder too. Make falafels, hash browns, cinnamon rolls, donuts etc using your chatter builder.
Conclusion
If you learn how to use waffle makers, you can really make a lot of things by using it. It is not hard to use. You can enjoy crispy waffles and other things as now you know how to use chatter chatter.
If you have liked this article, don’t forget to comment below. Let us know your opinions through comments. Have a nice day!