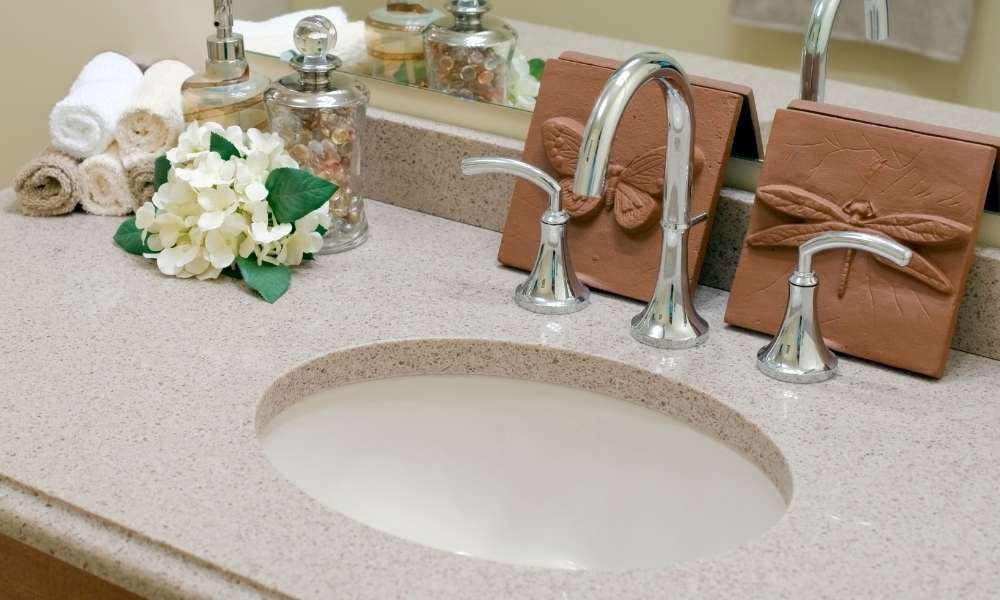
Prolonged use of bathroom sinks can result in various types of chips, stains, or scratches. It is very important to know how to remove bathroom sink to enhance the bathroom environment. Installing a new sink can get a fresh and clean bathroom.
Removing the sink from start to finish in a bathroom is not an easy task. You can remove the sync very quickly using some simple tools. In this paragraph, I will explain the process of installing a new top mount bathroom sink by removing the old sink. You can also learn more about installing a new Delta Foundation call. I hope you will remove the sink with the help of the tips discussed. Various researches on how to do this. Therefore, I am discussing those issues in this post. You can drop your sink if you want. These will prevent cracking. If anyone is planning to reuse the sink I think it would be better to donate to a charity.
Continue reading to learn and understand extensively about the steps.
You will need the following tools on how to remove a bathroom sink properly
- Measuring tape
- Adjustable wrench
- Screwdriver
- Pencil and paper
- Gallon bucket
- New sync
- Basin wrench
- Channel-lock player
- Prayer times
- Crescent twist
- Hammer
- Patti
- Heat gun
- Screwdriver
- Pliers
- Cheni
- Usable knife
- Silicone Calc
- Paper towel
- Tongue and groove pliers
- Fastener clip
- Plumber tape
- 2 x 4 wooden blocks
- Bar clamp
- 2-part epoxy also
Call Valve Closed:
The call needs to be disconnected first because you will start trying to remove the sync. If you do this work, water does not fall during work. Then, close the shut-off valves. It will be at the bottom of the sink. Set up the drown well. Whether it is hot or cold. There is a shut-off valve for both. Rotate counterclockwise when closing the valve.
Reduce Water Pressure:

Firstly, take the adjustable wrench. Turn the ring of the pipe and open the sink. Turn it to the left. This will reduce the water pressure in the faucet. Use the wrench to loosen the tubes. Then remove it completely from the valve. A tube is attached to the water shut-off valve. This tube is a plastic tube.
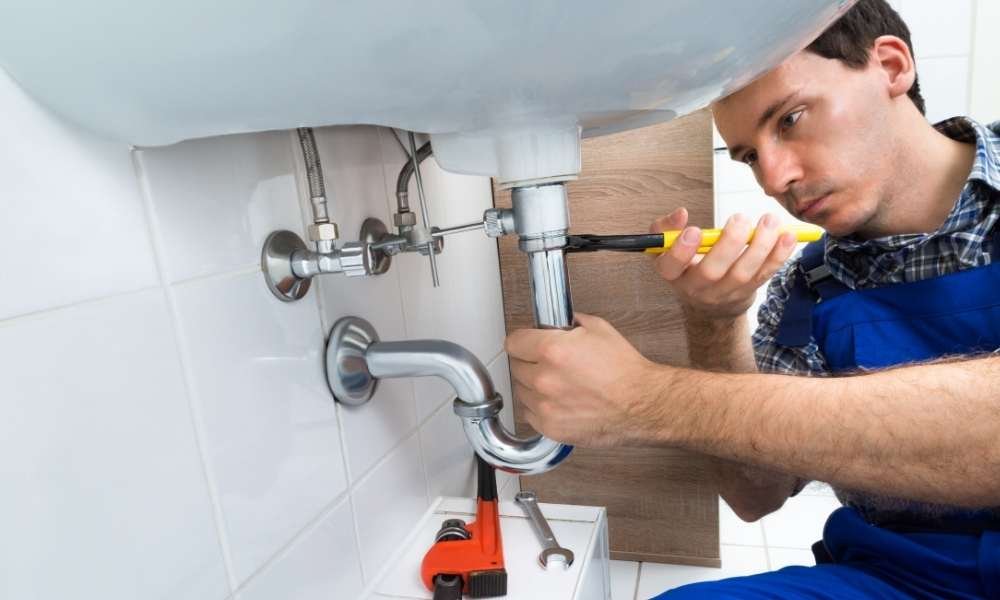
Drain Out:
This time use the two-gallon bucket and place it just below the sink, very close to the plumbing pipe. Take the pliers in hand. Loosen the small slip nut. It will connect to the P-trap. A U-shaped plumbing pipe is called a P-trap. This thing can hold several ounces of water. So, to learn how to remove a bathroom drown well you need to understand about drain out.
P-traps do not allow sewage gases to sink easily. The rule for loosening it is to rotate the nut counterclockwise. As you move the P-trap, you must remove the trap arm. Check the position of the bucket still. This is because water can spill when the trap is removed. Especially under the drown. Then the sink is like the foot of a drain line. Therefore, is the hose. If you see it running, you have to open it too. Wrench is needed to open the nut. So use it and loosen the special part of the sock. Many times you also need a pair of pliers to remove it later.
See More: How to Paint Bathroom Cabinets Like a Pro
Remove The Tailpiece:
Reuse your wrench. This use will be to the tailpiece of the sink, where the rest of the plumbing and the connector are around the nut. Remove the tailpiece. Then, It must open from the drown. So, now only part of the sink will be left. Therefore it will be no plumbing pipe. Tailpiece is usually only 4 to 6 inches long.
Take Out The Clips:
Attached clips will appear wherever. So try to keep it in a specific place. Drop-in sinks usually come next to the sink. They have three to five clips around the edges. Anyone can open the clips using his own finger. Because it works fast when new. Therefore, you can use Nile Nose pliers. They have to be rotated counterclockwise. Then place it around the clip. If you just want to loosen the clips, you can remove it completely.
Cut The Seal of The Sink also:

Occasionally there may be a seal around the bottom of the drop-in sink. It often falls in your eyes. The seal matches the top of the vanity. Therefore, this seal is made like a kalk. It should be removed without lifting. If you can’t do this, find it with the back strain. Take a knife and try to break the calc seal. So, run it repeatedly under the sink.
Lift And Remove The Sink:

Now you can remove the sink if you want. Call your assistant and ask him to stand. He will stand on the opposite side of the drown. Lift the drown and ask the assistant to hold it. He will hold the lower part. Hold it just for balance. Too much weight is therefore very difficult to hold. The important thing is to remove the heavy things from the sink. Remove completely from the drown vanity. Finally set and it is better if you can set it on one side of the floor. Keep in mind that the average weight of a bathroom sink is 6 to 5 pounds.
See More: How to Decorate a Small Living Room with High Ceilings
Dispose of The Sink:
The best way to deal with sync is not the same everywhere. It depends on the policy in your respective city. If necessary, you can take the advice of the local government. You can also search the Public Works Department website. Keep in mind that local townships do not offer sync services, especially pickup services. The nearest recycling facility. So, usually, local companies will help you avoid recycling fees. They may even file a small tax return.
Things Wrap Up:
Removing a bathroom sink is a fairly straightforward process if you can realize it well. But if you do not understand, it is a very difficult task. So you have to make a very detailed plan. Keep in mind that personal injury can be slow in any case. So the drown should be removed from the vanity.
Method – 2
I have discussed one method before. Now I am discussing the second method. Using this method you can easily understand how to remove bathroom sink by following very few steps.
Shut Off The Water Supply:
You need to clear the line. So turn off the water supply. Hot and cold valves need to bend to prevent the shut-off valves from working. This is done when turning from right to left. Now open both call taps to clear the call lines. If you see water leaks, it is important to replace them. In this case, you can take the help of any professional to know the depth of the river.
Remove The Drain Assembly:
The sink is very easy to remove. Disconnect the P-trap part. Remove the screw. It is attached to the drain tailpiece. The other end should pull towards the brain drain on the wall. This is the P-trap of the drain pipe. If the P-trap is PVC, loosen the slip nut well. Make sure the P-trap does not connect to the top of the drown drain. It needs to attach to the bottom. Again, if it is made of metal, loosen the nut. The nut is with the channel locks. Replacing the sink and removing it temporarily are not the same thing. The P-trap has not been removed during replacement, but if you want to remove it, you can clean it from all debris.
If you want, you can use a plier to loosen the mounting nut. Open the nut using your hand or channel lock. Put any kind of bucket under it to catch dripping water. Make sure that the sewage gases do not enter the bathroom in any way. So cover the opening of the drain pipe with a rag and call.
Sink Safe:
If you want to separate the sink from the top, support it with 3 × 5 blocks. There will be a clamp. After passing the clamp once, attach it to the bottom of the drown and with 3 × 5. The whole work is to do it through the drown drain hole. Clamping should not be too tight. You need to keep an open room to sink.
As a result, you can easily indulge at the bottom. Leave a 4-5 gallon bucket upside down. You can use it as a support. Also, pile up some wooden blocks. Support of cast iron or any heavy material is especially necessary. Good support protects your drown from being damaged or damaged on any floor. Heavy support especially prevents holes in the bathroom floor.
Remove The Clip or Screw Bracket:
All types of undermount sinks are kept for work. Clips, screws, brackets used before placing. Whatever you use, loosen the thing to move the drown easily in this step. Go to the bottom of the drown. Therefore, detecting anchoring clips. The anchoring clips hold the under-counter drown. Now open them. Use the necessary things or a screwdriver. The day is a lucky day for many. Those who are lucky can see the flashes after removing the clips.
The sink will close for them. Then he will be able to get out safely. Thedrown is a silicone sealant. If you use different types of adhesives inside, you will have to take a new step.
Unlock Your Sink:
Find out how to remove bathroom sink by unlocking your drown. This part is the most important. Because you have to work very carefully. The work is from the top of the drown.
Cut between the rim of the drown and the countertop. So you use a sharp knife. The knife is very good if it is useful. Keep it in the drown with silicone sealant. Then it will be easy to loosen and you can do it quickly. Many people can work with different adhesives like epoxy. So, Utility knives are not very useful for them.
You can use a different approach to this problem. Work between the countertop and the sink rim. Choose a sharp chisel wedge. Take a hammer in hand. Press it gently with it. Do the work very carefully so that the countertop element is not chipped and this way you can break the adhesive bond. In addition, the rim of the drown will detach. Some gaps may occur. For this, use a pre-bar in the gap. Remember that the rim may go down when the sink is to completely disconnect. Many times the chisel method may not work. Then alternatively the glue has to soften. He can use a hit gun.
Warning:
firstly, many people use different things to remove the undermount sink. Among them, countertop granite, if stone, never use a tool to cut the glue. That tool is a swinging tool. Therefore, the vibrations of this tool are very bad according to many. However, vibrations can crack expensive countertops at any time. There is no doubt about it. This tool has a special quality. Very easy to use with wood and other hard tops. They are very safe to use. However, if you do not have this kind of practical experience, you should seek the help of a professional. Please be careful. The user is solely responsible for any harm or loss caused by the improper use of the information in this paragraph.
Conclusion:
Removing the undermount sink is quite easy. But you have to understand that. You have to remove the undermount drown in the bathroom when you want to pave the way for a new drown. Finally, I have described the steps on how to remove bathroom drown. So, use these steps to quickly and safely remove the sink.