
Removing floating shelves might seem like a big job, But trust me, It’s easier than it looks. I remember the first time I decided to take down my floating shelves in the living room—what seemed like A daunting task turned out to be pretty simple. Whether you’re redecorating Or need to make room For something new, knowing how to remove floating shelves the right way can save you time and avoid unnecessary stress. In this guide, I’ll walk you through the process step by step and share a few tips I learned along the way.
What Are Floating Shelves?

Floating shelves are sleek, Modern shelves that don’t have visible brackets. They are mounted using hidden supports, Making them appear to float. I’ve always loved how they save space and look clean on the wall.
Common Uses
You can use floating shelves in almost every room. In the living room, they’re perfect for displaying books or plants. To decorate your living room modern style, consider using sleek floating shelves for a minimalist look. In the kitchen, they’re great for spices or small kitchen items. I even put them in my bathroom for extra storage.
Why You Might Want to Remove Floating Shelves
There are several reasons. You may want to change your decor or need more space for larger items. I once removed mine to make room for a bigger art piece. It’s an easy way to update your space and try something new.
Locate the Screws or Brackets
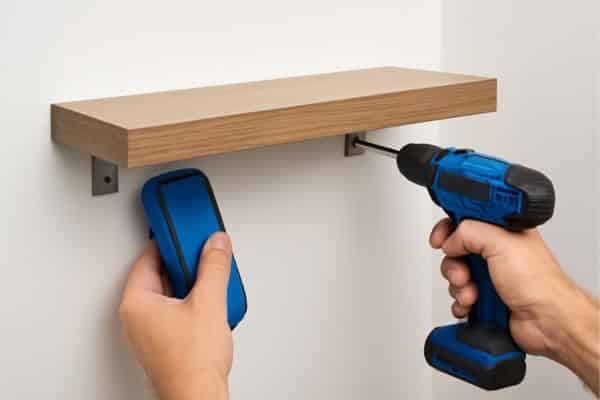
First, Find the screws or brackets that hold the shelf in place. Use a screwdriver or drill to remove them. If the brackets are hidden inside the shelf, Use a stud finder to locate them. This will help you find any screws that might be deep within the wall.
Detach the Shelf
Once the screws Or brackets are removed, Gently pull the shelf off the wall. Be careful not To damage the wall or shelf. A slow, Steady pull is best. If the shelf is stuck, You can use a putty knife to gently loosen it from the wall.
Patch the Holes
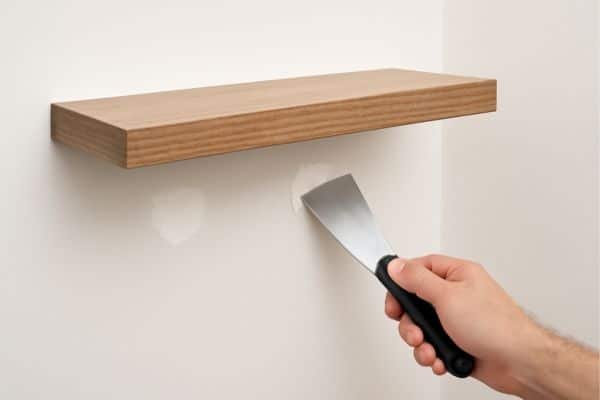
Now, you’ll see holes where the screws were. Use spackle or joint compound to fill in these holes. Apply it with a putty knife, smoothing it out. Let it dry completely before moving on to the next step. Sand it down for a smooth finish.
Touch-Up and Clean
After the spackle dries and the holes are filled, touch the wall up with paint. This is to give it the same texture as the rest of the wall since you will be feathering those patches in. Lastly, wipe up dust dirt, or grime from the floor around where the shelf used to be.
Troubleshooting Common Issues
Issue 1: Stubborn Brackets
Brackets will sometimes be hard to remove. If this occurs, pry them back up with a flathead screwdriver or a putty knife. You can also attempt to spray a bit of penetrating oil to help loosen any stubborn spots. Take your time and do not force anything as the wall can get damaged easily.
Issue 2: Wall Damage
Wall damage can happen after removing floating shelves. For small holes, apply spackle or joint compound to fill them in. Let it dry, then smooth it out. If the holes are bigger, use a wall repair patch, then sand it smooth and repaint for a clean finish.
Issue 3: Uneven Wall After Shelf Removal
After the shelf is removed, You might see some uneven spots on the wall. Use fine-grit sandpaper to smooth any rough areas. Once the surface is even, paint over the patched areas for a fresh, Uniform look. This will make the wall look as good as new.
Tips for Removing Floating Shelves Like a Pro
Tip 1: Take Your Time
Don’t rush through the process. Taking your time helps you avoid mistakes and protects your wall and shelves. Work slowly and carefully to get the best results. You’ll be happier with the outcome.
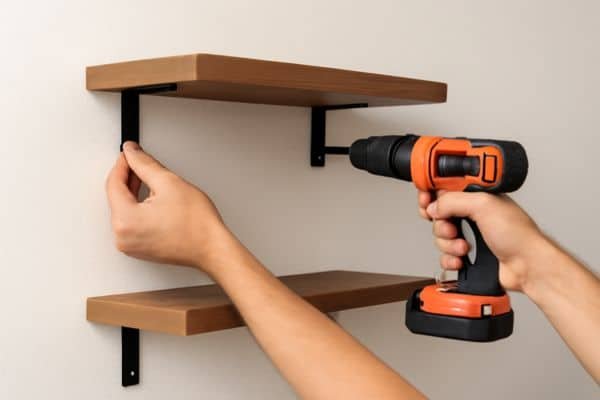
Tip 2: Save the Brackets for Reuse
If the brackets are still in good shape, keep them. You can use them for another project later. Saving them saves money and reduces waste. Store them safely for future use.
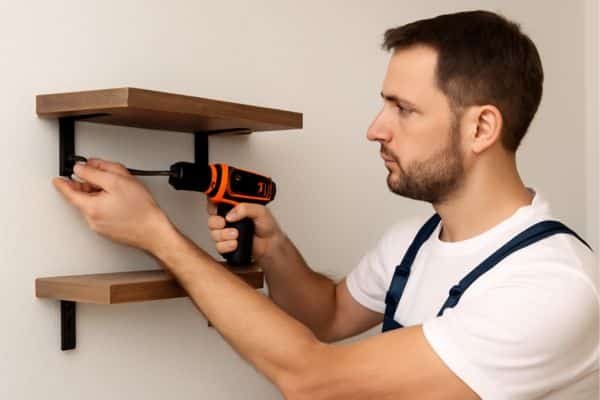
Tip 3: Keep the Shelves for Another Project
Repurpose the elsewhere in the house. You can use them for extra storage or to display items in another room. It can serve many purposes beyond its original use.
When to Call a Professional
Signs You Might Need Help
Large shelves or ones mounted into the studs can be tricky. If the wall is badly damaged, it may be hard to fix on your own. In these cases, calling a professional might be the best choice.
Why Hiring a Pro Can Save Time
A professional will work more quickly and more efficiently. They have the tools and the experience to effectively manage difficult scenarios. This can help you save time and prevent errors.
Conclusion
Removing floating shelves is easy. Start by finding and removing the screws or brackets. Then, gently pull the shelf off the wall. Fill any holes with spackle and touch up the wall with paint. Take your time and save parts for later use.
Give it a try! You can do this yourself, Or ask a friend for help. Enjoy the process And look for more DIY projects to tackle around your home decor.