Removing a floating shelf can be a straightforward yet essential task in home improvement projects. Whether you’re redesigning your space or replacing the shelf, knowing how to remove a floating shelf correctly ensures both safety and efficiency. By understanding the steps involved, you can easily disassemble the shelf without damaging your walls or the shelf itself. This guide will walk you through the process, highlighting the benefits of proper removal, the key considerations, and why taking this DIY approach can save you time and effort.
Can I Remove A Floating Shelf Without Damaging The Wall?
Yes, you can remove a floating shelf without damaging the wall if you follow the proper steps. Start by removing any items on the shelf and then locate the screws or brackets that are holding the shelf in place. Use a screwdriver or drill to carefully unscrew these fasteners, making sure to support the shelf as you do so to prevent it from falling and causing damage. Once all screws are removed, gently lift the shelf off the wall.
Do Floating Shelves Leave Holes In The Wall?
Floating shelves typically do not leave holes in the wall when installed correctly. The key is to use the appropriate hardware and follow the installation instructions carefully. Many floating shelf kits come with special brackets or anchors that provide sturdy support without causing damage to the wall.
Can Floating Shelves Be Reused After Removal?
Before reinstalling the shelves, make sure to check for any damage or wear and tear that may have occurred during removal. It’s also a good idea to ensure that the mounting hardware is still in good condition and able to support the weight of the shelf.
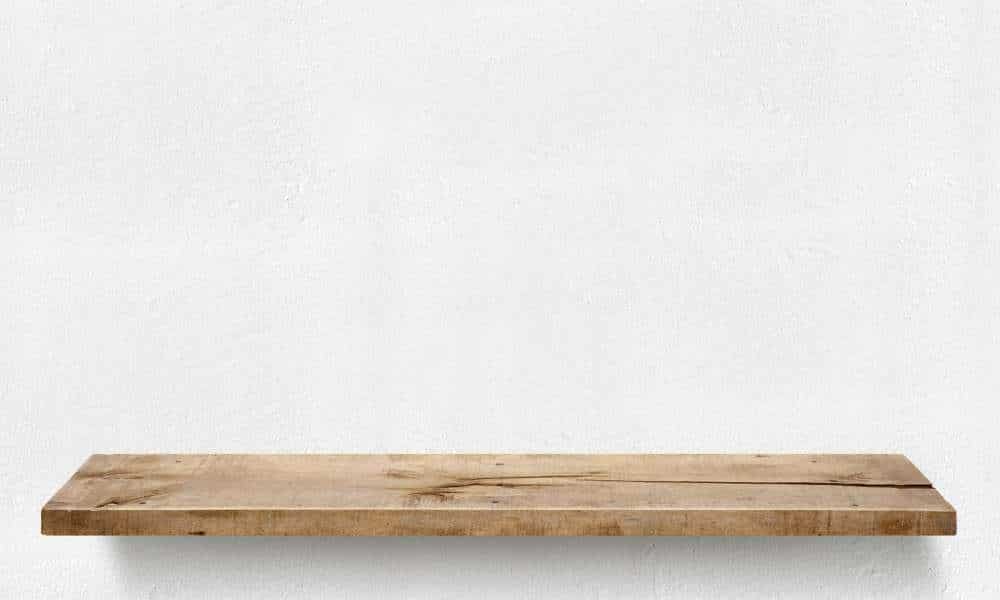
Understanding Floating Shelves
Floating shelves are popular for their minimalist appearance and versatility in modern home decor. They create an illusion of floating on the wall without visible brackets or supports, enhancing the aesthetic appeal of any room. Before removing a floating shelf, it’s crucial to understand its installation method, typically involving hidden brackets or cleats secured to the wall. This knowledge ensures a systematic approach to disassembly, preventing accidental damage to the wall or the shelf itself.
Preparation
Before starting the removal process, gather the necessary tools: a screwdriver (Phillips or flathead, depending on the installation screws), a stud finder (if needed), and a level. Clear the shelf of any items to lighten the load and avoid accidents during removal. Use a sturdy step ladder if the shelf is mounted high on the wall, ensuring safety throughout the procedure. Taking these preparatory steps sets the stage for a smooth and efficient removal process.
Removing Items
Begin by carefully removing any items displayed on the shelf. This step not only ensures their safety but also lightens the load for easier handling during disassembly. Place fragile or valuable items in a safe location to prevent damage. Once the shelf is cleared, inspect it for any hidden screws or fasteners that may secure it to the wall. Depending on the shelf’s design, there may be screws under decorative covers or directly through the shelf into wall studs. Use the appropriate screwdriver to gradually loosen and remove these fasteners, ensuring steady support of the shelf as you work.
Detaching Shelf From Brackets
Detaching a shelf from its brackets can open up a world of possibilities for rearranging and redecorating your living room space. Many people overlook the potential for changing up the look and feel of a room simply by repositioning shelves or replacing them with new ones. By detaching the shelf from its brackets, you are essentially starting with a blank canvas that allows you to experiment with different layouts and styles. This process can spark creativity and inspire fresh ideas for how to decorate your living room in a way that reflects your personality and aesthetic preferences.
Patching Holes
One crucial step after removal is patching holes left behind on your walls. Patching holes not only restores the aesthetics of your wall but also prevents potential damage from moisture or pests. Use a putty knife to apply spackling compound or wall patching plaster into the holes. Smooth it out evenly with the wall surface and allow it to dry completely before sanding it down for a seamless finish.
Painting Or Covering Wall Marks
After patching the holes, consider painting or covering any marks left on the wall surface where the shelf once hung. Matching the wall color or using touch-up paint can effectively conceal these marks, restoring the wall to its original appearance. Alternatively, if the wall surface is textured or requires more extensive repair, consider using wallpaper, decals, or decorative items to cover the area creatively. This final touch enhances the aesthetic appeal of your space while ensuring that the removal of the floating shelf is both functional and visually pleasing.
Safety Tips For Removal
Ensuring safety during the removal process is paramount. Start by preparing the area around the shelf, clearing any items stored on it to prevent accidents. Use a sturdy ladder or step stool to reach high shelves, ensuring it’s placed on a flat, stable surface. Always wear safety goggles and gloves to protect yourself from dust and sharp edges. Additionally, have a helper assist you in holding the shelf steady during removal to prevent it from unexpectedly falling.
Common Mistakes To Avoid
Avoid common mistakes that can complicate the removal process. One frequent error is not supporting the shelf adequately during removal, which can lead to unexpected drops and damage. Another mistake is using improper tools or techniques, such as applying excessive force, which may damage both the shelf and your walls. By following these tips and methods, you can successfully remove a floating shelf while preserving your walls and ensuring a tidy finish.
The Final Thought
Removing a floating shelf can be a straightforward process with the right tools and techniques. By following the steps outlined in this article, you can safely and effectively remove your floating shelf without damaging your walls or the shelf itself. Remember to take your time and work carefully to avoid any accidents or mishaps during the removal process. Once you have successfully removed the shelf, you can enjoy a fresh look in your space and potentially repurpose the shelf elsewhere. Take on this DIY project with confidence and transform your living area today!