
The day I got my Ninja blender, I was excited—and a little lost. The parts looked sharp and serious. I didn’t know where to start. Figuring out how to put the Ninja blender together felt more like solving a puzzle than making a smoothie. But I learned. Slowly, then confidently. Now I use it almost every day, and it just works. In this guide, I’ll show you how to do it the right way, step by step. It’s easier than it looks—and yes, totally beginner-friendly. Ready to master your blender setup? Let’s get started. You’ve got this.
What Comes Inside the Box
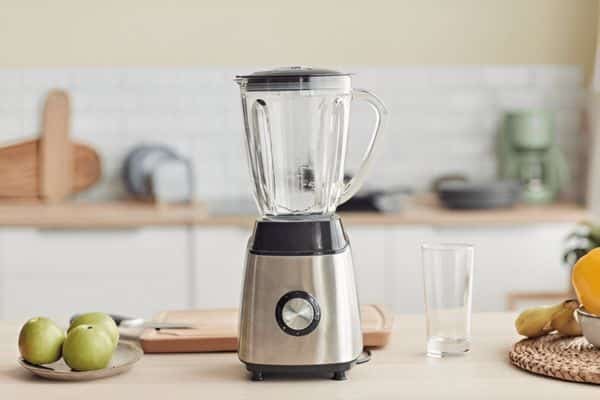
A new Ninja blender feels like a gift. You lift the lid, and everything looks shiny and sharp. But it’s more than just good looks. Every piece has a job.
You’ll usually find five main parts. These include the motor base, the pitcher or cup, the blade, the lid, and a small manual. That’s all you need to get started.
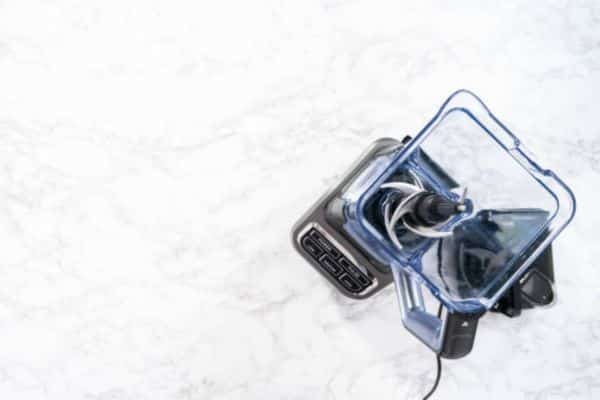
The motor base is the biggest part. It holds the power. You place your pitcher or cup on this base before blending.
The pitcher holds your food or drink. Some kits have small cups too. These are great for one-person smoothies.
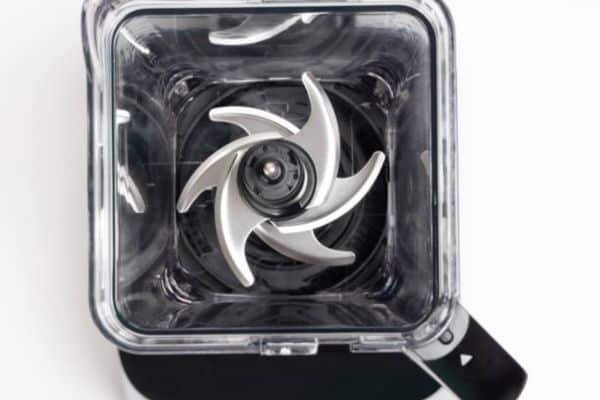
The blade assembly sits at the bottom. It spins fast to chop, mix, or crush. Always hold it by the center. The edges are sharp.
The lid covers the top. It locks into place so nothing spills. Some have a small spout to pour your drink.
The manual helps you understand your blender. You’ll also see safety tips and a few starter recipes.
Here’s a quick checklist you can follow:
- Motor base
- Pitcher or cup
- Blade system
- Lid
- Manual or recipe guide
Many affordable blenders, including the best blenders under $50, use a similar setup. So once you learn this one, others feel familiar too.
Up next, let’s make space on your counter and get set to build your blender.
Get Set Up: Preparing Your Workspace
Before starting, clear a small space on your counter. Pick a flat, clean spot near an outlet. This gives you room to move and keeps everything in reach.
Place a towel or rubber mat under the blender. It stops sliding and protects your counter. That extra grip helps during setup.
Wash your hands. Dry them well. Clean hands make clean food. Keep the parts dry too. Wet hands and sharp blades don’t mix. A clean space is a safe space. Always unplug the blender before setup. This step matters. It keeps your hands safe and the motor off.
Step-by-Step: How to Put the Ninja Blender Together
Now the fun part begins. Let’s walk through how to put the Ninja blender together from start to finish. These steps work with most models and take just a few minutes.
01. Place the Blade Properly
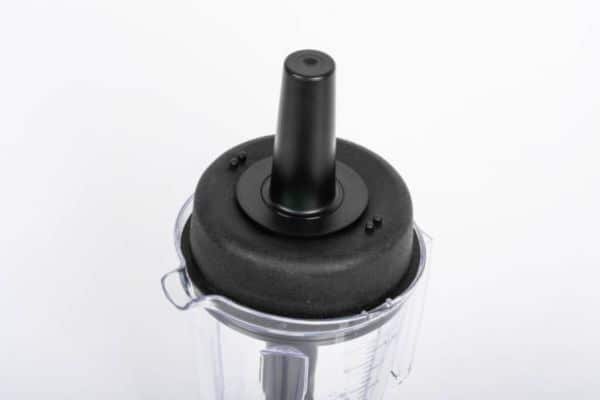
Start with the blade. Hold it by the top. Keep your fingers away from the sharp edges. Drop the blade into the center of the pitcher. Let it sit flat at the bottom. The plastic top should face up. In single-serve cups, the blade is part of the twist-on lid. Just set it aside for now.
02. Position the Pitcher or Cup
Pick up the pitcher. Line it up with the motor base. Most handles face forward-right. Lower the pitcher straight onto the base. It should rest flat. Don’t force it. For cups, hold the blade-lid upside down and screw it onto the cup. Tighten until snug.
03. Lock the Pitcher Into the Motor Base
Once the pitcher sits flat, turn it clockwise. You’ll hear a click. That’s the lock. No click? Lift and try again. It only fits one way. The motor won’t run unless the pitcher is locked tight. This is part of the safety setup.
04. Secure the Lid
Place the lid on the pitcher. Align the arrows or markings. Press it down. Flip the locking arm into place. Press until it clicks. Single-serve cups don’t use this lid. They flip and lock directly into the base.
05. Plug In and Test for a Secure Fit
Now plug the blender into the outlet. The power light should turn on. Press down on the lid or cup. Everything should feel tight and steady. Tap the “Pulse” button once. The blade should spin with no sound issues.
That’s it—you now know how to put the Ninja blender together the right way. Once you do it a few times, it feels natural.
Common Mistakes and How to Avoid Them
Even smart people make blender mistakes. It’s easy to miss a step, especially on the first try. Here are the most common problems and how to fix them.
Pitcher not locking in?
Turn the pitcher slowly while pressing it down. Make sure it rests flat before you twist. The base needs that “click” to stay in place.
Blade doesn’t spin?
The blade might not be sitting right. Take it out and check for food bits or tilt. The blade must sit flat and steady in the center.
Leaking during use?
Most leaks come from overfilling. Look for the max line inside the pitcher or cup. Always stop just below it.
Tips from My Kitchen to Yours
Over time, you learn little tricks that make setup faster and safer. These tips come from real use, not just a manual.
Try a dry run before your first smoothie.
Put all the parts together without food. It helps you understand how everything fits. No mess, no stress.
Hold the blade by the center piece.
Never touch the edges. One slip can lead to a deep cut. A towel works great for grip and safety.
Lock the pitcher before the lid.
The base must click first. The lid locks last. This order avoids confusion and stops blending errors.
Clean as soon as you’re done.
Warm water loosens sticky bits fast. Dried food takes longer to scrub. Quick cleanup saves time and effort.
Why I Recommend the Ninja Blender (Especially on a Budget)
I’ve used many blenders in my kitchen. Some were too weak. Others broke after a few weeks. The Ninja stuck with me.

It feels solid. The parts still work like new. After years of blending, it still runs smooth and sharp.
I’ve made green smoothies, pancake batter, pasta sauce, even crushed ice for summer drinks. Each time, the results came out perfect. The cleanup stayed simple too.
Compared to others in its price range, it just delivers more. Many say it’s one of the best blenders under $50, and I agree. You get power, speed, and value—all in one sturdy machine.
Troubleshooting: What to Do If It Still Won’t Start
Sometimes, everything looks right—but the blender stays silent. Don’t worry. It happens to all of us.
Here’s a quick checklist to go through:
- Make sure the base is plugged in
- Check the pitcher or cup is fully locked
- Confirm the lid is clicked into place
- Reseat the blade and try again
Many Ninja models won’t run unless every part is secure. That’s a safety feature, not a fault.
Cleaning Up After Assembly
Right after blending, rinse everything. Warm water and a drop of soap go a long way. A fast rinse keeps things from sticking. Cleanup takes just seconds.
Keep your hands away from the blade. Use the center handle to lift it. A soft brush or sponge works well. Never touch the edges directly.
Dry all parts with a towel. Let them air out before storing. A clean blender stays fresh and lasts longer.
Skip the wait, and you skip the scrub. Cleaning right after use saves time and keeps your kitchen mess-free.
Conclusion
Now you know how to put the Ninja blender together. You’ve seen every step, tip, and common mistake. It might feel tricky the first time. But trust me—it gets easier fast.
Each setup builds your confidence. Soon, your hands will move without thinking. Blade, cup, lid, twist, blend. Done.
So go ahead. Try it today. Make a smoothie, a dip, or your own secret sauce. Then tell me—what did you blend first?