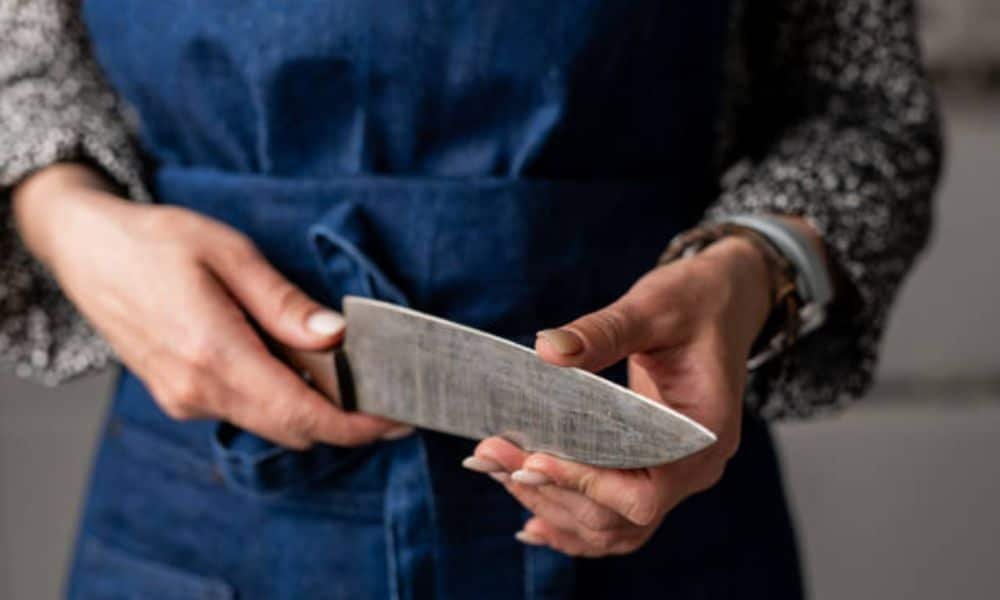
I still remember the first time I saw a mirror-polished knife. It was at my uncle’s cabin. He pulled out a blade that looked like glass. The firelight danced across it. It didn’t just shine—it glowed. “Took me hours,” he said with a proud grin. Back then, I didn’t get it. A knife was for cutting, not for show. Years later, I learned the truth. Polishing isn’t about looks. It’s about care. It’s about respect. Today, I’ll walk you through how to mirror polish a knife by hand. No machines. Just time, patience, and your hands.
Why Mirror Polish a Knife?
Let’s start with the “why.” A mirror polish isn’t just about making your blade sparkle for Instagram (though that’s nice too). It has real benefits.
First, it helps prevent rust. A smooth, polished surface doesn’t trap moisture or acids like a rough one does. Second, it reduces drag. That means smoother cuts, especially through things like fish or herbs. Third, it shows you care. A mirror polish tells a story about craftsmanship and patience.
What You’ll Need
You don’t need fancy gear. Here’s what I use every time:
- Sandpaper (grits: 400, 800, 1200, 2000, 3000, 5000)
- A small sanding block or cork
- Masking tape
- Polishing compound (like Flitz or metal polish)
- Microfiber cloths
- A soft towel
- A bowl of warm water with a drop of dish soap
Optional but helpful:
- A strop
- Nitrile gloves (to keep fingerprints off and hands clean)
- Good lighting
01. Tape the Edge

Before you do anything, protect the edge. Use masking tape to cover the cutting edge of the knife. This keeps you safe and prevents you from dulling it during polishing.
I always fold a little flap at the end of the tape so it’s easy to peel off later. Simple thing—but saves your fingers. Just like choosing the Best Kitchen Knife Set Under 100—a small decision, but it makes all the difference in the kitchen.
02. Start with 400 Grit
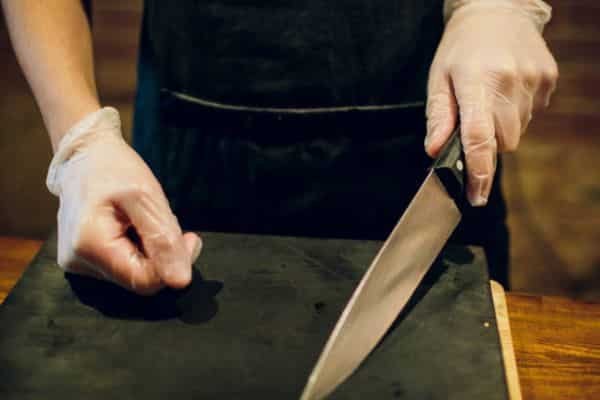
Set your knife flat on a towel to keep it steady. Wrap the 400 grit sandpaper around a sanding block or cork. That gives even pressure and keeps your hands from cramping.
Now, sand the blade in one direction—usually lengthwise, from heel to tip. Don’t swirl. Don’t zigzag. Just straight strokes.
You’ll notice scratches start to even out. That’s good. Keep going until the surface is uniform. This part takes time, especially if the blade is scratched or has a rough factory finish.
Wipe it down often with a damp cloth to check progress.
03. Move to 800 and Up

Once the 400 grit gives you a consistent surface, it’s time to level up. Each new grit removes the scratches from the one before.
Here’s the trick: Alternate directions slightly. I go from heel-to-tip at a slight angle with one grit, then switch angles for the next. It helps spot leftover scratches.
Between each stage, wipe the blade clean. Don’t rush. It’s tempting to skip a grit or move too fast. Don’t. Every layer builds the mirror.
800, 1200, 2000… Keep going.
By the time you hit 3000, the blade should already look like satin. By 5000, it will start to gleam. You’ll smile when you see your reflection for the first time.
04. Add the Polish
Once sanding is done, it’s time for the final shine.Put a dab of metal polish on a clean microfiber cloth. Rub it in small circles over the blade. I use gentle, even pressure—never force it.
You’ll see black residue. That’s oxidation coming off. Wipe clean with a dry cloth, then polish again. Keep going until it gleams like glass.
Sometimes I repeat this two or three times. Each round brings more clarity. It’s like cleaning a window that was fogged up for years.
05. Remove the Tape and Strip the Edge
Now peel off the tape. Carefully. Run the blade over a strop a few times to restore the edge. It won’t need much. You didn’t touch the bevel, just the flats. Hold it up. Turn it in the light. That glow? That’s your handiwork.
A Few Honest Tips from My Bench
After years of trial and error, here are a few things I’ve learned:
Use Good Lighting
Natural daylight is best. I polish near a window or under a daylight lamp. It helps spot scratches and track progress.
Don’t Skip Grits
It’s tempting to jump from 400 to 2000 to save time. Don’t do it. You’ll chase scratches forever. Each step matters.
Stay Steady
Try resting your arms on the table. It keeps your hands stable and reduces uneven pressure.
Keep It Dry Between Stages
Water can hide scratches. Wipe the blade dry after each grit. You want to see every mark before moving on.
Respect the Steel
Not every knife needs a mirror polish. Some carbon blades like a patina. Others are too soft and won’t hold polish. Know your blade.
Personal Wins and Failures

Let me tell you about a time I messed up. I was working on an old stainless knife from the flea market. Thought I could rush through with just 1000 and 2000 grit. Looked okay in dim light. Next morning? Horrible. Cloudy, streaky, full of scratch linesHad to start all over.
But on the flip side, I once restored an old carbon steel Sabatier that had lived in a garage drawer for 20 years. Took me six hours. But when I was done, the blade looked brand new. My neighbor offered to buy it. I said no.
Taking Care of Your Mirror Polish
Now that you’ve got a mirror finish, protect it. Wash by hand. Never toss it in a dishwasher. Dry it right away. I keep a microfiber cloth in the drawer just for knife care. Every few weeks, I give it a quick polish touch-up. Just a dab of compound and a few wipes. Keeps it looking sharp.
And store it right. A magnetic strip or wooden sheath works great. No tossing it in a drawer where it gets scratched by other tools.
Final Thought
Mirror polishing a knife by hand is more than a task—it’s an experience. You’ll learn patience. You’ll notice details. Feel a connection with the steel in a way that’s hard to explain until you try it. There’s pride in seeing your reflection on a blade you brought to life. There’s joy in watching it glide through food like a whisper. And best of all? You don’t need fancy tools. Just your hands, your time, and your love for the craft.