Crafting slipcovers for armchairs can transform your living space, offering both a fresh look and protection for your cherished furniture. This guide on how to make slipcovers for armchairs will equip you with the skills to personalize and revitalize your decor. Emphasizing the importance of customized fittings and fabric selection, this process not only allows for creative expression but also extends the lifespan of your armchairs. With a focus on practical tips and detailed steps, we ensure a seamless experience for DIY enthusiasts of all levels. By incorporating the keyword “make slipcovers for armchairs” and highlighting the benefits such as cost-efficiency, ease of maintenance, and aesthetic versatility, our article promises to be an indispensable resource for those looking to enhance their home’s ambiance.
What Materials Do I Need To Make A Slipcover For An Armchair?
To make a slipcover for an armchair, you will need several materials to ensure a successful and professional-looking result. Firstly, you will need fabric that is durable and suitable for upholstery. Choose a fabric that is easy to work with and can withstand regular use and washing. Additionally, you will need a sewing machine with heavy-duty needles and thread to sew the slipcover together securely.
Can I Make Slipcovers For Armchairs Without Sewing Experience?
Yes, it is possible to make slipcovers for armchairs without sewing experience. There are various no-sew methods and techniques available that can help you create slipcovers using fabric glue, Velcro, or elastic bands. These methods typically involve measuring the chair, cutting the fabric to size, and then securing it in place without the need for sewing.
Gathering Necessary Materials And Tools
1. Fabric
Choosing the right fabric is crucial. Opt for durable materials like cotton, linen, or polyester blends that offer both resilience and comfort. Consider the wear and tear your armchairs undergo and select a fabric that can withstand this, while also complementing your home’s decor. The amount of fabric required will depend on the size of your armchair and the pattern complexity. It’s always better to overestimate to accommodate any errors or adjustments.
2. Sewing Machine
A reliable sewing machine is indispensable for making slipcovers. It should accommodate heavy fabrics and offer a variety of stitches. If you’re new to sewing, familiarize yourself with your machine’s settings and capabilities. Practice on scrap fabric before beginning your project to ensure smooth, even stitches that will hold your slipcover together beautifully.
3. Scissors
A sharp pair of fabric scissors is vital for clean, precise cuts. Investing in a quality pair can make a significant difference in the ease of cutting and the overall quality of your slipcover. Ensure they’re used exclusively for fabric to maintain their sharpness.
4. Pins
Pins will be your go-to for holding fabric pieces together before they’re sewn, essential for fitting and adjustments. Opt for long, sturdy pins that can handle multiple layers of fabric. Similarly, a variety of sewing needles — both for hand sewing and your machine — are necessary, especially for the finer details or areas where a machine might not reach.
Cutting Fabric Pieces With Precision
The initial step in making slipcovers for armchairs involves accurately measuring and cutting the fabric pieces. This precision is crucial as it sets the foundation for a snug fit and professional look. Begin by taking detailed measurements of your armchair, including the height, width, and depth, along with specific sections like the arms, seat, and back. Transfer these measurements onto your chosen fabric, adding allowances for seams and adjustments. Cutting fabric pieces precisely ensures that each part of the slipcover will align correctly with the contours of your armchair, eliminating any guesswork in later stages.
Sewing The Slipcover Seams
Once your fabric pieces are cut to size, the next step is sewing the slipcover seams. This process involves joining the individual pieces using a sewing machine, creating the basic shape of your slipcover. Pay close attention to the seam allowances and ensure they are consistent throughout to maintain the slipcover’s symmetry. Reinforcing the seams at stress points, such as corners and curves, adds durability to your slipcover, enabling it to withstand daily use. This meticulous approach to sewing not only contributes to the slipcover’s aesthetic appeal but also its functionality and longevity.
Stitching Fabric Panels Together
The art of stitching fabric panels together is where your slipcover starts to take shape. This stage is about aligning and sewing the different fabric sections, such as the back, seat, arms, and skirt, if applicable. The key here is to maintain a steady rhythm and ensure that the fabric panels are joined smoothly without any puckering. It’s beneficial to fit the partially completed slipcover onto the armchair periodically to check for fit and make any necessary adjustments. This iterative process helps in achieving a custom-fitted look that complements the armchair’s design.
Installing Zippers For Easy Removal
An invaluable tip for making slipcovers for armchairs more user-friendly is installing zippers for easy removal and cleaning. Zippers can be strategically placed at the back or beneath the seat, making it straightforward to remove the slipcover for washing or dry cleaning. Selecting a zipper that matches the fabric color and sewing it in with precision ensures that it blends seamlessly with the overall design. This feature not only enhances the slipcover’s practicality but also encourages regular cleaning, thereby extending the fabric’s life and maintaining the armchair’s fresh appearance.
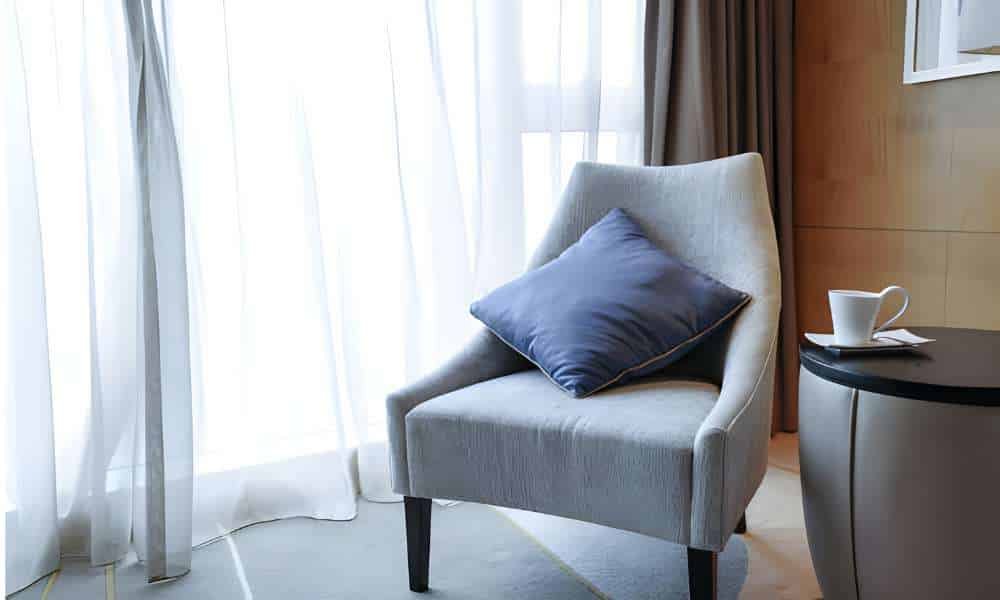
Fitting The Slipcover Onto The Armchair
Once you have successfully fitted the slipcover onto your armchair, step back and admire how this simple change has transformed the entire space. Play around with different throw pillows or accessories to complement your new look while enhancing overall comfort for lounging or entertaining guests in style. The beauty of using slipcovers is their versatility – switch them out seasonally or whenever you feel like refreshing your décor without committing to costly reupholstery projects. With these tips in mind, setting up furniture in your living room can become a creative outlet for expressing personal style while maintaining functionality and comfort.
Tucking Fabric For Smooth Appearance
Achieving a smooth appearance is paramount when you make slipcovers for armchairs, as it elevates the overall look and feel of your furniture. Tucking the fabric correctly ensures that the slipcover conforms neatly to the armchair’s contours, eliminating wrinkles and loose sections. Begin by choosing a stretchy, forgiving fabric that can be manipulated easily. When placing the slipcover over the armchair, start from the top, working your way down, and tuck the fabric into crevices using a spatula or a similar tool. This method helps in securing the fabric tightly around the armchair’s structure, providing a clean, tailored finish. Paying close attention to areas around the arms and cushioning, where excess fabric tends to gather, will result in a slipcover that looks almost custom-made.
Testing Slipcover For Functionality
After fitting the slipcover, it’s crucial to test it for functionality to ensure that the armchair remains fully usable and comfortable. Sit on the chair, move around, and adjust the positioning to check that the slipcover stays in place and doesn’t bunch or shift. This step is essential, especially for armchairs that see a lot of use, as it prevents the need for constant readjustments. Consider the slipcover’s ease of removal and reapplication, as this impacts its practicality for washing and maintenance. Testing helps identify any functional shortcomings, providing an opportunity to make necessary adjustments for a perfect fit and seamless use.
Making Adjustments For A Custom Fit
A custom fit is crucial for the longevity and aesthetic appeal of your slipcover. After the initial fitting and functionality test, you may notice areas that require adjustments for a better fit. Pinch and pin excess fabric to mark where seams need to be taken in or let out. Removing the slipcover and sewing along these pinned lines can significantly improve the fit. For armchairs with unique shapes or sizes, consider adding darts or pleats to accommodate curves or angles. Making adjustments is an iterative process; it may take a few tries to get it just right. However, the effort pays off in a slipcover that fits like a glove, enhancing the chair’s appearance and comfort.
Sewing Techniques For Adding Piping Detail
Adding piping detail can give your slipcover a professional, polished look, distinguishing it from off-the-shelf options. Piping accentuates the armchair’s lines and adds strength to seams. To incorporate piping, you’ll need to sew it into the slipcover’s seams during construction. Cut strips of fabric on the bias (diagonally to the weave) to create the piping, wrapping these strips around cording. Then, sew the piping into the slipcover’s seams, ensuring it lines up precisely where the fabric pieces meet. For a consistent appearance, use a zipper foot attachment on your sewing machine to get as close to the piping as possible when sewing. This technique requires patience and practice but results in a stunningly detailed and customized slipcover.
The Final Thought
Making slipcovers for armchairs is a cost-effective and creative way to give your furniture a fresh new look. By following the step-by-step instructions provided in this article, you can easily customize your slipcover to fit your armchair perfectly. Remember to choose durable and washable fabrics for easy maintenance. With a little patience and attention to detail, you can transform your armchair into a stylish and functional piece of furniture. Take the time to create a slipcover that reflects your personal style and enjoy the satisfaction of completing this DIY project.