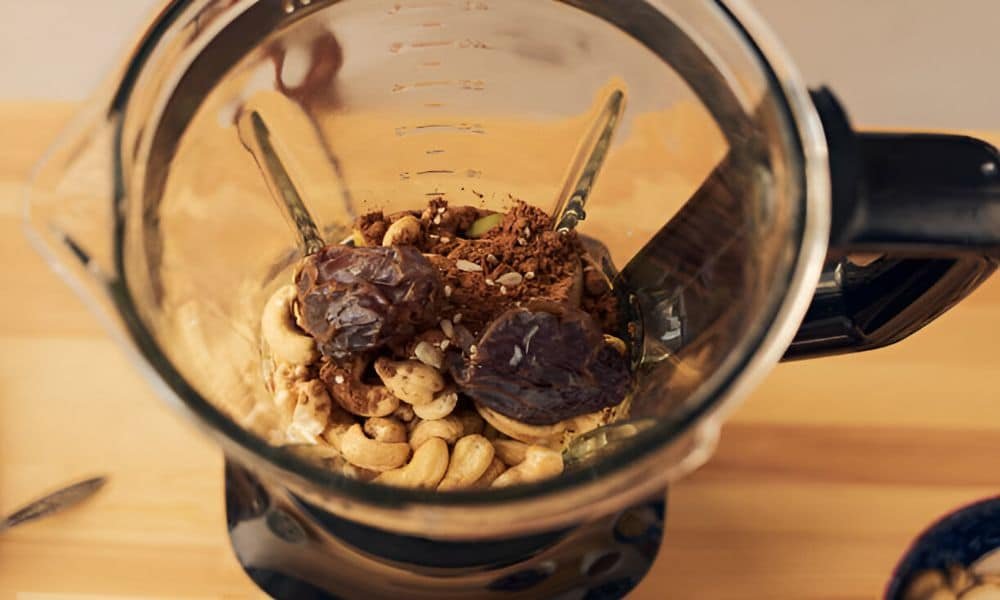
I never thought a simple blender could change my snack game. One afternoon, out of peanut butter and craving a spoonful, I tried making it at home. Just peanuts, a blender, and curiosity. That first batch? Warm, smooth, and way better than store-bought. Since then, it’s been my go-to. No fillers, no guesswork. Just real flavor made fresh. In this guide, I’ll show you how to make peanut butter blender style—quick, easy, and budget-friendly. It works even with a basic setup. Trust me, once you try it, you’ll never go back to the jar.
What You’ll Need Before You Start
You don’t need much to get started—just a few basics from your pantry and a blender that works well.
Ingredients:
- 2 cups roasted peanuts – salted or unsalted, both are fine
- Optional – a pinch of salt or a spoon of neutral oil (for creamier texture)
That’s it. No sugar, no extras. Keep it simple for the best taste.
Tools:
You’ll need a high-speed blender. Even the best blender under $50 can get the job done if you go slow and steady. I’ve used budget models with great results.
Tip: Let your peanuts sit out a bit first. Room temperature peanuts blend better than cold ones. It makes the process smoother and easier on the motor
Step-by-Step: How to Make Peanut Butter in a Blender
Making peanut butter at home is simple. Follow these easy steps, and you’ll have a fresh jar in minutes.
Step 1: Add peanuts to the blender
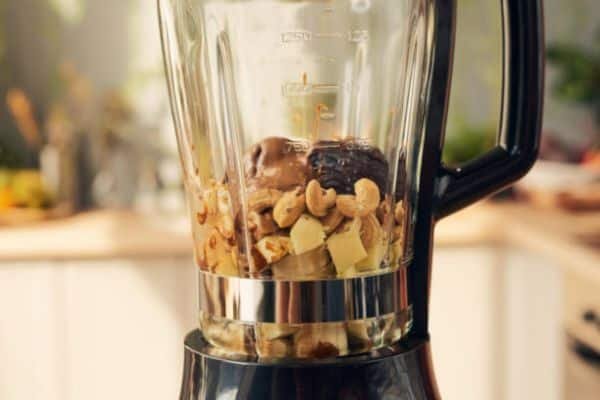
Measure about 2 cups of roasted peanuts. Pour them into your blender jar. Make sure it’s dry and clean.
Step 2: Start blending at low speed
Turn the blender on low. Blend for 30 seconds. The peanuts will begin to break into small crumbs.
Step 3: Scrape down the sides
Stop the blender. Use a spatula to push the crumbs down. This helps everything blend evenly.
Step 4: Watch the texture change
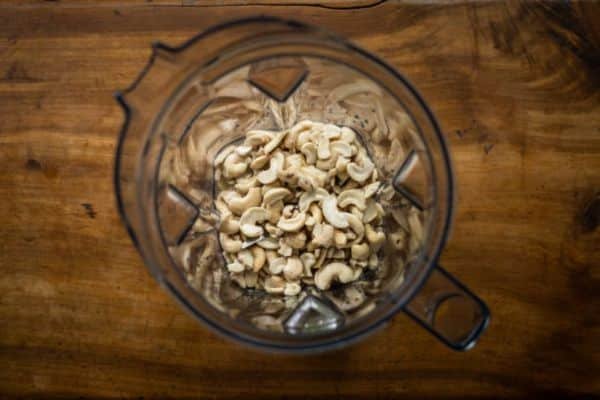
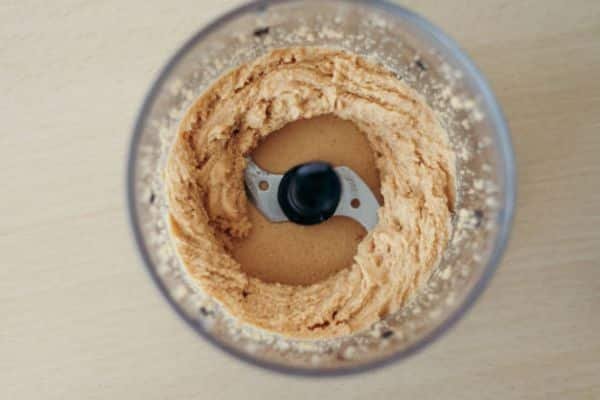
Keep blending. You’ll see it go from crumbs to a clump. Then it turns into a thick paste. Soon, it becomes smooth and creamy.
It might look dry at first, but don’t worry—just keep blending.
Step 5: Add your extras (optional)
Taste it. Want it smoother? Add a bit of oil. Like it sweet? Try a touch of honey. Need more flavor? Add a pinch of salt.
Step 6: Blend one last time
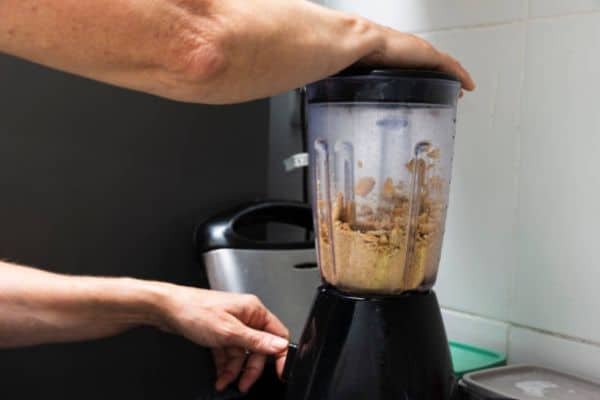
Continue blending on high for an additional 30 seconds. The peanut butter should look glossy and smooth.
Step 7: Let it cool and store
Scoop it into a clean jar. Let it cool before sealing. Keep it in a cool, dry place or in the fridge.
Real Tips for Smooth, Creamy Results (From My Own Kitchen)
Over the years, I’ve learned a few tricks that make a big difference.
Use dry, roasted peanuts.
Raw ones don’t blend well. They stay grainy and lack flavor. Roasted peanuts break down faster and give a richer taste.
Blend warm, not cold.
Warm peanuts release oil more easily. Let them sit at room temperature, or toast them lightly before blending.
Never add water.
It may seem like a shortcut, but it ruins the texture. Water makes the mix seize and go lumpy.
Look for the glossy swirl.
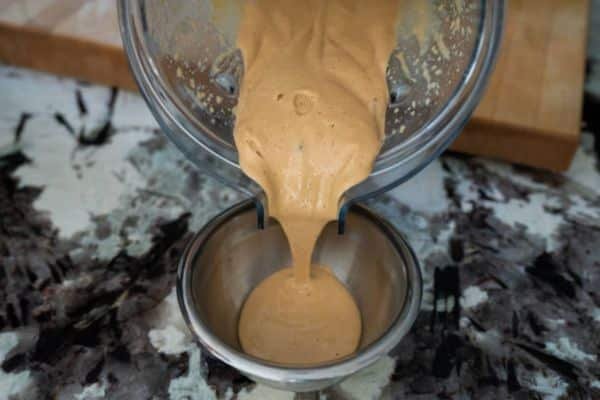
That’s how you know it’s ready. The butter should move smoothly in the jar and shine a little.
Want to mix things up?
Add a pinch of cinnamon or cocoa. It’s a fun way to change the flavor without making it too sweet.
Can You Use a Budget Blender? Yes—And Here’s How
Yes, you can make peanut butter with a low-cost blender. I’ve done it many times. You don’t need fancy settings—just a little patience and the right steps.
Even the best blender under $50 can handle nut butter if you take care of it. Stick to small batches. Let the blender rest between blends. This helps avoid overheating and keeps the motor safe.
Use the pulse setting. Blend in short bursts. Scrape the sides each time. It takes a little longer, but the results are worth it.
Here are a few budget-friendly blenders I’ve tried:
- Hamilton Beach Power Elite – Simple, strong, and reliable for small jobs
- Oster 6812 – Classic design with sharp blades and solid power
- BLACK+DECKER Crush Master – Great for blending nuts with a little patience
Keep your expectations clear. These blenders may take longer, but with a steady hand, they do the job just fine.
How to Store and Enjoy Your Homemade Peanut Butter
Once your peanut butter is ready, store it right to keep it fresh and tasty.
Use clean glass jars with tight lids. BPA-free plastic containers work too. Just make sure they’re dry before filling.
On the counter, it lasts up to two weeks. In the fridge, it stays fresh for a month or more. Stir it now and then if the oil separates.
Now for the fun part—eating it! Spread it on toast. Mix it into oatmeal. Blend it into smoothies. Bake it into cookies. Or just grab a spoon and enjoy it straight from the jar.
Common Beginner Mistakes to Avoid
A few small mistakes can turn your peanut butter from smooth to stressful. Here’s what to watch out for:
Over-blending or under-blending
Stop too soon, and it stays gritty. Blend too long, and it may get stiff. Look for that smooth, glossy swirl—it means you’re done.
Adding liquid too early
It’s tempting to pour in oil right away, but wait. Let the peanuts release their own oils first. Only add extras at the end, if needed.
Using raw peanuts
Raw peanuts don’t blend well. They stay dry and lack flavor. Roasted peanuts make a big difference in taste and texture.
Expecting instant creaminess
It takes a few minutes. Be patient. The magic happens slowly, but it always happens.
Final Thoughts
Making peanut butter at home is simple. Just peanuts, a blender, and a few minutes. That’s really all it takes.
You don’t need fancy tools. Start with what you have. Even a blender under $50 can get the job done with care and patience.
Give it a try today. Use your favorite peanuts and enjoy the process. Once you taste your first batch, you might never buy the store version again.
Small steps like this make your kitchen feel more like your own. And that’s a good feeling.
FAQs
Can I use almonds instead of peanuts?
Yes! Almonds blend well. They just take more time. Add a little oil to help them turn smooth.
How long does homemade peanut butter last?
Keep it on the counter for up to 2 weeks. In the fridge, it stays fresh for 3 to 4 weeks. Always use a clean, dry jar.
Can I make it chunky instead of smooth?
Yes! Just blend less. You can also stir in chopped peanuts at the end for extra crunch.

