I once had a bowl of grapes and no idea what to do with them. So, I grabbed my blender and gave it a try. The result was fresh, sweet, and full of flavour. It was better than anything from a store. That one try led to a habit I still enjoy. Now I know exactly how to make grape juice with a blender. It’s fast, fun, and anyone can do it. In this guide, I’ll share each step I follow in my own kitchen. No stress. No mess. Just real juice made simple.
Why Homemade Grape Juice Wins Every Time
There’s something special about making your own juice. It tastes better. It feels better. You know exactly what’s in it—nothing extra, just real fruit.
Most store-bought juice has added sugar, flavoring, or preservatives. That’s not the case with homemade. You get pure grape juice with every sip.
It’s also easier on the wallet. Grapes are cheap in season, and you don’t need fancy tools. Even the best blender under $50 can handle the job with no fuss.
Tools and Ingredients: Keep It Simple
You don’t need much to get started. A few simple tools are all it takes. Everything here is easy to find and budget-friendly.
What You’ll Need:
- Grapes – Go for seedless. Red or black work great.
- Blender
- Fine mesh strainer or cheesecloth – For smooth, pulp-free juice.
- Large bowl – To catch the juice while straining.
- Spoon – Helps press the juice through the strainer.
- Jar or pitcher – For storing your fresh juice.
That’s it. Simple, clean, and ready to go.
How to Make Grape Juice With a Blender: Step-by-Step
Making fresh juice at home is easier than you think. Here’s exactly how to make grape juice with a blender in four simple steps.
Step 1: Wash and Prep the Grapes
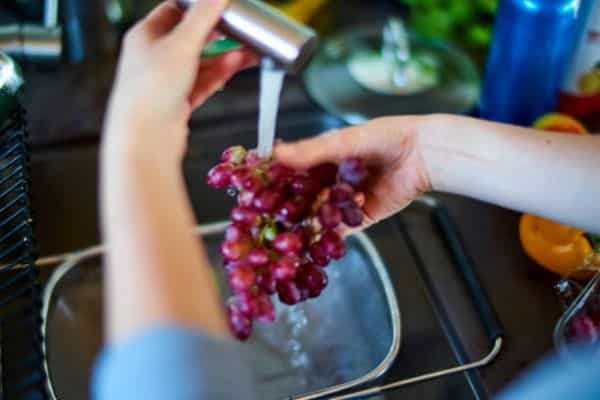
Rinse the grapes under cool water. Pull off any stems or leaves. Let them drain in a colander. Fresh, clean grapes make the best juice.
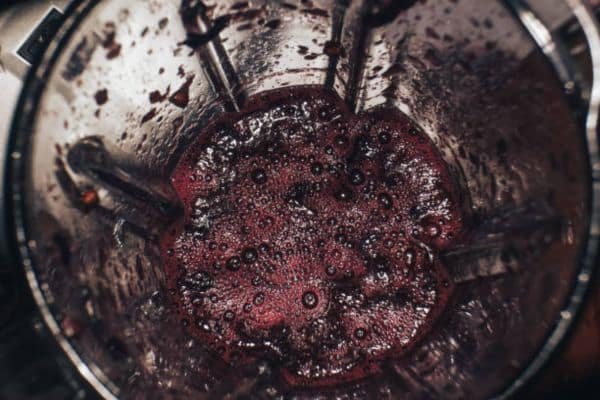
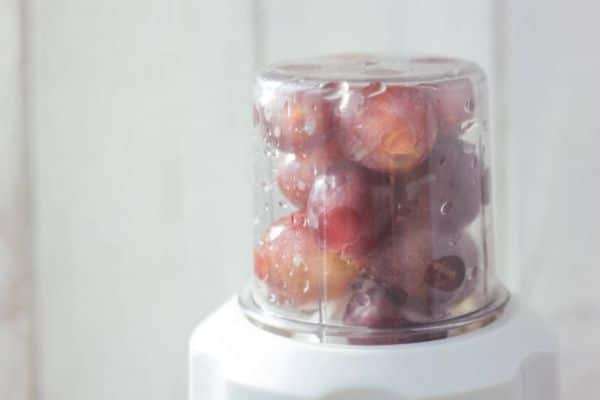
Step 2: Blend
Place the grapes in your blender. Fill it about three-quarters full. Blend on high for 60 seconds. Stop once the mix looks smooth and bubbly.
Tip: Add a splash of water for thinner juice. For a deeper taste, skip the water.
Step 3: Strain
Set a fine mesh strainer over a bowl. Pour the blended grapes in slowly. Use a spoon to press out every drop. You’ll be left with smooth juice and some pulp.
Want it extra clean? Strain it a second time using cheesecloth.
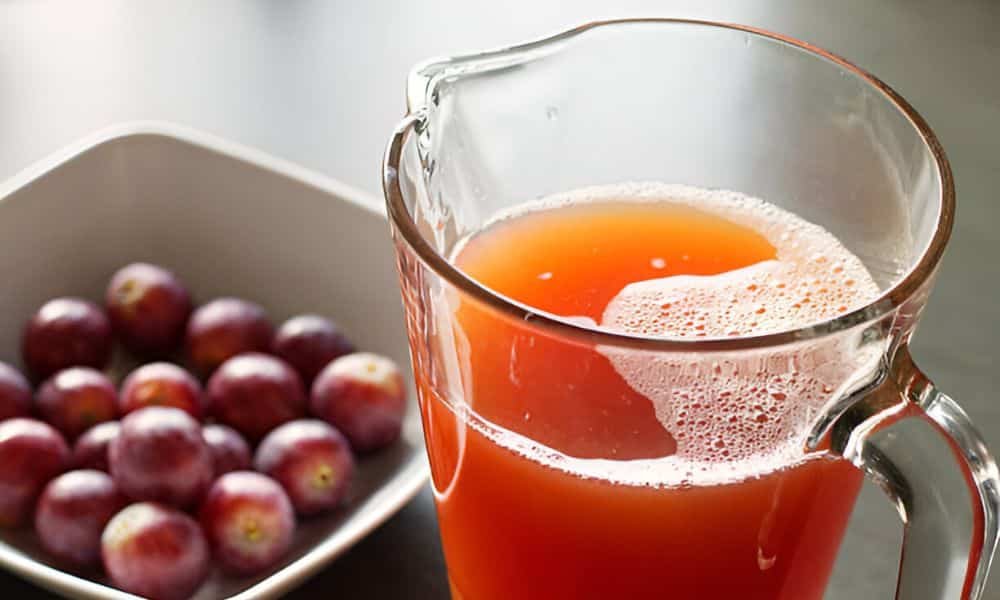
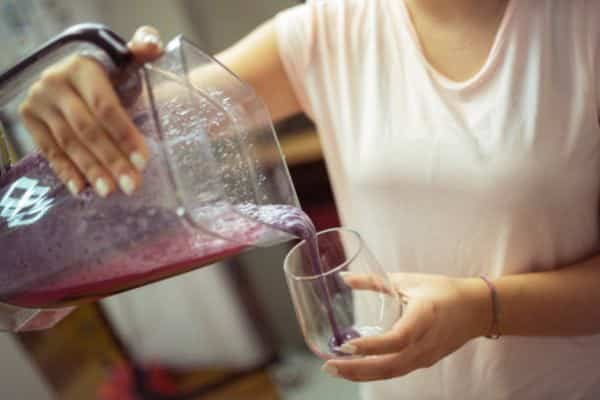
Step 4: Chill and Enjoy
Pour the juice into a jar or pitcher. Let it chill in the fridge for at least 30 minutes. Or serve it over ice right away.
That’s it. Fresh, sweet grape juice made in minutes.
Extra Tips From Years of Juicing
After many batches, I’ve learned what makes grape juice taste even better. These small tips make a big difference.
- Use cold grapes. Cold fruit blends smoother and gives a cleaner taste.
- Only add water if needed. Ripe grapes often don’t need it. More water means less flavor.
- Don’t over-blend. One minute is enough. Longer blending can pull bitterness from the skins.
- Strain twice for smooth juice. First with a mesh strainer, then with cheesecloth for a cleaner finish.
- Store in glass. It keeps the juice fresh and pure. Plastic can change the flavor over time.
- Save the pulp. Mix it into smoothies, muffins, or even oatmeal for extra fiber and taste.
Try one or try them all—these small steps make homemade juice even better.
Best Blender Under $50: Do You Really Need a Fancy One?
One of the most common questions I hear is, “Do I need an expensive blender to make good juice?” The answer is no. You don’t need top-of-the-line gear to get great results.
Many of the best blenders under $50 work just fine for soft fruits like grapes. They blend fast, clean up easy, and don’t take up much space
Look for a few key features:
- A strong motor (at least 300 watts)
- Sharp stainless-steel blades
- A wide, sturdy base
- Easy-to-clean parts
Some compact models also come with personal-size cups, which are perfect for small batches.
Don’t let price stop you from trying something new. You can make smooth, rich grape juice with a budget blender—and you won’t even notice the difference.
Grape Juice Add-Ins: Easy Flavor Boosts
Once you’ve nailed the basics, it’s fun to get creative. A few simple extras can take your grape juice from good to great.
- Lemon – A small squeeze adds brightness and cuts sweetness.
- Apple – Toss in a few slices before blending for a soft, fruity twist.
- Mint – Blend a few leaves for a cool, fresh touch.
- Ginger – A thin slice gives the juice a warm, zesty kick.
Start with a little. Taste as you go. These add-ins bring new layers of flavor, all with the same easy steps.
FAQs
Can I use frozen grapes?
Yes! Let them sit out for 5–10 minutes first. They blend better once slightly soft.
Will this work with a low-powered blender?
It can. Just blend in small batches and give it extra time. Use soft, ripe grapes for best results.
How long does the juice stay fresh?
Store it in the fridge and drink within 3 days. Keep it in a sealed glass jar for the best taste.
Can kids help make it?
Absolutely. Kids can help wash grapes, press juice through the strainer, or pour it into glasses. Just handle the blender with care.
Final Thoughts
Now you know exactly how to make grape juice with a blender—it’s easy, fun, and rewarding. You don’t need fancy tools or extra steps. Just fresh grapes, a blender, and a little time.
There’s something special about making juice with your own hands. It’s healthy, clean, and full of real flavor. Once you try it, you might never go back to store-bought.
Give it a try this week. Let your kitchen smell like sweet grapes. And enjoy every sip.