The smell of fresh apples always brings a smile to my face. One morning, I stood in my kitchen with a basket of bright red fruit. The thought of a cold, sweet drink was too tempting to ignore. Learning how to make apple juice with a blender turned that moment into something special. It is quick, simple, and kind to the budget. You do not need fancy tools. Even the best blender under $50 can give you a glass full of rich, golden juice. Today, I will share my easy method so you can enjoy the same fresh taste.
Why Make Apple Juice at Home?
Freshly made apple juice has a taste that store versions cannot match. Every sip feels crisp, sweet, and full of life. The aroma alone can brighten your mood.
It holds no preservatives or added sugar. What you pour into your glass is pure fruit and water. The flavour is honest and natural.
You control how sweet or thick the drink will be. You choose the apple blend that suits your taste. It is healthier for your body, lighter on your wallet, and gives you the pride of creating something fresh in your kitchen.
Choosing the Right Apples
The apples you use decide the taste of your juice. Sweet types like Fuji, Gala, or Honeycrisp give a smooth, gentle flavor. Tart kinds such as Granny Smith add a bright, zesty note.
Mixing sweet and tart creates balance. The sweet tones soften the sharp edge, while the tang keeps each sip lively. This blend works well for almost every palate.
Seasonal apples bring the best taste and value. Buying in harvest months means they are fresher and cost less. Fresh fruit also gives more juice, filling your glass with rich, natural flavor.
Essential Tools and Ingredients
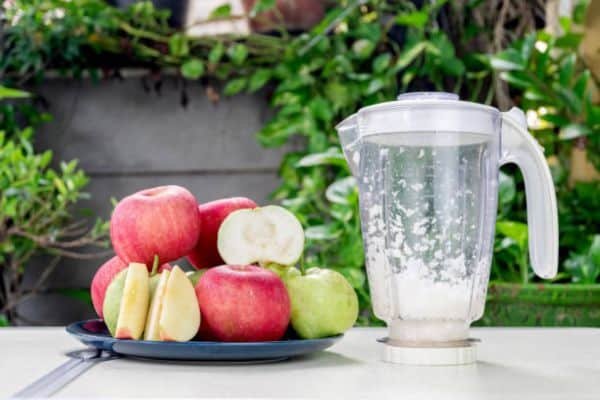
Here is a simple list for fresh juice. Use 4 to 6 medium apples. Add about 1 cup of cold water and 1 tablespoon of lemon juice. A light sweetener is optional: honey, maple syrup, or sugar.
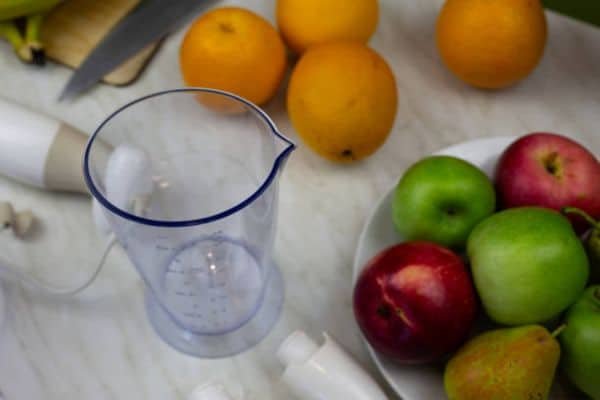
Basic tools keep the process easy. A blender with a sturdy jar. A fine mesh strainer or clean cheesecloth for a smooth finish. A pitcher for serving and a sharp knife for prep.
Shopping on a budget is easy too. For the best blender under $50, look for 300–600 watts, strong blades, and a pulse button. A stable base and a jar with clear marks help with control. A one-year warranty adds peace of mind.
Step 1: Wash and prepare apples
Rinse the apples under cold water. Rub the skins to lift wax and dust. Pat dry with a clean towel. Set them on a board for prep.
Step 2: Core and chop into small pieces
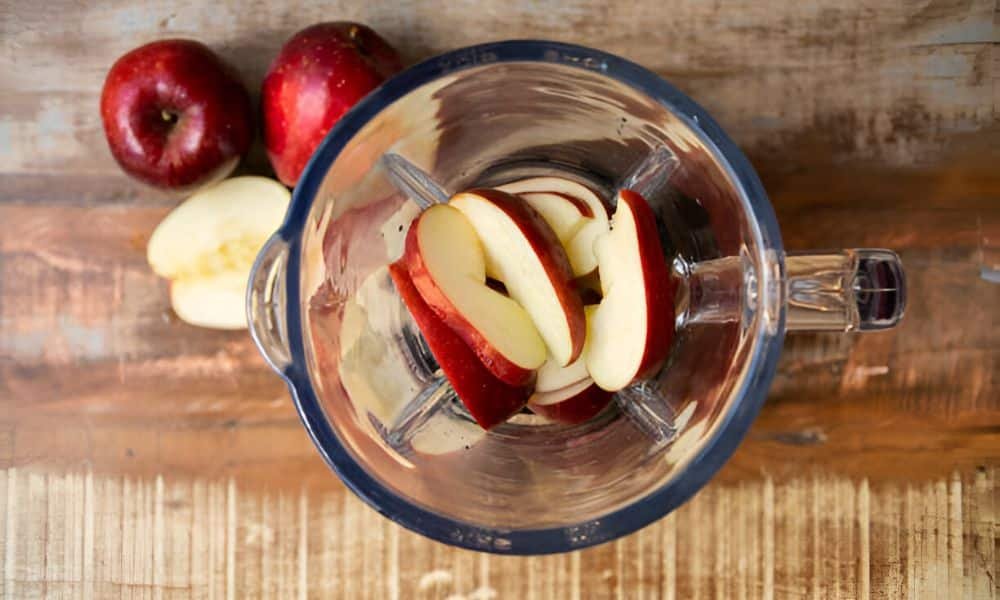
Cut the apples into quarters. Remove cores and seeds. Keep the peel for color and fiber. Chop into small, even chunks.
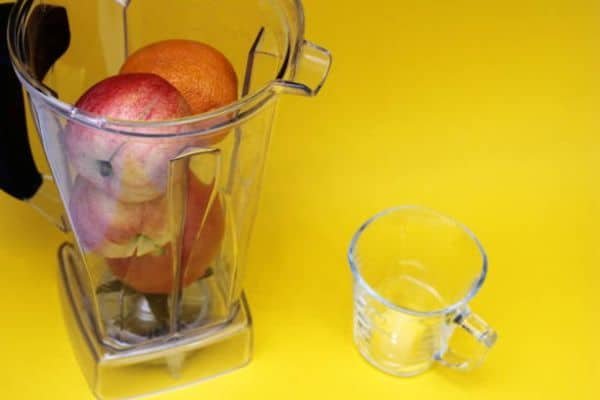
Step 3: Blend with water until smooth
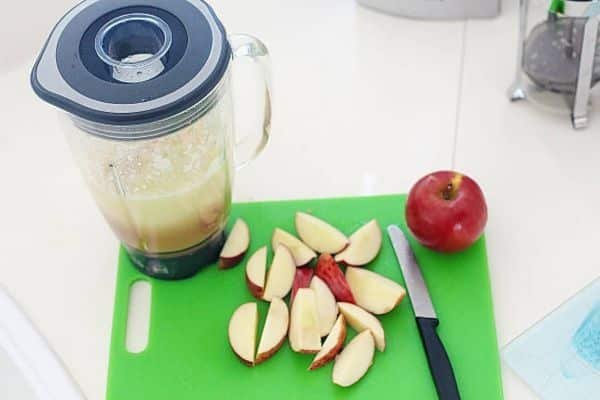
Add the chunks to the blender jar. Pour in ¾ to 1 cup cold water. Start on low, then move to high. Blend 60 to 90 seconds to a thick puree.
Step 4: Strain for a clear juice or keep pulp for fiber
Set a fine strainer or clean cloth over a bowl. Pour in the puree and let it drain. Press with a spoon to draw out more liquid. For more body, skip the strainer and serve unfiltered.
Step 5: Add lemon juice and sweetener as desired
Pour the fresh juice into a pitcher. Stir in 1 tablespoon lemon juice. Taste and adjust. Add a small amount of honey or sugar to suit your liking.
Step 6: Chill and serve
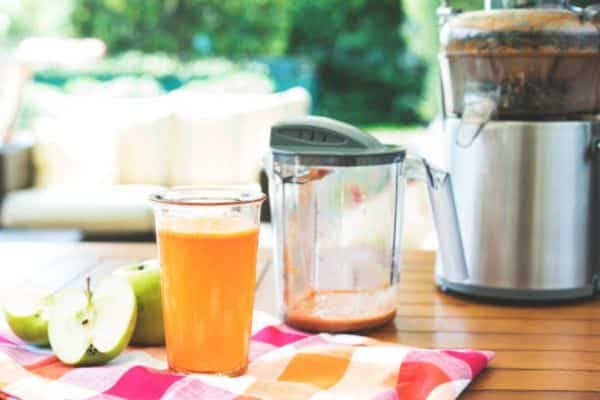
Place the pitcher in the fridge for 30 minutes. Fill glasses with ice. Pour the cold juice and enjoy. Add a thin apple slice on top for a clean look.
Pro Tips for Perfect Juice Every Time
Cold apples blend into a brighter, fresher juice. Keep them in the fridge for a few hours before making your drink. The chill locks in flavor and makes the juice more refreshing.
Lemon juice keeps your drink looking clear and golden. It also adds a gentle tang that lifts the sweetness. A tablespoon is enough for a full pitcher.
Water changes the texture. Less water makes a richer sip, more water makes it lighter. Adjust to match your mood.
For a twist, add a pinch of cinnamon or a few mint leaves. Both give the juice a special note that feels homemade and fresh.
Budget-Friendly Blender Recommendations (Natural Related Keyword Use)
A strong, simple blender can still be affordable. Many beginners are surprised at how well the best blender under $50 can handle apples. You just need the right features for smooth, fresh juice.
Choose a motor between 300 and 600 watts. Sharp stainless-steel blades cut through apple skin and pulp with ease. A solid base keeps the blender steady, and a pulse button gives you better control.
Popular budget-friendly picks include Hamilton Beach Wave Crusher, Oster 10-Speed, and Black+Decker Crush Master. All are durable, easy to clean, and perfect for making fresh juice at home.
Common Mistakes to Avoid
Overripe or bruised apples make the juice dull and flat. Always choose firm, fresh fruit for a clean taste. Good apples also give more juice.
Adding too much water at once can weaken the flavor. Start with a small amount and adjust until the taste feels right. This keeps the drink rich and balanced.
Skipping the straining step can leave the juice heavy with pulp. Use a fine mesh strainer or clean cloth for a smooth, light finish. This small step makes every glass more enjoyable.
Serving Ideas to Make It Special
Serve the juice over a glass full of ice for a cool summer drink. The chill brings out the crisp, sweet notes of the apples. A thin apple slice on the rim adds a fresh look.
Blend the juice with other fruits for a custom flavor. Pears add smoothness, while berries give a tangy lift. Each mix feels like a new recipe.
Do not waste the pulp. Stir it into muffin batter or blend it into a smoothie. It adds fiber, flavor, and a touch of homemade charm to your kitchen creations.
Storing Your Apple Juice Safely
Use a glass jar or bottle with a tight lid for storage. Glass keeps the flavor pure and prevents unwanted odors. Avoid thin plastic, as it can change the taste.
Fresh apple juice stays good in the fridge for up to three days. Keep it cold at all times to maintain flavor and color.
Spoiled juice smells sour and may look cloudy. A fizzy texture is also a sign it has gone bad. In that case, pour it away and make a fresh batch.
Final Thoughts
There is nothing quite like the taste of juice you made yourself. The freshness, the scent, and the first cold sip make it worth every minute. Try this recipe today and see how easy it feels.
You do not need a fancy juicer or expensive gear. Even the best blender under $50 can turn a few apples into a bright, golden drink.
Pour your first glass, take a sip, and enjoy the result of your work. Fresh juice made at home is more than a drink — it is a small pleasure you can create anytime