
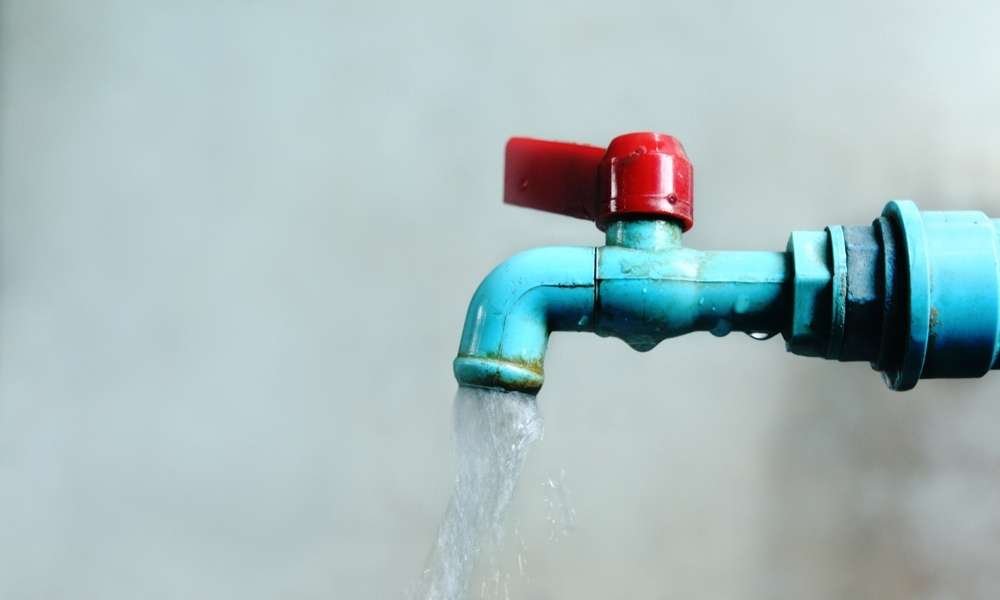
Are you feeling frustrated due to the low water pressure in your kitchen sink? We have a great solution for you. If the pressure is low in the kitchen sink, it takes a lot of time to work in the kitchen and wash dishes properly. So if you want to know how to increase water pressure in the kitchen sink, read this article properly. The water pressure in the kitchen sink can be increased in many ways. Firstly you have to find out the reason behind this problem.
Some ways of increasing the water pressure is given below:
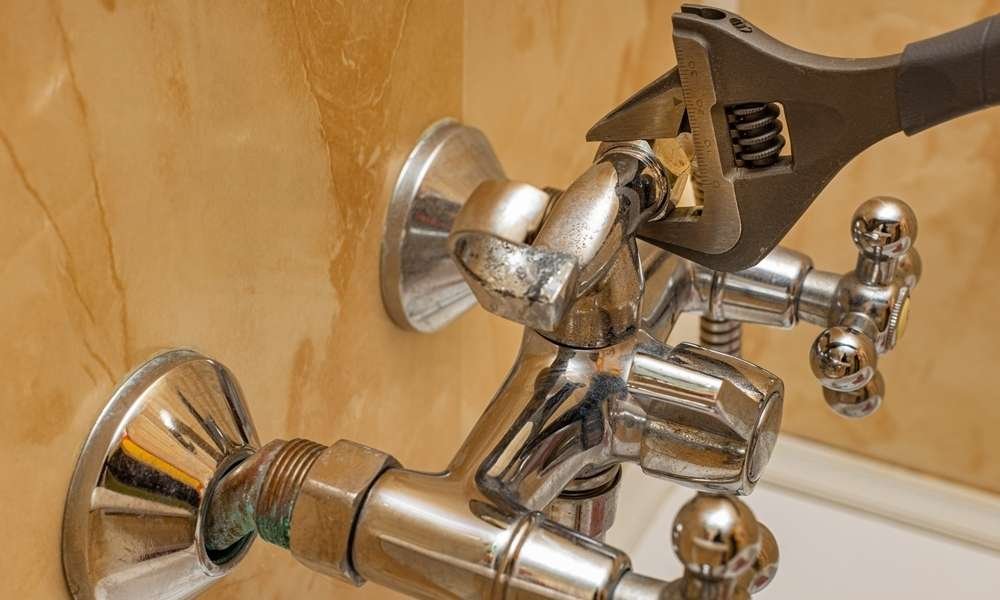
Inspect the shut-off valves
valves generally control the speed and amount of water that goes through if any problem is detected in any valve, then the water pressure becomes low. As this article will give you information about how to increase water pressure in the kitchen sink, so you can easily find out the problems keep going.
If you want increasing amount of water pressure, you have to follow this steps:
1. Attach the valves below your sink
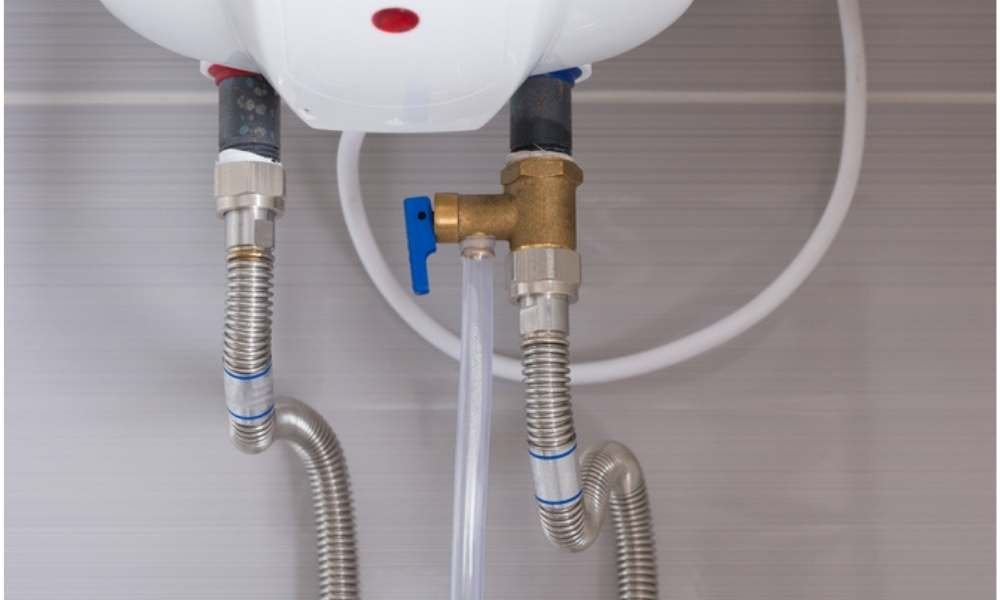
To get high pressure of water, you have to check if the valves are in perfect position. If the valves are attached just below the sink, you will get proper flow. The hot water valve and the cold water valve separately control the water flow.
2. Rotate the Valve Anti-clockwise and clockwise separately
If the valves are below the sink in proper position, then you need to check their flow. Firstly, run the tap and observe the water pressure. Then turn it off. Now you need to open one of the valves and turn the tap on. Observe the water pressure and detect the differences between this water pressure and previous water pressure.
Turn off the valve and apply the same method on another valve.
If there is a difference, then the valves are fine. But if there is no difference between the water pressures, then something is wrong with the valves.
As the valves are kept untouched for a long time, debris and minerals can block the spout of the valves. Check the spout of the valves and remove debris and minerals. If the water pressure is still low, then you have to replace it with a new one. Turn off the valve and faucet. Now use a wrench to remove it. After replacing the valve, inspect the water pressure. You don’t have to replace both of the valves. Replace only that valve which is not working properly.
Unclogging the Aerators
If the aerator is clogged, cold and hot both types of water pressure will be low. Check both of the water pressures to confirm that the aerator is the reason for the low water pressure. To unclog the aerator, follow the steps given below:
1. Remove the aerator from the tap with tools

You can’t clean the aerator when it is inside the faucet. Aerator is like a filter. Its shape is like a tiny cylinder. If you want to learn how to increase water pressure in the kitchen sink, you have to know the process of cleaning the aerator as well. So firstly you need to use tongue-and-groove pliers. Grab the aerator with the plier and rotate it anti-clockwise to unscrew it. When it will become loose, you can easily remove it by hand. After removing the aerator from the faucet, you need to wash it.
2. Unclog by warm water

Once you unscrew the aerator, you need to wash it with warm water. Rinse both the upper and lower part with warm water by turning repeatedly. Clean the minerals, junk and all the rubbish. If the junks don’t get cleaned by running water, then use a soft bristled brush to clean it. But you have to clean it very smoothly and carefully. You have to keep all the pieces together. Don’t loose any of the pieces.
3. Submerge the aerator in vinegar for the whole night

Don’t be so relaxed that all the junks have been washed away by running water. There still can be junks inside the aerator. Some debris can get stuck inside it. To remove and break those debris, you need to soak the aerator in vinegar overnight. Firstly you need to fill up a glass with enough vinegar so that the aerator can get soaked properly. Put the aerator in that glass and leave it there for the whole night. Next day wash the aerator with running water properly. The remaining junks will break and wash away by this process you may use lime cleaner instead of vinegar.
4. Clean the junks inside the tap by Running Water

You need to make sure that there should be no junk inside the tap or in the spout of the tap. For this you need to run water before setting the aerator again. Run the water for at least 10-12 seconds.
5. Reattach the aerator and Check the Water Pressure
To reattach the aerator, you need to twist it by your hands first. Tighten it clockwise as much as possible. Now twist it by using tongue-and-groove pliers. Once the aerator is reattached, check the water pressure.
If the water pressure doesn’t increase, replace it with a new one. But while buying a new aerator, keep in mind that the new one should fit on the model of your tap.
Related Article: How to Tighten Kitchen Faucet Handle

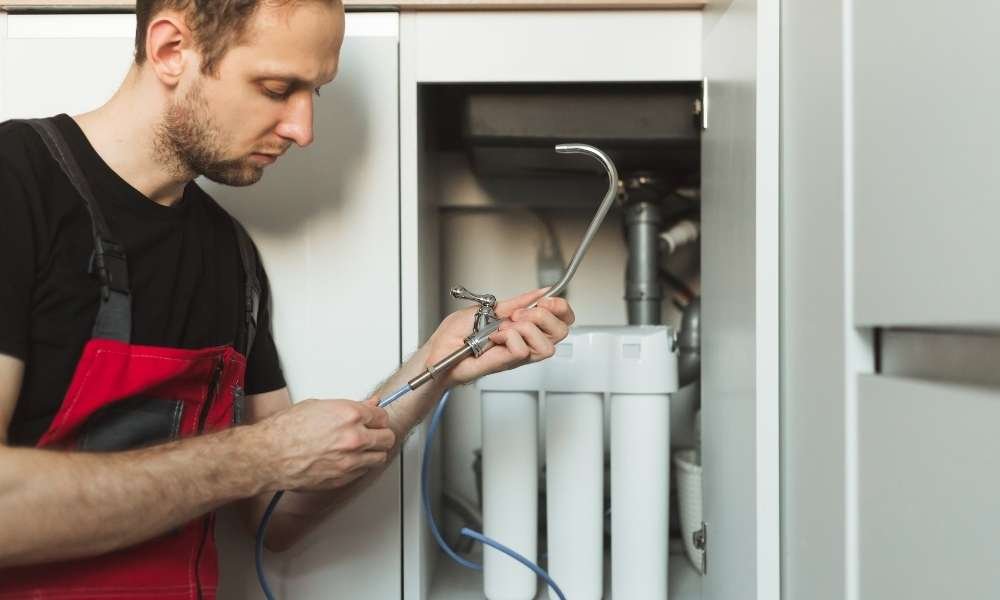
The Process of Cleaning the Tap which have a Flexible Pipe
If your tap can be detached from the base, you can pull it outside and clean it easily. So are you still wondering how to increase water pressure in the kitchen sink? continue reading. You need to follow some steps to clean your tap which have a flexible pipe.
1. Detach the handle of the Tap

Twist the handle using tongue-and-groove pliers anticlockwise to lose the handle. Pull the handle to reach the end of the pipe of the handle. Once it is loosened, then remove it from the tap.
2. Remove the filter and clean it
Remove the filter from the handle. It is cylindrical in shape. Its layer is made of metal. You will find the filter in the center of the handle. Remove it carefully. Then wash it in running warm water. Clean the debris carefully by soft brushes.
3. Run the Tap to Clean the inner junk of the Tap

Run warm water so that the inner junks can be washed away. You need to run the warm water in the tap at least for 10-12 seconds. You have to run the water before reattaching the handle.
4. Reattach the handle and check the water pressure

To reattach the handle, you have to twist it clockwise. After that, twist it with the tongue-and-groove plier. After attaching you should check the water pressure. If the pressure is still low, then there may be any problem in the supply line.
Cleaning the Supply Lines
To detect the actual problem, you may need to check every part of the sink. Otherwise, the problem detection will be tough without any testing. Through this article, you are going to know not only how to increase water pressure in the kitchen sink but also the process of testing each part of the sink.
1. Shut off the valve of hot water

Firstly turn off the hot water valve. Then pull it below the sink and twist clockwise with your hands so that you can get the outer part of the supply line which is connected to the hot water valve. Wipe off the floor under the sink with a towel so that it doesn’t get slippery.
2. Detach the line from the hot water valve
Remove the hot water valve from the supply line by twisting it constantly anti-clockwise with pliers or you may twist it by your hands. When the connection becomes loose, detach the valve from the supply line. Put a bucket under the sink and put the supply line into the bucket so that water doesn’t spill.
3. Run Water to clear the supply line
Turn the tap on so that the temperature of water gets normal. If you turn the tap on, then the cold water will go up and the cold water will be mixed up with hot water when it will be out through the supply line. Thus it will be at a neutral temperature. Run the water for at least 10-12 seconds before you reconnect the valve with the supply line. After 10-12 seconds, turn the tap off.
4. Reconnect The Valve with the Supply Line

Put the supply line at the spout of the valve and twist it with your fingers. Then tighten it with pliers. After reattaching this connection, turn the valve anti-clockwise to open it and check the water pressure.
5. Do the same process in Cold Water Valve
As you are learning how to increase water pressure in the kitchen sink, you should learn the same process in both hot and cold water valves so that you can fix both valves whenever you need.
In a cold water valve, the same process will repeat. Twist and pull the supply line underneath the sink. Detach the valve from the supply line and hold the supply line in a bucket below the sink so that water doesn’t drop anywhere. Run the tap for at least 10 seconds to flush the junks and confirm neutral temperature. After that turn off the valve and reattach the valve with the supply line using pliers or hands. After attaching, turn on the valve anti-clockwise to open the valve. Then check the water pressure.
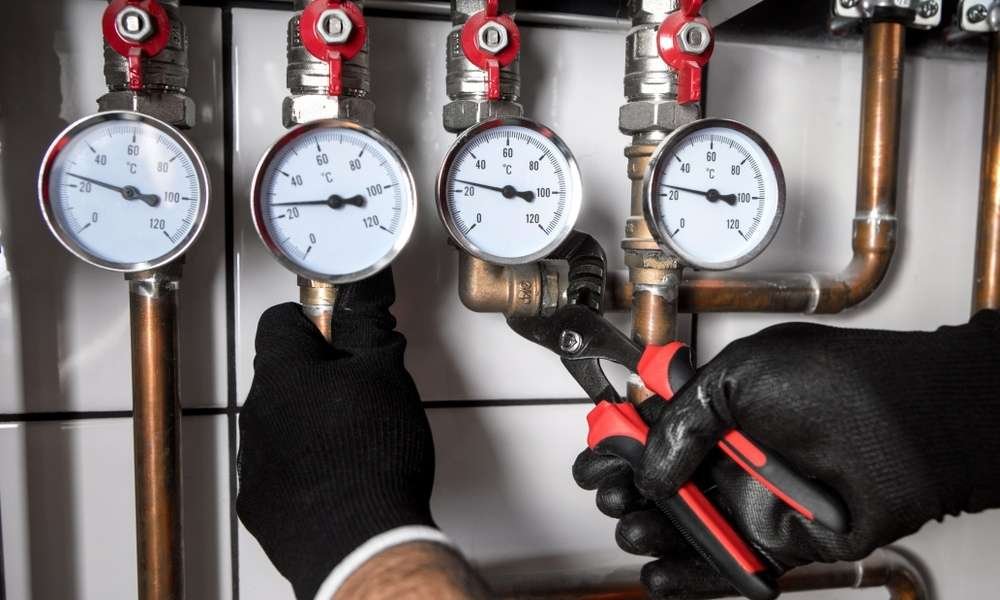
Checking Pressure Reducing Valves
Pressure reducing valves control the overflow of water Sometimes it is located in the main point or sometimes it may be located below the tap. If it is loosened, then the water pressure will automatically decrease. Check properly if somehow the pressure reducing valve has become loosened or not. Twist the valve clockwise and check the water pressure. After that, twist the valve anti-clockwise and check the pressure. Now tighten the valve towards that side in which side the flow is high.
Because of damaged pipeline

If the water leakage is seen on the ceilings or floor, then maybe there is a problem in the pipeline of the water. Sometimes it can’t be detected. So there is a better idea to find out if there is any leakage in the water pipeline or not. Turn off all the taps of your house and write down the reading of the water meter then keep them off for 5-6 hours and after that write down the reading of the water meter. Thus you can easily find out the difference. To solve this problem, the pipeline must be replaced with a new one. For this, you may need a professional.
Due to low Water Pressure from the Urban Water Supply
In the Metropolitan areas, the supply of the water comes from the same source. This water is distributed through supply. Due to many reasons sometimes the pressure in the supplied water can be low. But this problem doesn’t last long. It gets solved within a few hours. When the supply in the urban supply increases, then the water pressure will also get high.
Call Upon an Expert Plumber
If you have read the article, you have already known the simple and easy ways how to increase water pressure in the kitchen sink. But if the problem is too complicated to solve, and the ways that are given so far fails to solve the problem, then you need to call a plumber in your house. Calling upon a plumber is costly but if you have no choice left then you have to do that.
Conclusion
These simple and easy tricks will make your life easier. If you know how to increase water pressure in the kitchen sink on your own, then you can save both your money and time. Moreover, you can fix it anytime you need. This article will provide you with information about how to increase water pressure in the kitchen sink and all the processes step by step. If you have enjoyed this article, comment below. Enjoy your day!