I still remember the first time I cut a tomato with a real knife. Not the dull kind from a cheap set. This one had weight. It felt strong and sharp. It was my grandmother’s knife. She smiled, handed it to me, and said, “Be careful.” Then she walked away. I was twelve. The tomato? It sliced like butter. My finger? Almost got sliced too. That day taught me a lesson. A good knife can help you. Or hurt you. It depends on how you hold it. I didn’t learn from a book. I learned by using it. Day after day. Chop after chop. Today, I’ll show you How To Hold A Kitchen Knife.
Why Holding a Knife Right Matters
Holding a knife the right way does two important things. First, it gives you control. That means you slice clean and smooth. Second, it keeps you safe. A poor grip leads to slips. Slips lead to cuts. No one wants that.
With a good grip, you move faster. You get better results. And you start to enjoy the simple joy of chopping vegetables or carving a roast. It feels good. Like dancing with your hands.
Step-by-Step: How to Hold a Kitchen Knife Properly
01. Start with the Right Knife
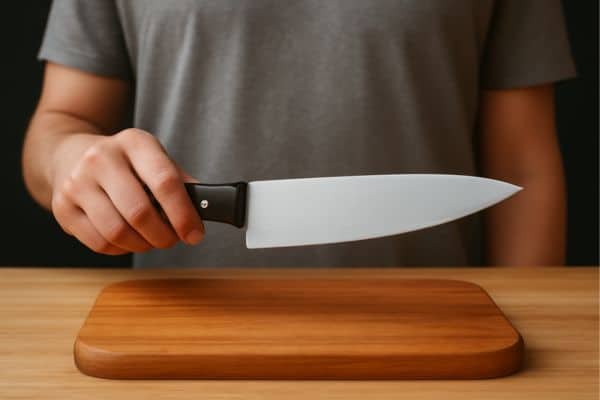
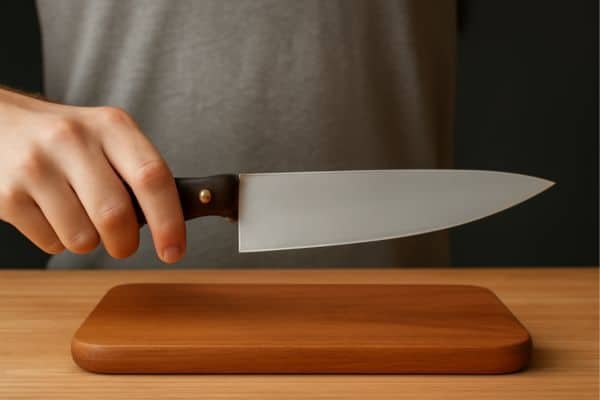
You don’t need ten knives. You need one good chef’s knife. Around 8 inches is a sweet spot for most people. It should feel balanced when you hold it. Not too light. Not too heavy.
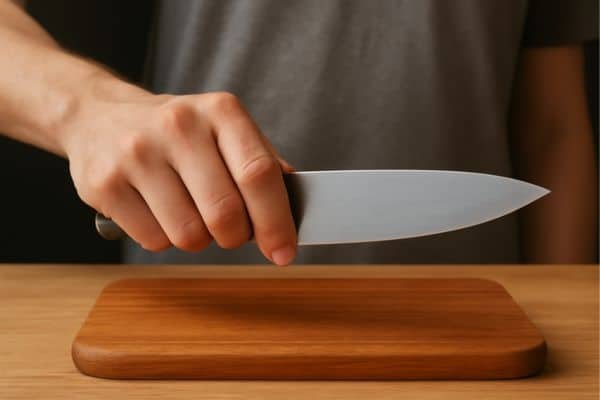
02. Pinch the Blade (Not Just the Handle)
Here’s the secret most people miss. You don’t hold by just wrapping your hand around the handle. Instead, pinch the blade itself where it meets the handle.
Place your thumb on one side of the blade. Rest your index finger on the other. Let your remaining three fingers wrap gently around the handle. This is called the “pinch grip.” It gives you more control and keeps the knife steady.
03. Keep a Firm But Relaxed Grip
Don’t choke the knife. Your fingers should hold it firm but not tight. Think of holding a pen—steady, not stiff. Let your hand feel like it belongs there. A grip like this works with almost any blade, even from the best kitchen knife set under 100.
04. Straight Wrist, Strong Posture
Keep your wrist straight. No bending or twisting. This keeps pressure even and helps with clean cuts. Stand with your feet shoulder-width apart. Anchor your body. Let your arm move, not your whole body.
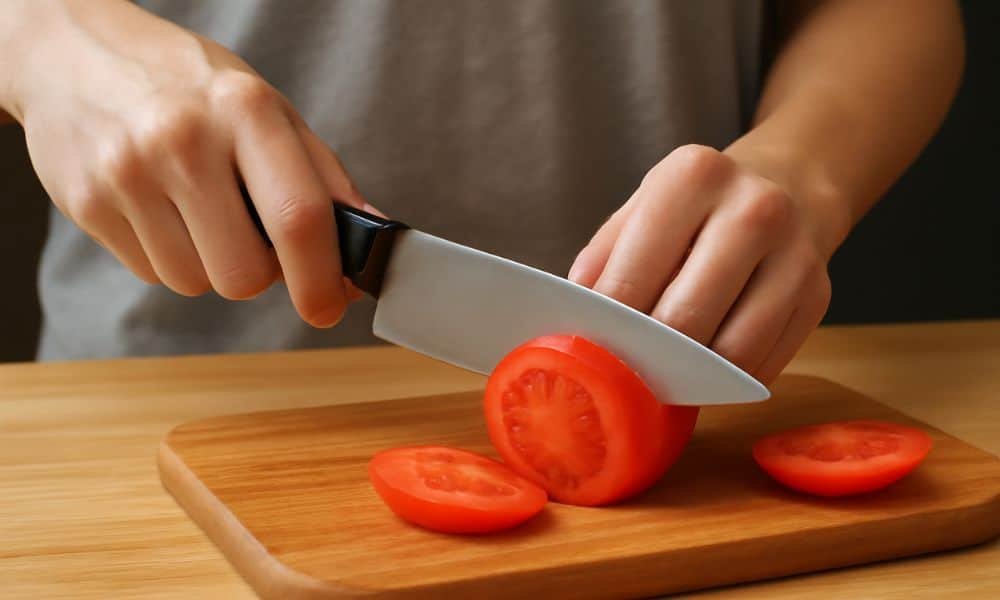
05. Use the Guiding Hand (the Claw)
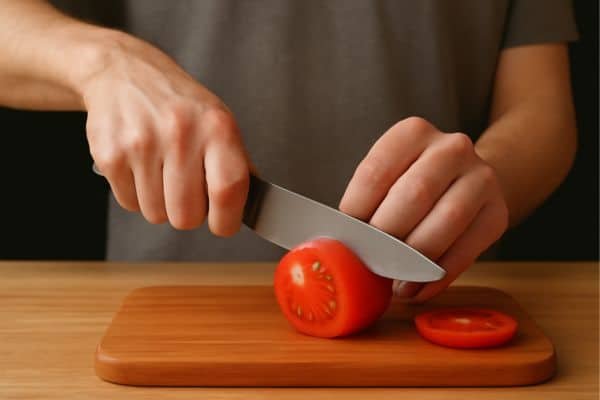
Your other hand plays a big role too. Use it to hold the food steady. Curl your fingers in, like a claw. Your knuckles should guide the blade. The touches your knuckles, not your fingertips. This way, your hand stays safe while helping you slice with precision.
Common Mistakes I’ve Made (So You Don’t Have To)
Mistake #1: Holding the Knife at the End of the Handle
I used to grip the very end of the handle. It felt natural at first. But I had no control. The knife would wobble, and my slices were jagged. Once I learned the pinch grip, my cuts became cleaner overnight.
Mistake #2: Using Too Much Force
I thought cutting required strength. I pressed hard, thinking that would speed things up. It didn’t. I crushed tomatoes and bruised herbs. A sharp needs almost no pressure. Let the blade do the work. Glide, don’t grind.
Mistake #3: Ignoring My Off Hand
I used to let my other hand sit flat or wide open. That’s how I cut myself. The claw grip changed everything. It felt weird at first, but now it’s second nature. My knuckles have saved me more times than I can count.
Tips for Getting Perfect Over Time
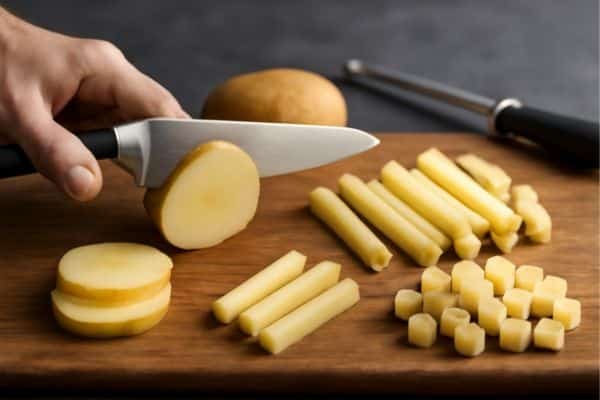
Practice with a Potato
Start simple. Grab a potato and slice it into even rounds. Then into sticks. Then into small cubes. Repeat this once a day for a week. You’ll be amazed how much better you get.
Keep Sharp
A dull knife is more dangerous than a sharp one. It slips. Makes you push harder. I sharpen mine every two weeks. Sometimes more during heavy cooking days. You don’t need fancy gear. A basic honing rod works fine for touch-ups.
Use a Stable Cutting Board
A slippery board is a disaster waiting to happen. Place a damp towel underneath to keep it from moving. Trust me—it’s a tiny step that makes a huge difference.
Cut with Rhythm, Not Speed
Don’t rush. Good cutting is about rhythm. Tap-tap-slide. Slice-breathe-slice. Speed comes naturally over time. The goal isn’t fast—it’s smooth and safe.
Watch Your Hand Position
Check your grip every few minutes while you’re learning. Are your fingers creeping toward the edge? Is your wrist bent? Stay mindful. The habits you build now will stick.
From My Kitchen to Yours
It feels good to learn a skill in the kitchen. Holding a knife the right way may sound small. But it changes a lot. Chopping gets easier. Cooking feels smooth. You feel sure with every slice.
I’ve shown my kids how to hold a knife, too. At first, they were nervous. That makes sense. But after a few tries with soft foods like cucumbers, they smiled. “This is fun,” my son said. He was right.
Good knife skills give you control. You don’t need tools that cost a lot. You just need a sharp blade and steady hands. The rest comes with time.
So go slow. Practice each day. Feel the blade in your hand. Enjoy the clean cuts. And love the quiet joy that cooking can bring.
Final Thoughts
Holding a kitchen knife properly is one of the most important things you can learn in your home kitchen. It’s not hard. But it does take practice.
Start slow. Get used to the pinch grip. Let your body relax into the rhythm. One cut at a time, you’ll feel the difference.
And one day, like me, you’ll smile while slicing an onion, remembering the time it all clicked.