
How to hang shelves on a brick wall can seem a little daunting at first. I remember my first try, Unsure whether I’d end up with a cracked wall or a crooked shelf. But once I figured it out, It was a game-changer. Hanging shelves on brick not only brings a fresh look to A room, But it also adds practical storage. Whether it’s for books or decor, This simple DIY project can make a big difference. Let me walk you through how to do it with ease!
Tools You’ll Need
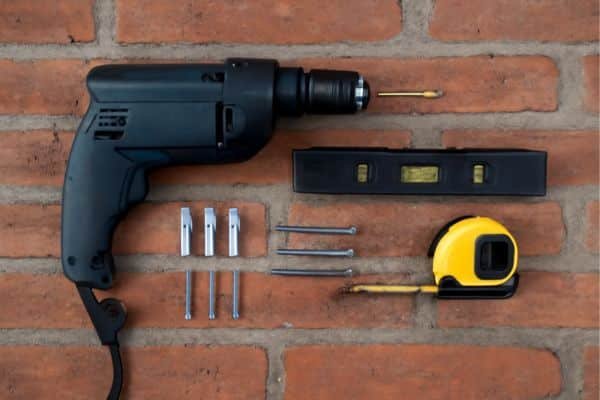
Before you start, grab a few basic tools. They’ll make the job much easier. Here’s what you’ll need to hang shelves on a brick wall:
- Drill: A power drill is essential. A hammer drill works best, but a regular drill will do the job too.
- Masonry Bits: These drill bits are designed to handle tough materials like brick. They help drill without wearing out quickly.
- Wall Anchors: These anchors expand in the hole to keep the screws tight. They are crucial for holding your shelf securely.
- Screws: Make sure your screws fit the anchors. They should be strong enough to hold the weight of your shelf and items.
- Level: A level keeps your shelf straight. It’s a must to avoid a crooked shelf.
- Tape Measure: This helps you measure the exact spots where you’ll drill. It ensures everything is lined up perfectly.
Choose the Right Shelf and Placement
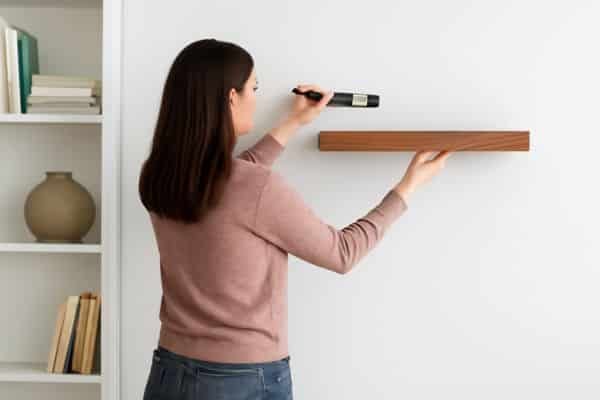
Begin by selecting the perfect shelf for your area. Consider style and size that will fit the room; think about what you will put on it. Will it need to support books, decorative objects or more? Once you’ve selected your shelf, measure and mark where you want it to be. Be sure it’s in a location that’s both practical and attractive, visually speaking.
Prepare Your Tools and Materials
Have the tools you need on hand before you begin. You will need a drill, masonry bits, wall anchors, screws, a level and a tape measure. Even better if you have a hammer drill, which makes drilling into brick a cinch. Prepare the elements, and they should come together well.
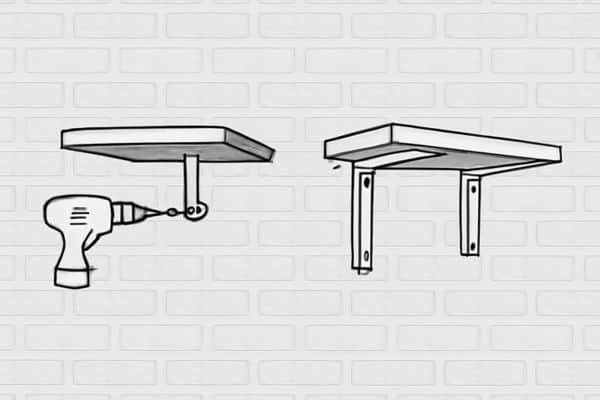
Mark and Drill Holes in the Wall

Then, use a pencil to mark the areas where you’ll be drilling for the brackets. With a tape measure, confirm that they are at equal distances and aligned. Check and double-check the measurements to prevent any errors. Now, get your drill and masonry bit. Powe slowly and gently into the brick, not pushing the bit in too hard. Ensure that the holes are deep enough for the wall anchors.
Insert Wall Anchors (for Extra Hold)
After the holes are drilled, put in the wall anchors. Tap them in place with a mallet. With heavier shelves, there’s no additional support needed, thanks to these anchors. Hang shelves in plaster Walls for more details.
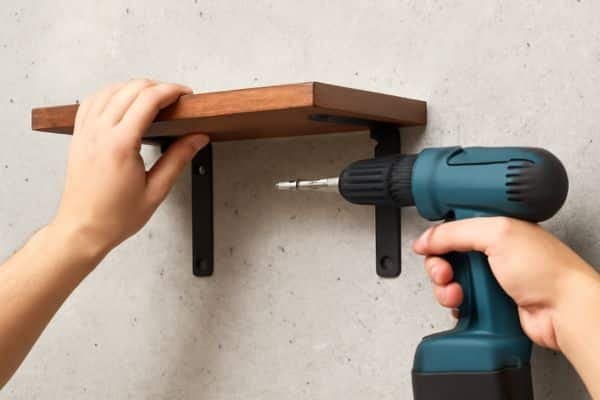
Mount the Brackets and Attach the Shelf
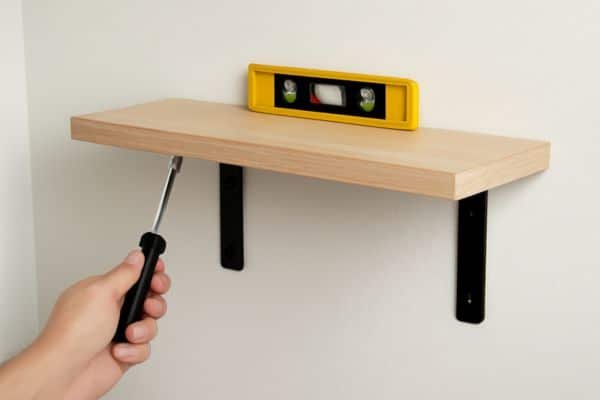
With the anchors attached, screw the brackets into the wall. When the brackets are mounted, set the shelf in position. This is to ensure everything is straight. It will be a good idea to take a look at our alignment to prevent a lopsided shelf!
Test the Shelf
Before you start loading your shelf with items, test it out. Start with light objects To make sure everything is holding up well. Once you’re confident the shelf is secure, You can add your heavier items.
How to Mount on Brick (Alternative Methods)
There are several methods to mount shelves on brick, Each suited for different shelf styles and weight requirements. Let’s take a look at two popular options: floating shelves And heavy-duty brackets.
Floating Shelves
Floating shelves Floating shelves are a modern, stylish choice, and also include brackets that are hidden within the shelf. This makes the design utterly pure with no visible hardware. To hang floating shelves on brick, you’ll need certain anchors or screws that will hold up the shelf, but not show through. To do this you will need a good quality masonry drill and wall anchors. Floating shelves are great if you need an attractive shelf that’s also not too cluttered.
When to Use Floating Shelves:
Floating shelves are great for holding lighter items such as decorative objects, plants, Or framed photos. They’re perfect for a minimalist look, But they’re not the best choice for heavy or bulky items.
Heavy-Duty Brackets
Heavy-duty brackets are designed to hold larger, Heavier shelves. These are perfect for storage shelves that need extra support. To install heavy-duty brackets, You’ll need to drill larger holes and use heavy-duty wall anchors to ensure stability. The brackets are visible, Adding an industrial touch to your home décor.
When to Use Heavy-Duty Brackets
This method is ideal when you plan to store heavier items, like books, kitchen supplies, or tools. If your shelf will hold a lot of weight, heavy-duty brackets are the way to go.
How to Hang Shelves on Concrete Walls: Key Differences
Hanging shelves on concrete walls is slightly different from brick. Concrete is much harder, so you’ll need different tools and techniques. Let’s break down the key differences to hang shelves on a brick wall
Drill Types
To drill into concrete, use a hammer drill. It’s designed to make the drilling process easier. The hammer action helps break through the tough concrete, saving you time and effort.
Anchors and Screws
For concrete, you’ll need concrete screws. These screws are made to hold in concrete, offering a strong and secure grip. Use plastic or metal wall anchors to help keep the screws in place. These anchors prevent the screws from slipping out.
Simple Tips for Success on Concrete
- Use a hammer drill for smooth, effective drilling.
- Concrete screws are best for securely holding your shelves.
- Take your time with measurements to avoid mistakes. Mistakes are harder to fix on concrete than on other materials.
Common Mistakes to Avoid
Here are a few mistakes people often make when hanging shelves. Avoiding these will make your job much easier.
Too Much Pressure When Drilling
Don’t press too hard on the drill. Let the drill do the work. Too much pressure can break the bit or make the hole too big.
Not Using the Right Wall Anchors
Using the wrong wall anchors can cause the shelf to fall. Make sure the anchors fit the material you’re working with. This helps the shelf stay secure.
Not Checking for Level Placement
Always check that your shelf is level before drilling. Even a small tilt can cause problems. Use a level to make sure the shelf is perfectly straight.
Final Thoughts
Don’t rush through this project. Taking your time will help you build a strong, Long-lasting shelf. It’s easy to get excited, but remember, Patience is key for A secure installation.
At first, it might feel challenging, especially if you’re new to drilling. But trust me, once it’s done, you’ll feel A real sense of pride. You’ve turned A simple wall into a space-saving masterpiece!