Last week, my smoothie smelled strange. I looked at my Ninja blender and knew why. It looked clean, but it wasn’t. Gunk hid under the blades. Sticky fruit dried on the gasket. That’s where I learned the real trick: knowing how to clean the Ninja blender the right way. It’s not hard. It just needs a few steps and a little care. Even the best blender under $50 needs love to work well. I’ve made all the mistakes, so you don’t have to. Let me show you what works. It’s quick, easy, and keeps your blender happy. Let’s start fresh.
Understanding the Ninja Blender: What Makes It Special
The Ninja blender has four key parts. The pitcher holds the mix. The lid locks tight. The blade chops fast. The base runs it all. It’s fast, simple, and strong.
Many users say it’s the best blender under $50. I agree. It’s powerful, yet easy to use. It blends ice, nuts, and fruit in seconds.
But here’s the thing: its sharp blades and tight seals need care. Food can stick in tiny spots. That’s why it helps to know how to clean the Ninja blender well. Cleaning it right keeps your drinks fresh and your blender safe to use.
What You’ll Need to Clean the Ninja Blender
Cleaning the Ninja blender takes just a few tools. You’ll need dish soap, warm water, a sponge, and a soft toothbrush. These are enough for daily care.
For deep cleaning, I like to keep white vinegar and baking soda on hand. A microfiber cloth works well for drying and wiping the base. These extras make the job easier and more thorough.
Skip the harsh scrubbers. They scratch the plastic. Never use bleach—it leaves a strong smell and can damage parts. To get the best results, stick with gentle tools and a simple method. That’s how to clean the Ninja blender the smart way.
Step-by-Step Guide: How to Clean the Ninja Blender
01. Unplug and Disassemble Safely
Start by unplugging the blender. This keeps things safe. Next, take off the lid. Twist the pitcher to lift it from the base. Remove the blade from inside the cup or jar. Some models have a rubber ring or gasket—lift it gently.
Now each part is ready to clean. Small pieces, big difference. This step helps you see all the places that may hide food.
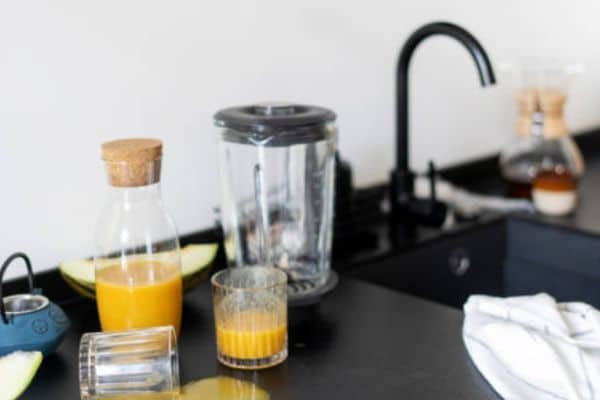
02. Quick Rinse After Every Use
Rinse all parts right after blending. It keeps sticky food from drying. Warm water removes most soft bits fast. Letting it sit too long makes cleaning harder.
This one habit changed how I take care of my blender. It’s fast, and it saves time later.
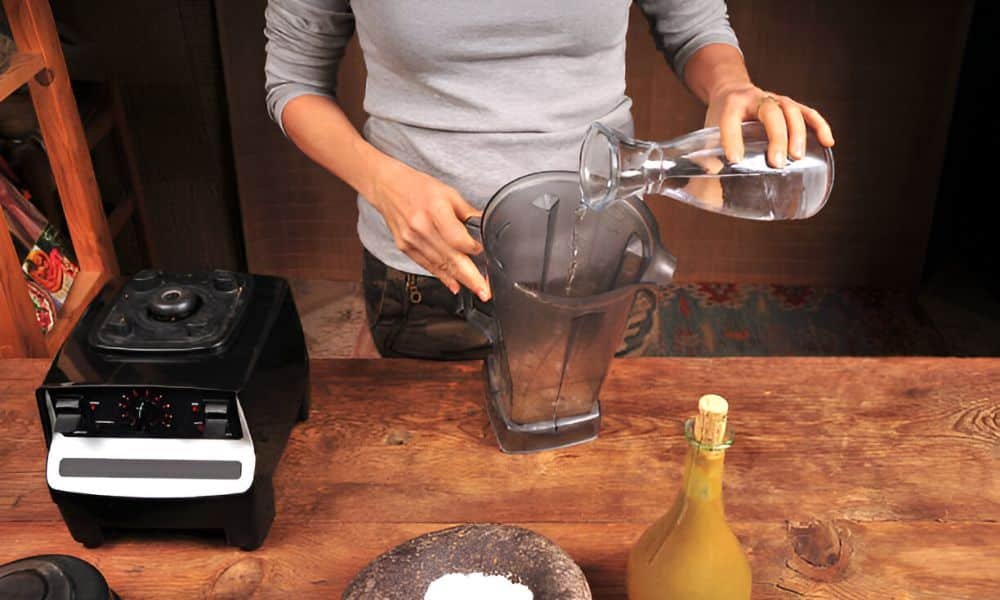
03. Soak and Scrub Gently
Fill a bowl with warm water and a few drops of dish soap. Place the lid, pitcher, blade, and gasket inside. Let them soak for 10 minutes.
Use a soft sponge to clean the inside and outside. A toothbrush helps clean around the blades. Be gentle. Scrubbing too hard can scratch the surface.
04. Cleaning the Motor Base
The motor base should never go in water. Wipe it with a damp cloth only. Use a soft towel to remove any crumbs or dried drips. Be sure to clean around the buttons and seams.
I like to give it a dry wipe after, so no moisture stays behind. A clean base keeps the whole setup neat and safe.
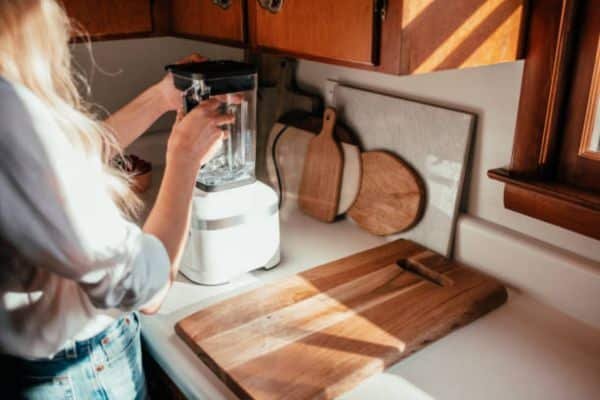
05. Drying and Reassembling Properly
Lay the parts on a clean towel or drying rack. Let them air dry fully. You can also use a microfiber cloth to speed things up.
Once dry, place the gasket back, add the blade, and close the lid. Stack it all back on the base. Now it’s clean, dry, and ready for your next blend.
Deep Cleaning Routine (Once a Week or As Needed)
Even with daily rinsing, blenders need a deeper clean. I do this once a week. It keeps everything fresh, sharp, and smooth.
Start with one cup of warm water in the pitcher. Add half a cup of white vinegar and one teaspoon of baking soda. Blend for 30 seconds. Let it sit for five more. This mix lifts stains, removes odors, and loosens stuck bits.
Got cloudy plastic? Lemon juice and baking soda make a great fix. Rub them in. Let it rest. Rinse and dry. It brings back that clear, glassy look.
Don’t forget the gasket. It’s small, but it holds smells and grime. Soak it in soapy water. Use a toothbrush to scrub the grooves. Do the same for the blade. These two parts matter most for smooth blending.
Avoid These Mistakes (I’ve Made Them!)
Let me be honest—I’ve messed this up before. I’ve learned by ruining good parts. You don’t need to make the same mistakes.
I once used a metal scrubber to clean the pitcher. Big mistake. It left fine scratches all over the plastic. The surface looked foggy and felt rough.
Another time, I forgot to clean under the gasket. After a few days, it smelled awful. That little ring can hold old fruit, seeds, or sticky juice. It took a lot of vinegar to get the smell out.
I’ve also dropped the blade into the sink while washing. It chipped the corner and made the gasket loose. Now I always clean it over a towel.
My Daily and Weekly Cleaning Schedule
I follow a simple routine. It’s fast, easy, and works every time.
Daily Routine (Takes 2–3 Minutes)
- Rinse pitcher, lid, and blade right after use
- Soak parts in warm soapy water for 2–3 minutes
- Use a sponge to wipe everything down
- Rinse and air dry on a clean towe
- Wipe motor base with a damp cloth
Weekly Deep Clean (Takes 5 Minutes Tops!)
- Blend warm water, vinegar, and baking soda for 30 seconds
- Soak the gasket and scrub with a toothbrush
- Clean the blade grooves carefully
- Wipe the pitcher with lemon juice to clear cloudiness
- Dry all parts before putting them back together
Why Cleaning Helps You Get the Most from Even the Best Blender Under $50
Even the best blender under $50 won’t work well without care. Dirt slows the blade. Sticky seals cause leaks. Old smells can ruin fresh drinks. I’ve seen it all—and fixed it with simple cleaning.
The Ninja blender is a budget hero. It crushes, blends, and whips like models twice the price. But that power fades fast if you skip cleaning. Grime builds up. Blades dull. Smoothies turn chunky.
That’s why I take time to clean it right. It keeps the motor strong and the results smooth.
FAQs
Can I put my Ninja blender in the dishwasher?
Yes, most Ninja parts are top-rack safe. That includes the pitcher, lid, and blade. I still prefer hand washing. It keeps the parts looking new longer. The motor base should never go near water—just wipe it with a cloth.
What if it still smells after cleaning?
Add warm water, vinegar, and a pinch of baking soda. Blend for 30 seconds. Let it sit, then rinse. This removes odors fast. You can also scrub the gasket with a toothbrush. That’s where smells often hide.
How often should I deep clean?
Once a week works well. It keeps the blade sharp and the parts fresh. Daily rinses are great, but a full clean helps the blender last longer
Conclusion
Keeping your blender clean takes just a few minutes. But the payoff is big. You get better taste, better blends, and a longer-lasting tool. Your Ninja works smoother, smells fresh, and looks great on your counter.
I’ve learned this through trial, error, and a few smoothie fails. Now, I never skip my quick clean. It makes every blend feel brand new. Knowing how to clean the Ninja blender has changed how I treat my tools—and my kitchen feels better for it.
Try this routine today—your blender will thank you. And your next smoothie? Even better.