
I remember installing my first floating shelf. It seemed like a simple task, But it made a huge difference. The room felt more open, And the shelf added A modern touch. It was easy to do and didn’t take much time, but it gave my space a whole new look. This guide will teach you how to attach a floating shelf to a wall. It’s a beginner-friendly project that anyone can do with A few basic tools. I’ll take you through each step So you can confidently complete the job.
What Are Floating Shelves?
Floating shelves are modern And sleek. Unlike traditional shelves with visible brackets, Floating shelves appear To “float” on the wall. The brackets are hidden inside the shelf, Giving a clean and minimalist look.
Benefits of Floating Shelves
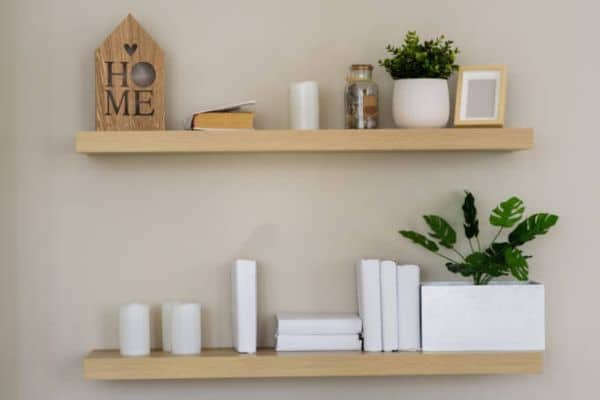
Floating shelves add style And save space. They make a room feel bigger And more open. Without visible brackets, the design is smooth And elegant. They also provide extra storage without using floor space, Perfect for small rooms.
I’ve installed floating shelves around my home, And they always make the space feel fresh. They’re not just functional; they enhance the look Of any room. Whether for books, Plants, or decor, floating shelves are A great way to keep things neat and stylish.
Tools and Materials You’ll Need
Tools:
- Drill – Used to make holes in the wall for mounting.
- Level – Keeps straight and even.
- Stud Finder – Helps find studs for secure mounting.
- Screwdriver – Tightens screws into brackets.
Materials:
- Brackets – These hold the shelf in place.
- Screws – Used to attach the brackets to the wall.
- Wall Anchors – Needed for mounting in drywall, when studs aren’t available.
01. Choose the Right Location
Start by selecting the best spot on your wall. Consider the height of the shelf to make sure it’s comfortable to reach. Take into account nearby furniture and other features, ensuring the shelf doesn’t crowd the space.
Tip: Mark the spot lightly with a pencil before drilling. This will help you avoid mistakes and keep the shelf in the perfect spot.
02. Find the Wall Studs
Locating the studs is key for securely mounting. The studs are the strongest part of the wall, and drilling into them ensures your shelf will hold weight without falling.
How to Do It: Use a stud finder to locate the studs behind the wall. Slowly move the tool horizontally across the wall until it indicates a stud.
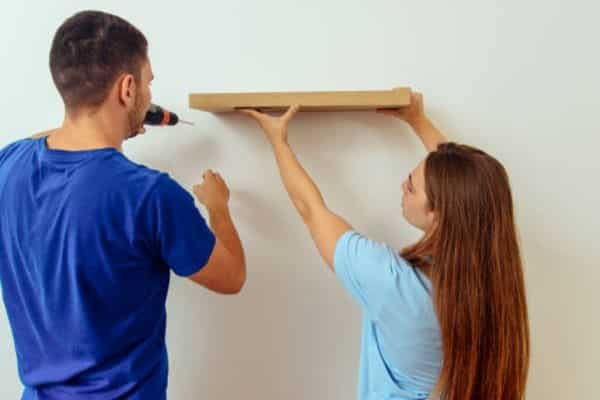
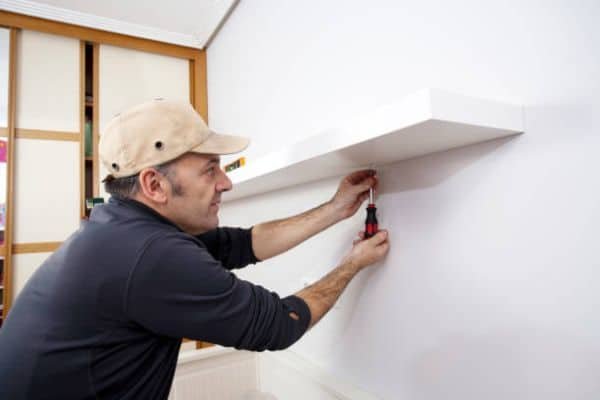
03. Install the Brackets
Once the studs are marked, drill holes into them. Next, attach the brackets using screws. This will hold the shelf securely in place.
Tip: Always use a level to check that the brackets are straight before tightening them. This ensures it will hang evenly.
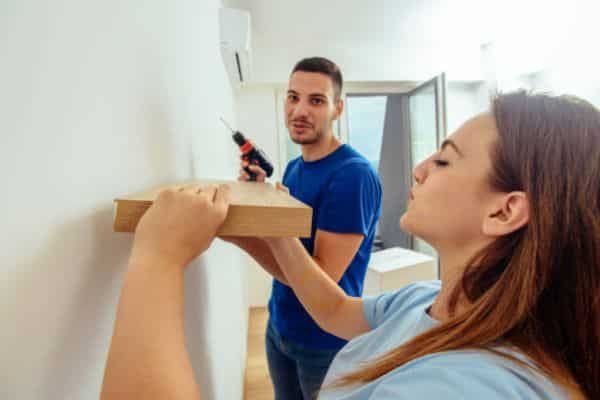
04. Mount the Shelf
Carefully place the floating shelf onto the installed brackets. Slowly lower it into place.
Pro Tip: Before tightening the screws fully, double-check that level. A small adjustment now will save you a lot of trouble later.
05. Finishing Touches
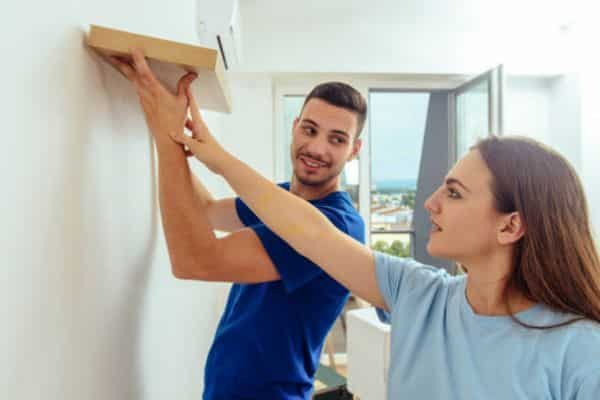
After the shelf is mounted, test its stability by gently pressing on it. This ensures it’s properly secured and ready to hold items.
Tip: If the shelf is slightly off-centre, make small adjustments until it’s perfectly aligned. Even a small tweak can make a big difference in the final look!
How to Install Floating Shelves (Alternative Methods)
Other Options:
If you don’t have any studs or if you want to install shelves in drywall, anchors are the best choice out there. These anchors offer additional support by expanding within the wall, providing a hold for your shelf that is strong and secure. There are a variety of wall anchors, such as toggle bolts, or plastic expansion anchors, which are great for hanging floating shelves.
When to Use These Methods:
Use wall anchors when you are unable to drill into studs or if hanging lighter shelves. They’re ideal for small, light-duty items, and are a godsend in drywall where studs don’t exist. Most experts recommend drilling into the studs for the most secure installation, especially if your shelf is heavy.
Practical Tips for a Perfect Installation
Check the Weight Limit:
Before you install your floating shelf, you need to be aware of its weight limit. Lighter shelves are reserved for smaller objects, such as decorative pieces or volumes. For heavier items, check that the shelf is rated to carry those loads. Use heavy-duty brackets or screws and always drill into studs for extra support.
Avoid Common Mistakes:
One of the mistakes people make most often is not using a stud finder. This can cause your shelf to fall when it’s not properly anchored. Another blunder is failing to level the piece before attaching the shelf. Even a shelf that’s slightly askew will look lopsided, and you will see it every time you enter the room.
Personal Tip:
I once skipped the stud finder because I thought I could just use wall anchors. Needless to say, the shelf didn’t last long. I quickly learned that finding the studs makes all the difference for stability. Now, I always make sure to check twice before drilling.
When to Call a Professional

Signs You Might Need Help:
If you’re ever not sure of the type of wall you’re looking at, you should consider calling in a professional. A few walls, such as concrete or brick, demand specialised tools and expertise. Besides, for something heavy or something you are not sure about how weights are distributed, mounted by professionals can confirm that they are properly mounted by professionals. If you’re feeling unsure about your skill or tools, getting help can be a time and effort saver.
Benefits of Professional Help:
The number one reason to hire a professional is peace of mind. They’ve made it before and know how to get your floating shelf installed for durability so it can hold your heavy, prized possessions without incident. And it’s one less thing to worry about, and you get the job done right the first time.
Conclusion
To recap, installing a floating shelf is simple and rewarding. Start by picking the right spot and marking it. Use a stud finder to locate studs, then secure the brackets with screws. Mount the shelf, check its level, and make adjustments as needed. Test its stability to ensure everything is secure.
I encourage you to give it a try! This DIY project adds both style and function to your space. Feel free to share your experience or ask questions in the comments—I’d love to hear how it goes.