It was early. My eyes barely open. I needed coffee—fast. But the grinder was gone. Only whole beans sat on the counter. I stood there, stuck. Then I saw my Ninja blender. Could it help? I asked myself, Can Ninja Blender Grind Coffee Beans? I had never tried. But I had nothing to lose. So, I gave it a shot. That one decision changed my morning. And it taught me something useful. Today, I’ll share how this one tool can handle more than smoothies. Let’s talk coffee, blades, and smart kitchen tricks—straight from my own experience. Ready?
Can Ninja Blender Really Grind Coffee Beans?
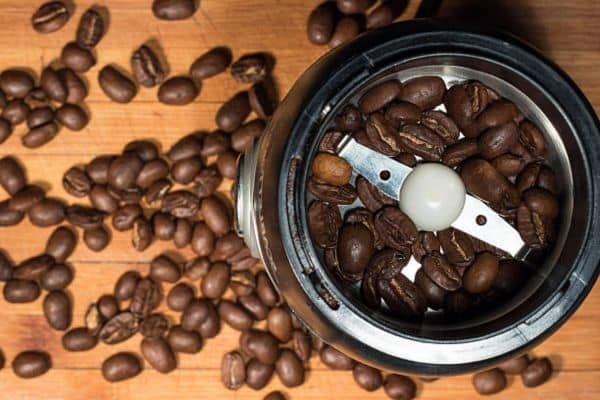
Yes, Ninja blender can grind coffee beans. It’s strong enough to break down whole beans fast. You get fresh grounds in under a minute. It’s simple and easy to use.
Traditional grinders are made just for coffee. They give you a fine and even result. That’s great for espresso or pour-over. But they cost more and take up space.
The Ninja blender uses strong blades and sharp motion. The pulse button gives you control. You can stop and check texture anytime. That keeps the beans from getting too hot.
For most kitchens, that’s more than enough. Many Ninja models also count as the best blender under $50. You get a lot for your money. One tool. Many uses.
Step-by-Step: How I Grind Coffee Beans in My Ninja Blender
Choose Dry, Roasted Beans
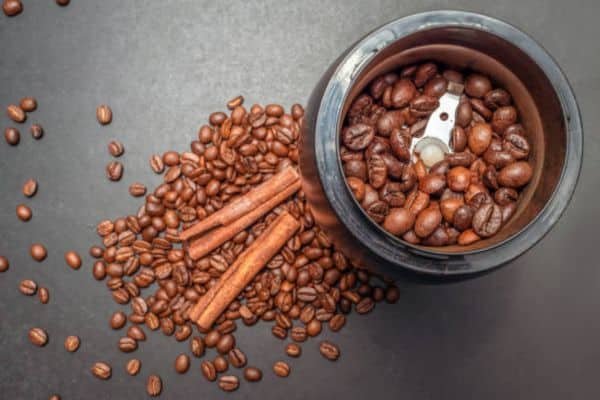
Start with dry beans. Moisture makes grinding harder. Dry beans break down clean and fast. I always use medium or dark roast.
Roasted beans are more brittle than raw ones. That helps the blades do their job better. Avoid oily beans—they can gum up the cup.
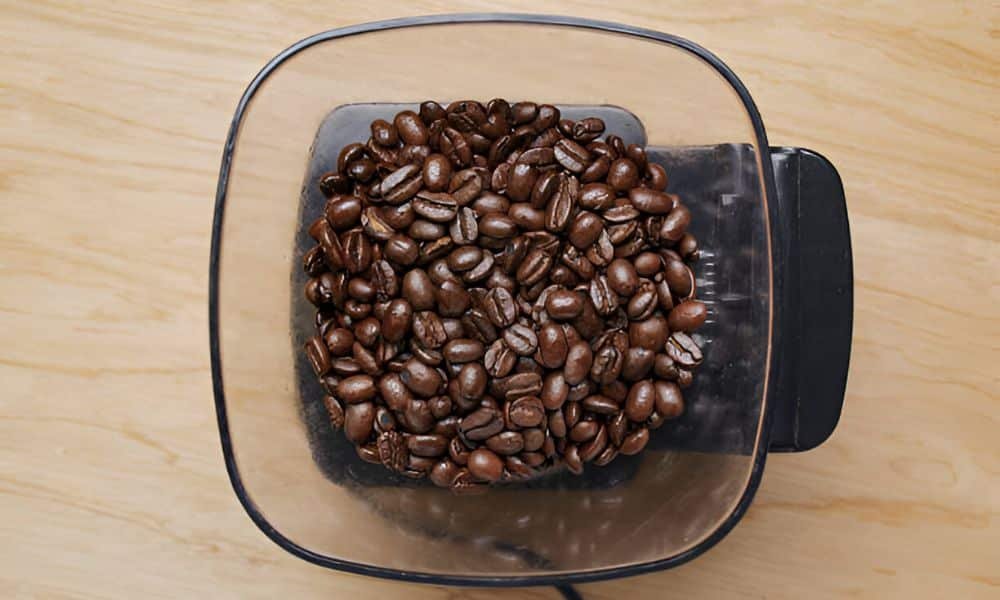
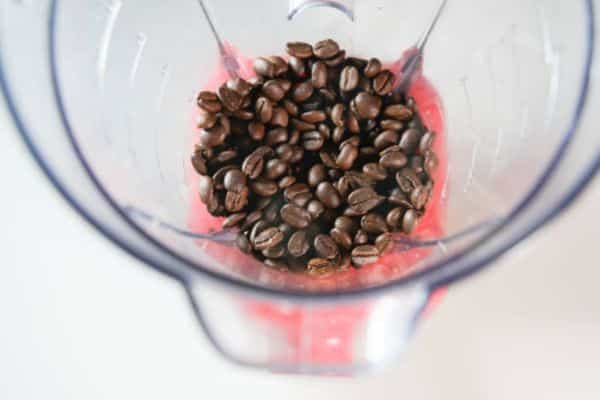
Add Small Batches
I never fill the cup to the top. Small amounts give better control. Half a cup is plenty. That’s enough for one or two mugs of coffee.
Too many beans can jam the blades. That leads to uneven grinding. Keep it simple, keep it smooth.
Use Pulse Mode
Now for the fun part. Secure the lid. Use short, quick pulses. One to two seconds at a time works best.
Pause between bursts. That helps the beans settle. Don’t hold the button too long. Heat builds fast and can change the flavor.
Check Texture Often
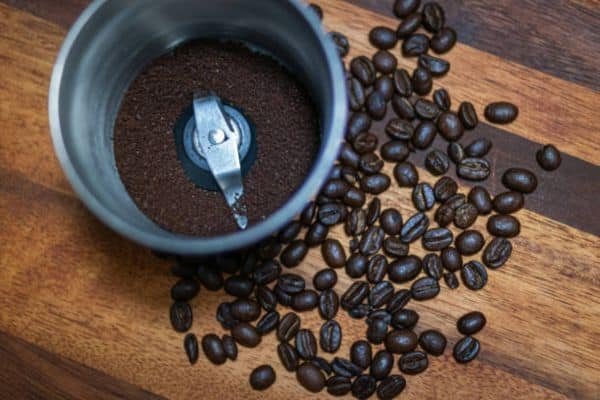
Open the lid after a few rounds. Look at the grind. Feel it with your fingers. You’re aiming for even bits—not powder, not chunks.
For drip coffee, I like a medium grind. For French press, go coarse. Stop pulsing once you get the look you want.
Which Ninja Models Work Best for Coffee Grinding?
Nutri Ninja
The Nutri Ninja is one of my top picks. It comes with single-serve cups and a strong motor. The blades reach deep into small batches. That’s perfect for grinding coffee.
It also has a twist-on lid. No spills. No mess. Just pulse and pour.
Ninja Professional
The Ninja Professional has more power. I’ve used it for everything—nuts, seeds, and beans. It’s great for grinding larger amounts at once.
The wide jar and six-blade setup break down coffee fast. Just remember to use small bursts, not long blends.
Ninja Fit
The Ninja Fit is a compact option. It’s light, easy to use, and ideal for one or two cups. I used this on a weekend trip once, and it did the job well.
What Grind Size Can You Expect?
Coarse Grind
This is the chunkiest grind. It looks like sea salt. I use this for French press. It lets the water flow through without clogging the filter.
To get this size, pulse just 3–4 times. Don’t blend too long. Big bits are better for steeping.
Medium Grind
This is the most common. It works great for drip coffee makers. The grind feels like sand.
I usually pulse 5–6 times to reach this size. It’s smooth, even, and brews clean. Perfect for daily use.
Fine Grind
Fine grounds look like powder. They’re used for espresso or moka pots. But getting this level with a blender is tricky.
Too much blending makes heat. That can change the flavor. So I stop at medium for best results.
How to Check the Grind
I pinch a bit between my fingers. It should feel even, not sharp or dusty. You can also shake the grounds on a plate. Look for clumps or chunks.
A little unevenness is normal. But aim for mostly one texture. That’s the secret to a smooth brew.
Tips to Get the Best Coffee Grind with a Ninja Blender
Grinding coffee with a Ninja works—but doing it well takes a few smart steps. Here’s what I’ve learned over time.
Keep It Dry
Always dry the cup before adding beans. Water makes the grounds clump. It also sticks to the blades. Dry tools give you a cleaner, smoother grind.
Use Short Pulses
Pulse for one or two seconds at a time. Then pause. This keeps the beans cool and breaks them evenly. It also gives you more control.
Avoid Overloading
Less is better. I grind about half a cup at once. Too many beans can jam the blades. That leads to uneven results and extra work.
Clean Quickly
Grind. Brew. Rinse. That’s my routine. Coffee dust sticks fast, so don’t wait. Add warm water and a drop of soap. Blend for ten seconds and rinse well.
Use a Strainer (Optional)
Want a cleaner brew? Pour the grounds through a fine strainer. It catches the tiny dust bits. The result tastes smoother and feels lighter.
Cleaning Your Blender After Coffee Grinding
Cleaning right after grinding makes everything easier. It also keeps your coffee fresh and your blender strong. Here’s how I do it every time.
Step-by-Step Cleaning Guide
First, dump out the grounds. Tap the cup gently to loosen any stuck bits. Fill it halfway with warm water. Add one drop of dish soap.
Now blend on low for 10 seconds. This shakes loose the leftover dust. Pour it out, rinse well, and dry with a clean towel.
Avoid Smells or Stuck Grounds
Coffee beans leave oils. Those oils can stick and smell over time. To avoid that, clean right away. For deeper cleaning, blend water with baking soda once a week.
Also, use a soft brush to reach under the blades. That spot holds most of the buildup.
Maintain Blade Sharpness
Never scrub with steel or rough tools. That dulls the blades. Use soft cloths or brushes. Let the blender do most of the work itself.
Clean tools last longer. And a sharp blade means better grinding—every time.
When to Use a Ninja Blender and When Not To
A Ninja blender is a great backup for grinding beans. It’s perfect for small batches. It works well on busy mornings or in travel kitchens. You don’t need much gear—just beans and your blender.
But it’s not made for daily espresso prep. Espresso needs a fine, even grind. That takes a burr grinder. The Ninja can’t match that level of precision. And long blends can heat the beans, which changes the taste.
FAQs
Can Ninja blender grind coffee beans for espresso?
It can, but not perfectly. Espresso needs a fine and even grind. A burr grinder does this better. The Ninja blender works best for medium or coarse coffee.
Will coffee damage the blender blades?
No. Coffee beans are hard, but the blades can handle them. Just avoid grinding daily. Clean the blades after each use to keep them sharp.
How fine can the Ninja grind beans?
It can reach a medium-fine texture. That’s good for drip or pour-over. Grinding too long heats the beans and can affect flavor. For the finest grind, a coffee grinder is better.
Conclusion
A kitchen is full of surprises. So is your Ninja blender. It blends, chops, and yes—it grinds coffee. Maybe not like a barista’s machine, but good enough to wake you up with bold, fresh flavor.
Don’t wait for the perfect setup. Use what you have. Try new things. Learn as you go. That’s how I found out my blender could grind beans and save my morning.