I still remember the day I made apple juice with a blender. I had a few apples, no juicer, and a craving for something fresh. So I chopped the fruit, added water, and blended. The result was clean, crisp, and better than anything from a bottle. No juicer? No problem. Since then, friends often ask, how do you make apple juice with a blender? It’s easier than you think. In this post, I’ll show you how I do it at home—step by step. With the right apples and a simple blender, you’ll get great juice in minutes.
Why Make Apple Juice at Home?
Fresh apple juice just tastes better. It’s smooth, crisp, and full of real flavour. There are no fillers, no preservatives—just fruit and water. You know exactly what’s in every sip.
It’s also better for your health. Store-bought juice often has added sugar or artificial stuff. But at home, it’s just apples. That means fibre, vitamins, and a clean taste your body will love.
It’s kind to your wallet, too. One bag of apples can make several glasses of juice. No need for pricey bottles or fancy machines.
And if you’ve got apples sitting around? Don’t let them go soft. Turn them into something fresh and delicious—right in your blender.
What You Need to Get Started
Making apple juice at home is simple. You don’t need a lot. Most of it’s probably already in your kitchen.
Ingredients:
- 4 to 6 fresh apples
- ½ cup cold water
- A squeeze of lemon (keeps flavor bright)
- Optional: a spoon of honey or a pinch of cinnamon
That’s all you need for clean, crisp juice.
Tools:
- A basic blender
- A fine mesh strainer, towel, or nut milk bag
- A bowl or a large cup to catch the juice
- A knife and a spoon
No fancy tools here. Even the best blender under $50 can handle this job. It’s all about using what you have and making it work.
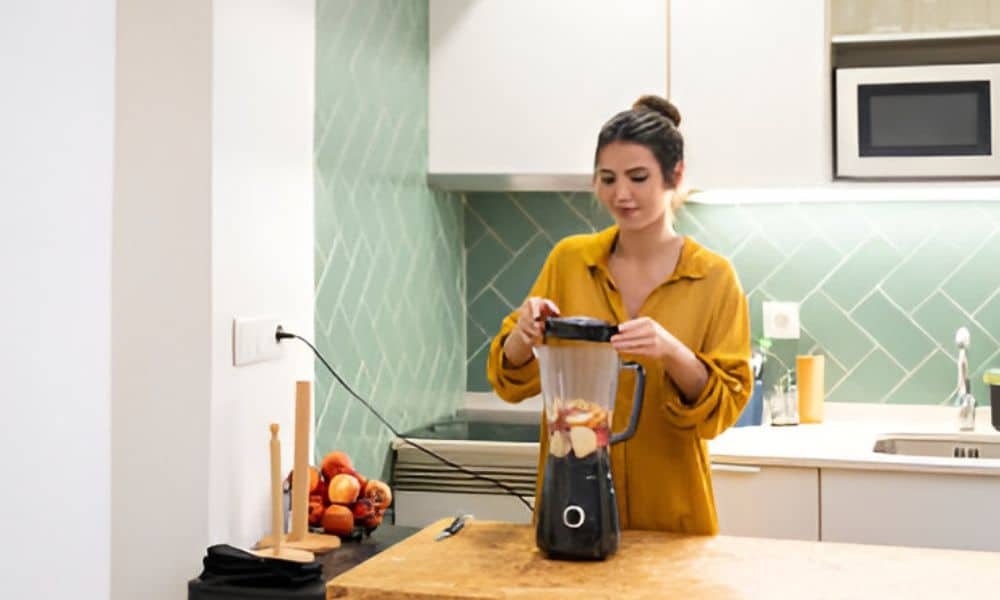
Step-by-Step: How Do You Make Apple Juice With a Blender?
This process is fast, easy, and beginner-friendly. You’ll go from whole apples to fresh juice in minutes.
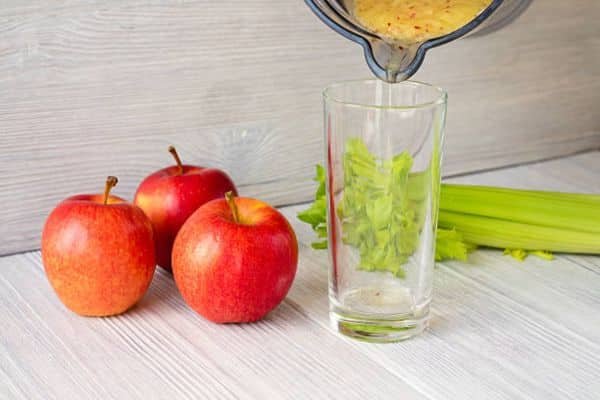
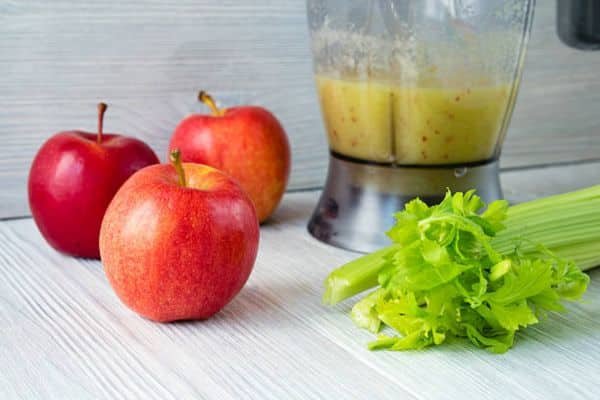
Step 1: Wash and Chop the Apples
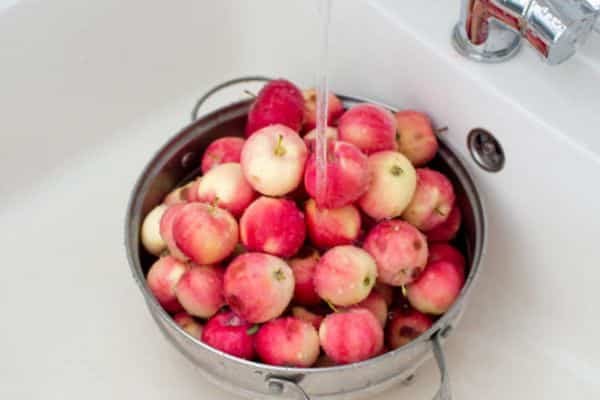
Rinse the apples well to remove dirt or wax. Cut them into chunks. No need to peel them—just remove the core and seeds. Smaller pieces help the blender work better.
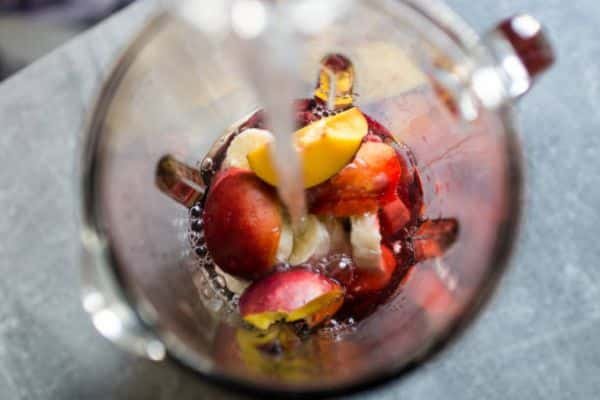
Step 2: Blend With a Little Water
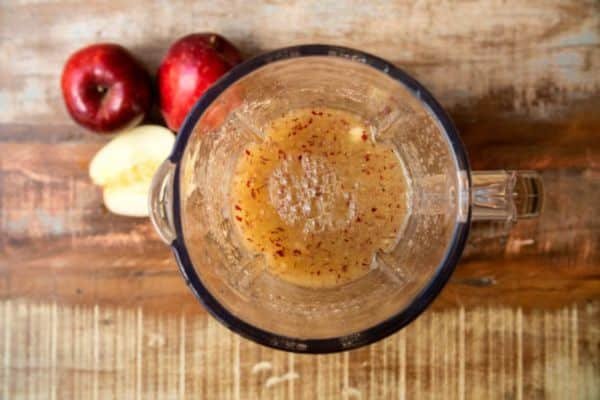
Put the apple chunks in your blender. Add about ½ cup of cold water. Blend until smooth. You’re looking for a thick liquid with no big chunks.
Step 3: Strain the Pulp
Place a fine mesh strainer, a nut milk bag, or a clean towel over a bowl. Pour the blended mixture in slowly. Let the juice drip through. Press the pulp gently with a spoon to get more juice.
Step 4: Taste and Adjust
Take a sip. Want it sweeter? Add honey. Need a little brightness? Squeeze in lemon. You’re in control—adjust it to your liking.
Step 5: Chill and Serve
Pour the juice into a glass or jar. Chill it in the fridge for 10–15 minutes, or enjoy right away. Fresh apple juice tastes best cold and clean.
Expert Tips to Make It Perfect Every Time
Not all apple juice tastes the same. These little tricks help make every glass better.
Use a Mix of Apples
Sweet apples give you smooth flavor. Tart apples add brightness. Mix types like Fuji, Gala, and Granny Smith. Will taste more balanced and full.
Keep the Apples Cold
Cold apples make cold juice. That saves time and keeps it fresh. I keep mine in the fridge for an hour before blending.
Strain for Smoothness
Skipping this step leaves pulp in your drink. A quick strain makes a big difference. The juice feels cleaner and lighter.
Don’t Toss the Pulp
It still has flavor and fiber. Add it to muffins, pancakes, or oatmeal. You can even freeze it for later.
Fun Variations to Try
Once you’ve made the basic version, try mixing things up. A few small changes can turn simple juice into something exciting.
Apple-Carrot Juice
Add one or two chopped carrots to the blender. It gives a bright color and a smooth, sweet taste. Plus, it’s packed with nutrients.
Apple-Ginger Juice
Toss in a small piece of fresh ginger. It adds a warm, spicy kick that wakes up your taste buds. Perfect for mornings.
Cinnamon-Spiced Apple Juice
Blend in a pinch of ground cinnamon. It makes the juice cozy—great for cooler days. Tastes a bit like apple pie in a glass.
Apple-Cucumber Refresher
Add half a peeled cucumber. It lightens the juice and makes it extra refreshing. Great on hot afternoons.
Try your blends. Use what’s in the fridge. Have fun. There’s no wrong way to enjoy it.
Storage and Freshness Tips
Fresh apple juice is best right after you make it. But you can save some for later.
In the Fridge
Pour the juice into a clean glass jar with a lid. Keep it cold. It stays fresh for up to 48 hours. The flavor may fade a bit after the first day.
In the Freezer
Want to keep it longer? Freeze it. Use ice cube trays or small containers. Leave a little space at the top—they expand. Thaw in the fridge before drinking.
Best Containers
Glass jars work best. They don’t hold smells or change the taste. Plastic is okay too, as long as it’s clean and sealed tight.
A Quick Note
Always keep cold. Don’t leave it out too long. Drink it within 24–48 hours for the best flavour and safety.
FAQs
Can I use a weak or old blender?
Yes, you can. Just cut the apples into smaller pieces. Blend in short bursts to avoid overheating. Add a little extra water if needed.
Do I need to peel the apples?
No, you don’t. The skin adds fibre and flavour. Just wash the apples well and remove the seeds. Peeling is optional but not needed.
What if I don’t have a strainer?
Use a clean kitchen towel or cheesecloth. Place it over a bowl and pour through slowly. Squeeze out the liquid with your hands for best results.
How much juice does 1 apple make?
One medium apple gives about ⅓ to ½ cup. It depends on the type of apple and how much water you use. Three to four apples usually make one glass.
Final Thoughts
Making apple juice at home is easier than you think. You don’t need a juicer. You don’t need fancy tools. Just a few apples, a blender, and a little time.
Start small. Try one glass today. It’s a simple way to use what you have and enjoy something fresh. Once you try it, you might never go back to store-bought juice.