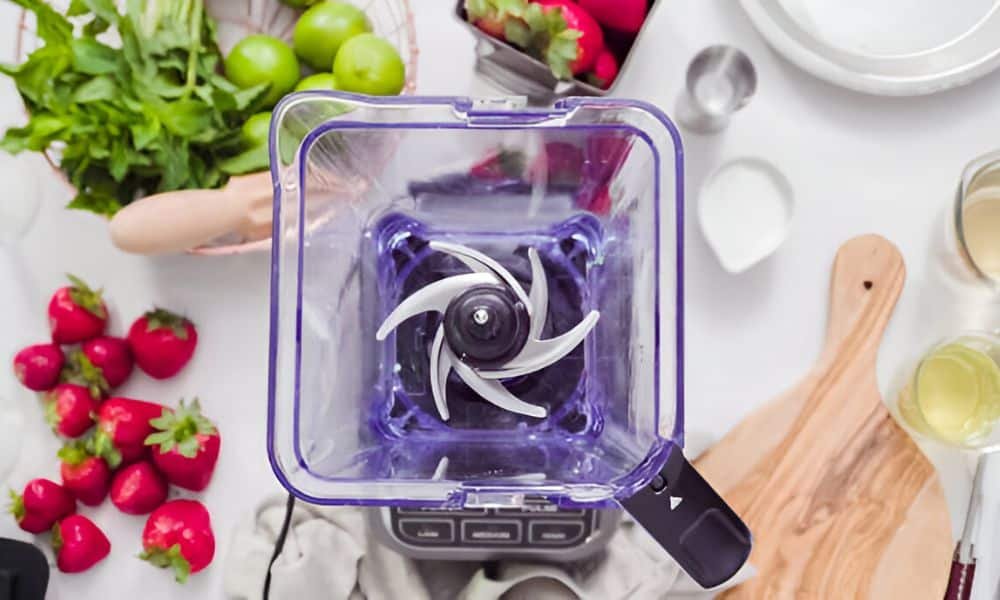
One morning, I tried making a smoothie, but my Ninja blender just whirred and groaned. The bananas stayed lumpy. The oats? Barely touched. That’s when I realized the blades were dull. I almost bought a new one—started looking at the best blender under $50—but then I paused. Why not sharpen the blades instead? So I did. It was simple, quick, and made a huge difference. In this guide, I’ll show you exactly how to sharpen Ninja blender blades at home. You’ll save money, avoid waste, and get back that smooth, creamy blend you love.
Why Sharp Blender Blades Matter
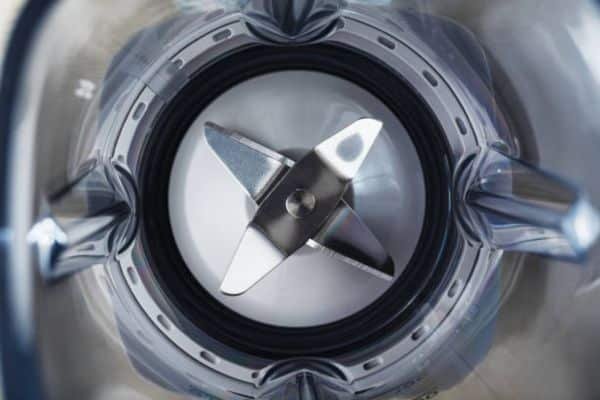
Blades do more than spin. They slice, crush, and break down food fast. Sharp turn hard chunks into smooth blends. You get better texture with less effort.
With clean cuts, your blender works less. This means less heat, faster results, and no loud noise. Everything blends smooth—fruit, ice, nuts, and leafy greens.
Dull blades make blending hard. The motor strains. It sounds louder than before. You’ll see chunks, even after blending for a long time.
Can You Sharpen Ninja Blender Blades at Home?
Yes—you can. And it’s easier than most people think.
You don’t need to be a pro. Just a few tools and a bit of care can bring back to life. It’s safe, fast, and works well with most Ninja models.
Sharpening your own blades saves money. You don’t have to buy new ones or call for service. It also helps your blender last longer. Sharp put less stress on the motor, so the whole unit works better.
Many people think blender blades can’t be sharpened. That’s not true. They’re made of metal. Like knives or scissors, they lose edge over time—but they can be restored.
Tools You’ll Need (No Fancy Gear Required)
You don’t need a workshop. Just a few things from your kitchen and toolbox will do. Here’s what I use every time:
- A small sharpening stone
- A thick towel or dish cloth
- Warm water and dish soap
- A clean, dry rag
- Safety gloves (always a smart move)
That’s it. Nothing expensive. No power tools.
For beginners, a metal file or sharpening rod works too. They’re cheap and easy to control. Just go slow and keep the angle steady.
Here’s my best advice: dry the fast after cleaning. Wet metal dulls faster and may rust. Also, wear gloves or use a towel to grip the blade. One slip can cut deep.
Step-by-Step Guide: How to Sharpen
Sharpening your blender blades takes just a few steps. You don’t need strength—just care and patience. Let’s walk through it together.
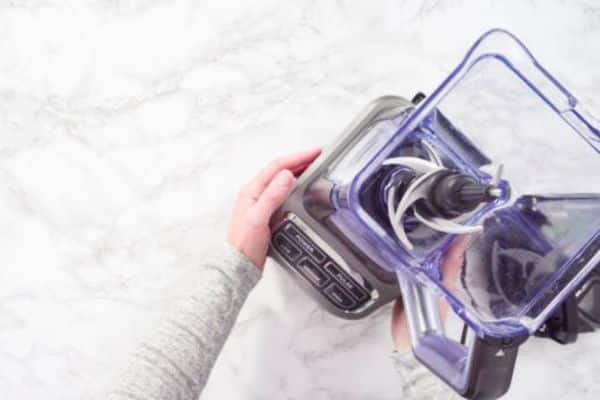
01. Unplug and Disassemble the Blender
Always unplug first. Safety comes before all else. Then, remove the pitcher and take out the blade base. Use a towel or gloves to hold it—those blades can still cut.
02. Wash the Blade Assembly
Rinse the blades with warm water and a bit of soap. This removes grease, old food, and dust. Clean blades sharpen better and more safely.
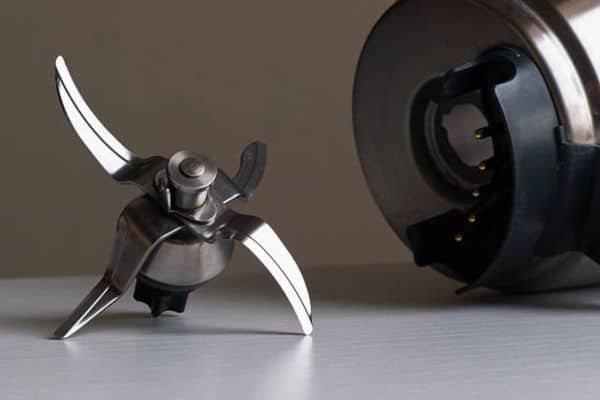
03. Dry and Inspect the Edges
Pat the blades dry with a clean towel. Hold them up to the light. Dull blades will look rounded or worn. You may even spot tiny nicks.
04. Sharpen with Light Pressure
Hold the sharpening stone at a low angle—around 20 degrees. Slide each blade edge across the stone gently. Use short strokes. Always push away from your body. Five to ten passes per edge is often enough. Don’t rush. Sharpness comes from steady hands, not force.
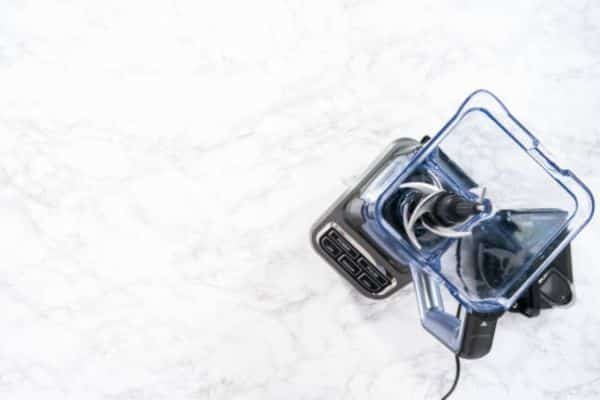
05. Rinse and Reassemble Safely
Rinse again to wash off metal dust. Dry them well. No moisture should remain. Reattach the blade base to the pitcher. Twist tight.
06. Do a Simple Test Blend
Add a few soft items—like banana chunks or soaked almonds. Pulse the blender for five seconds. If it blends smooth and quiet, you’ve done it right. That fresh, clean slice will feel like new again.
How Often Should You Sharpen Blender Blades?
In my kitchen, I check my blades once a month. It takes less than a minute. A quick look and light touch are all it takes to spot dull edges.
For most people, sharpening every three to four months works well. That’s based on regular use—like daily smoothies or weekly soups. If you blend less, twice a year is fine.
Cleaning often matters just as much. Food stuck on the edges wears them down faster. I always rinse my blades right after use and dry them well.
When to Replace Instead of Sharpening
Some just can’t be saved. No amount of sharpening will fix deep damage.
Look for rust that won’t wash off. Bent blades won’t spin right, and broken tips can’t cut clean. I once had a blade with a crack near the base—it wasn’t safe to use again.
If your blades look this bad, it may be time to replace the whole assembly. Or, if your blender is older and worn down, consider a new one.
You don’t need to spend much. Even the best blender under $50 can handle most kitchen jobs. Look for a model with:
- Sharp, stainless steel
- A strong motor (at least 300 watts)
- Easy-to-clean parts
I’ve tried a few myself, and some budget blenders work better than you’d think. They may not last as long as a Ninja, but they’re great for backup or travel use.
So try sharpening first. But if that doesn’t help, a small upgrade might be the better choice.
Bonus Tips for Blender Blade Care
Good habits keep your blades sharp longer. The first one is simple—clean them right after use. Warm water and soap do the job. This stops food from drying on and wearing down the edge.
Never blend dry items alone. Hard things like grains or ice need liquid. Without it, grind instead of slice. That adds stress and dulls them fast.
Store your blender the right way. Keep the pitcher upright. Don’t stack heavy pots or tools on top. Bent blades won’t blend well.
Use small, soft pieces. Cut fruits and veggies before tossing them in. This helps the motor and protects . Less strain means longer life.
Final Thoughts
Sharpening your blender blades takes just minutes. But it can save you time, money, and frustration. You don’t need to replace your blender every time it slows down.
This small fix keeps your blends smooth and your motor strong. It’s simple, safe, and worth trying—especially before spending on something new.
Give it a shot. You might be surprised how well it works.
Frequently Asked Questions
Can I use a knife sharpener for blender blades?
Not a good idea. Knife sharpeners are made for flat edges. Blender have curves and angles that don’t fit well. A sharpening stone or small metal file gives better control and safer results.
How long does sharpening take?
Just 10 to 15 minutes. Cleaning and drying takes a few minutes more. Once you get the hang of it, the whole process is quick and easy.
Are Ninja blades dishwasher-safe?
Yes—but be careful. The high heat and strong soap can wear down edges faster. I hand wash mine with warm water and soap, then dry them right away. It keeps them sharper for longer.