I still remember trying to sharpen my first kitchen knife. My hands shook, and the blade stayed dull. I felt frustrated and unsure. That’s how I learned the value of a simple tool. Learning how to make a knife sharpening angle guide changed everything for me. It helped me keep the right angle each time. The angle matters more than we think. It’s what keeps a knife sharp and strong. Knowing what angle to sharpen kitchen knives makes the task easy. In this guide, I’ll show you how to do it right.
Why the Right Sharpening Angle Matters
The angle you use decides how sharp your knife gets. It also helps the edge last longer. A good angle makes cutting smooth and easy. A bad one can make the knife dull fast.
Most kitchen knives work best between 15 and 20 degrees. A 15-degree angle gives a fine, sharp edge. A 20-degree adds more strength. Both are good — the choice depends on how you use the knife. This answers the common question: what angle to sharpen kitchen knives.
The wrong angle can ruin even the best kitchen knife set under 100. The blade may chip or go dull too fast. I learned this the hard way. A simple keeps the steady and protects your tools.
Materials You’ll Need for Your DIY Angle Guide
There is no need for fancy gear or a high-end knife set. These basic items work well and cost little.
Here is what you need:
- A small wooden block or a thick pencil
- A protractor or finder
- Sandpaper or a small file
- A marker
- A rubber band or clip (optional)
Step-by-Step: How to Make a Knife Sharpening Angle Guide
Just follow these simple steps. You’ll have a tool that keeps your knives sharp and your cuts smooth.
- Pick your angle. Use a protractor to choose between 15 and 20 degrees. I like 17 degrees for most kitchen knives.
- Mark your block or pencil. Draw a line that matches the angle you picked. This will be your sanding or filing.
- Shape the. Sand or file the block until the base matches your line. Work slowly to stay close to the angle.
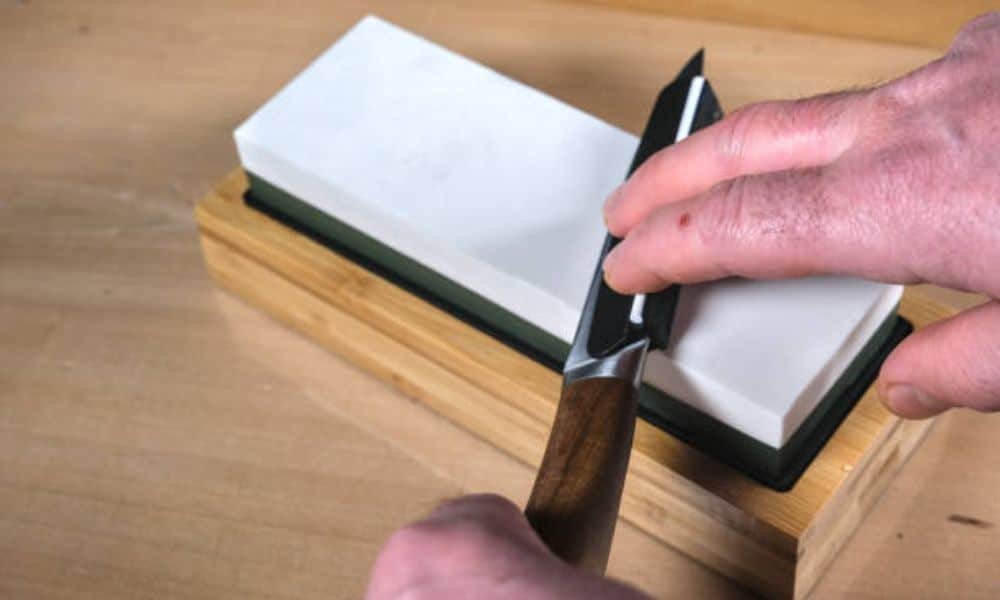
- Test it on your stone. Set the on the stone. Rest your knife on it. Make sure it feels steady.
Practical Sharpening Tips for Beginners
Hold the knife with a firm but gentle grip. Rest the blade. Keep your fingers safe and steady. The helps you hold the right each time.
Look at the way the blade meets the stone. The edge should sit flat. This keeps your work clean and even.
Use slow, steady strokes. Fast strokes can slip and harm the edge. Think of it like drawing a smooth line. This gives you a sharp blade with less effort.
Start with an older or budget knife. A piece from the best kitchen knife set under 100 is a good choice. This helps build skill without fear of damage.
Different Types of Angle Guides and When to Use Each
Each type has its use. Picking the right one makes the job simple and safe.
A DIY wood is great for new sharpeners. It helps you learn how to sharpen kitchen knives without guessing. It costs little and builds good habits.
A magnet sticks to the blade. It helps hold steady while you work. This is good for small knives or thin blades that need more control.
A commercial jig is the top choice for fine work. It keeps fixed the whole time. This helps sharpen high-end knives or special blades. You can set it to 15, 17, or 20 degrees based on what your knife needs. Choose the one that matches your skill and tools.
Final Thoughts
Give it a try. Making your angle guide is easy and fun. It’s a simple way to care for your knives and build a skill you’ll use for years. You don’t need fancy tools or lots of time — just a few basic items and a bit of care.
Now that you know how to make them, you can keep your blades sharp with confidence. Your kitchen will feel better, and your work will be safer.