
Building corner shelves with uneven edges can be tricky. I faced this challenge myself, and it wasn’t easy. After a few tries, I learned How To Miter Corner Shelves With Uneven Edge. The process became much simpler once I understood the key steps. In this guide, I’ll show you how To get perfect cuts, Even on tricky walls. Let’s dive into the steps And make it happen together!
What You Need to Know About Mitering Corner Shelves
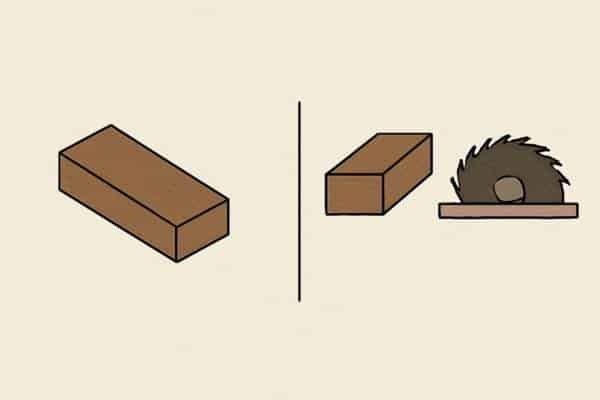
What is Mitering?
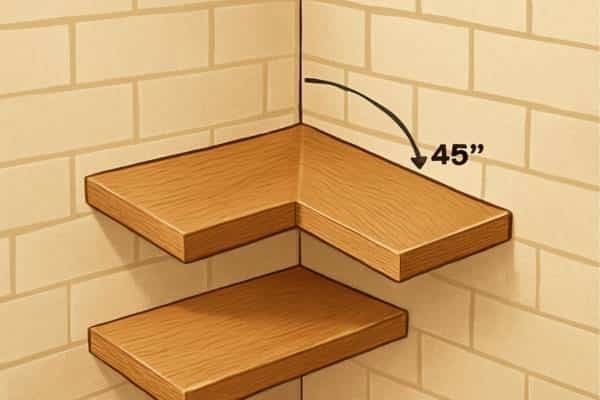
Mitering is the practice of cutting wood on an angle, often 45 degrees. It makes for nice rounded, clean corners. When making corner shelves for walls that are not square, mitering enables you to fine-tune the angles so the cuts are…
Why is mitering important?
Mitering looks professional, and it’s a little less material to use, but it does take some finagling to get right. It keeps the shelf and wall no gap. Because walls are never straight, mitering makes the fit perfect.
Challenges with Uneven Edges
Uneven walls can make mitering harder. Instead of a straight line, you might have curves or angles that are hard to match. This makes it tricky to fit the shelf properly.
How can you solve it?
The key is measuring carefully. You can use a woodworking scribe to trace along the uneven wall. This tool helps you adjust the cuts for a better fit. With careful adjustments, your shelves will sit perfectly against the wall.
Essential Tools for the Job
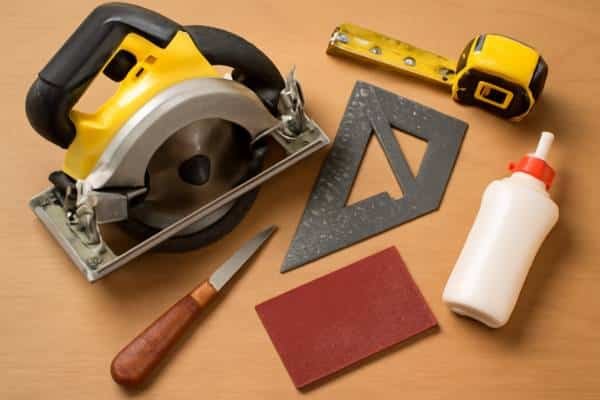
Using the right tools makes mitering corner shelves easier. I’ve tried cutting with the wrong tools, and it didn’t go well. The right tools ensure clean cuts and a perfect fit. Here’s what you need:
Miter Saw or Hand Saw
A miter saw is best for cutting precise angles. It helps you make clean, straight cuts. If you don’t have one, a hand saw will work, but it takes more time.
Measuring Tape
Accurate measurements are a must. A measuring tape helps you get the right size and fit for your shelf.
Carpenter Square
A carpenter’s square checks your angles. It ensures the cuts are square and the pieces fit well.
Woodworking Scribe
A woodworking scribe helps you trace uneven walls. This tool marks the line you need to cut, ensuring a better fit.
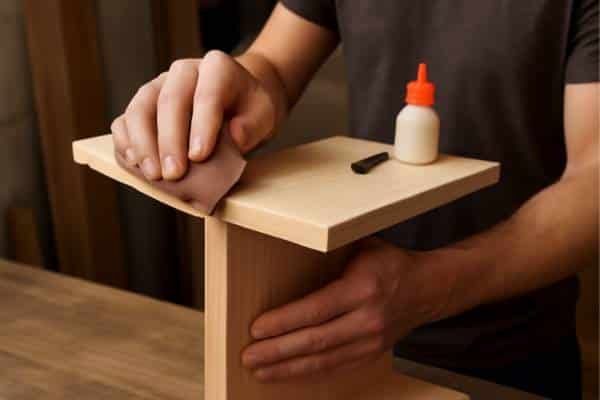
Sandpaper or File for Finishing
After cutting, use sandpaper or a file to smooth the edges. This step gives your shelf a clean finish.
Wood Glue or Screws
Wood glue and screws hold the shelf in place. They ensure the shelf stays secure and doesn’t shift.
Why These Tools Matter
Each tool plays an important role. A miter saw gives you precise cuts. A carpenter square ensures everything is straight. The scribe tool traces uneven walls. Sandpaper smooths the edges, and glue or screws secure the shelf. These tools help you create a clean, professional-looking shelf.
Step-by-Step Guide to Mitering Corner Shelves with Uneven Edges
01. Measuring Your Corner and Shelf Length
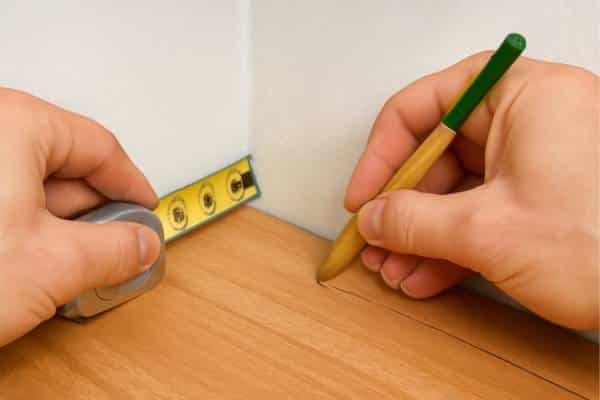
Start by measuring the corner where you want the shelf. Use a measuring tape to get the correct length and depth. If the wall is uneven, use a woodworking scribe to trace the curve. This tool helps you mark the exact line for a perfect fit.
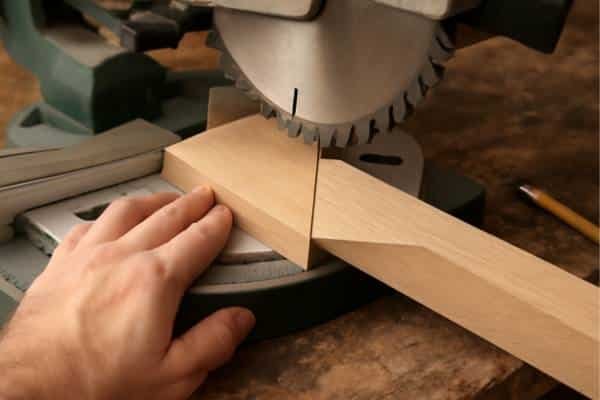
02. Setting the Miter Saw at the Right Angle
Adjust your miter saw to a 45-degree angle. This is generally best for clean, crisp cuts. Check the angle with a carpenter square before cutting. You need to set the angle just right or you will make a mistake.
03. Cutting the Shelf Pieces
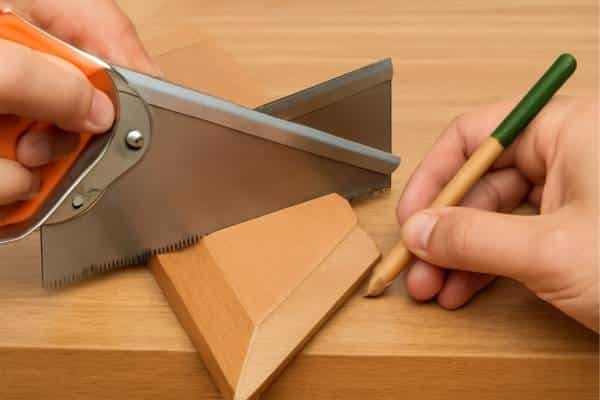
Now it’s time to cut the shelf pieces. Cut both ends at the mitered angle. Hold the saw steady for smooth cuts. If the cuts aren’t perfect, use the scribe to adjust them. This tool helps you trace along uneven edges to make precise adjustments.
04. Fitting the Pieces Together
Once the cuts are made, fit the pieces into the corner. Check the alignment carefully. Make small adjustments if needed. In uneven corners, you may need to file or sand the edges to ensure a perfect fit.
05. Final Adjustments and Finishing
After the pieces are aligned, smooth the edges with sandpaper or a file. This ensures a clean, professional look. To secure the shelf, use wood glue or screws. Your shelf is now ready to display! If you’re unsure what wood to use for shelves, it’s important to choose the right material for both strength and aesthetic.
Tips and Tricks for Perfect Miter Cuts on Uneven Surfaces
Using a Woodworking Scribe Tool for Accuracy
A woodworking scribe is a great tool for uneven edges. It helps trace the wall’s shape onto your wood. By marking the exact curve, you can make more accurate cuts. This is especially helpful for curved walls or uneven surfaces, ensuring your shelf fits snugly.
Adjusting for Wall Curves and Irregularities
Curved walls or odd angles make mitering tricky. Use your scribe tool to follow the curve of the wall. This will guide your saw cuts and ensure the shelf fits well. For uneven corners, adjust the angle of your cuts slightly to match the wall’s shape.
Common Mistakes to Avoid
Beginners often make mistakes like measuring incorrectly. Always double-check your measurements. Another common mistake is setting the saw at the wrong angle. Be sure to set it at the correct 45 degrees. Finally, don’t rush. Take your time to make precise cuts and adjustments for the best results.
When to Use Mitering vs. Other Cutting Techniques
Why Mitering is Ideal for Corner Shelves
Mitring is the best choice for corner shelves because it creates clean, sharp edges. It helps the pieces fit tightly together with no gaps. This is especially important for uneven walls, where other cuts might leave visible spaces. Mitring ensures a professional, polished look.
Alternative Cutting Techniques
While mitring is great, other techniques can be useful too. Butt joints work well on flat surfaces and are simple to make. They don’t require angled cuts, but they may not look as clean. Lap joints overlap two pieces of wood, creating a strong bond. This technique is strong but can be bulkier than mitring for corners.
Conclusion
To make mitred corner shelves with uneven edges Determine the overall size of the corner and the shelf. Adjust your mitre saw to 45 degrees, cut the pieces, fit them together and then sand them to evenness. A cabinetry scribe can be used to accommodate warped edges. It may seem awkward at first but the more you practice, the easier and funnier it gets. That’s it, give it a shot and let me know how it goes or if you have any questions. Happy mitring!