Building your own coat rack is a simple yet rewarding DIY project that not only enhances your entryway but also adds a personal touch to your home decor. Whether you’re looking to create a space-saving wall-mounted rack or a freestanding piece that makes a statement, this guide will walk you through the steps to design and construct a coat rack that is both functional and stylish. From selecting the right materials to the finishing touches, How to Build a Coat Rack will ensure you have all the information you need to make a durable and attractive addition to your home.
Materials Needed
Essentials
- Wood: Choose a type like pine or cedar for lighter projects or hardwoods such as oak or mahogany for durability.
- Hooks: Select from metal hooks for robustness or wooden ones for a seamless look.
- Finish: Paint, varnish, or wood stain depending on the desired aesthetic effect.
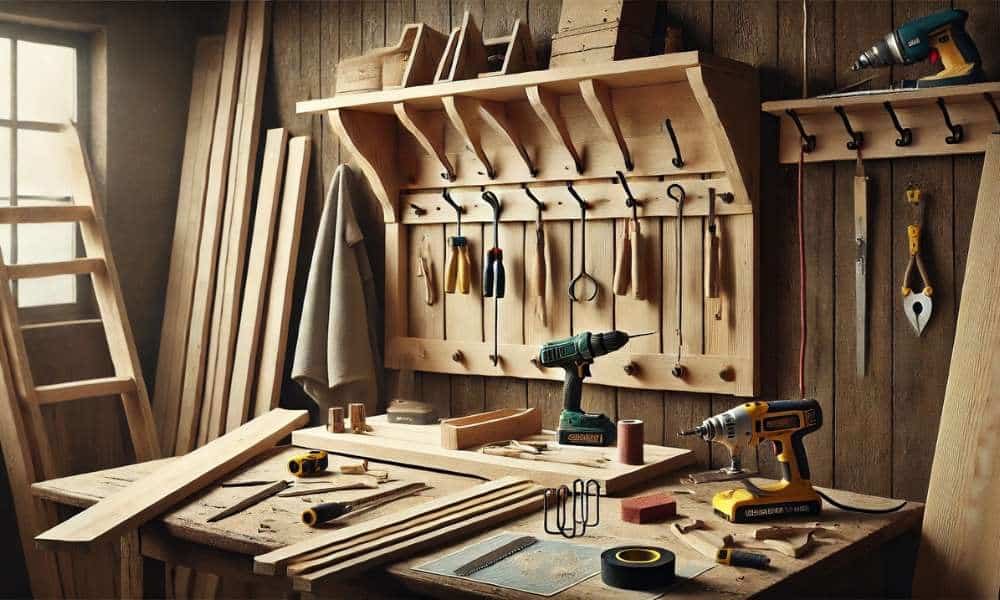
Tools
- Saw: For precise cuts, a handsaw or a circular saw will be necessary.
- Drill: To create pilot holes for screws and to attach hooks securely.
- Screwdriver: For assembling parts and adding fixtures.
- Sandpaper: For smoothing the wood surfaces before finishing.
- Tape Measure: Essential for accurate measurements.
Planning Your Design
Consider the overall aesthetic of the space where the coat rack will reside. Whether you lean towards a modern look with clean lines or a more traditional, ornate style, the design should be both practical and pleasing. Measure the intended wall space to ensure the rack fits perfectly and decide how many hooks are necessary to meet your needs. Drafting a blueprint or utilizing design software can aid in visualizing the final product before the construction phase begins.
Step-by-Step Construction Guide
Measuring and Cutting the Wood
Start by measuring the length and width of your coat rack’s backing board. Mark these dimensions with a pencil, then carefully cut along the lines using a power saw or handsaw. Work methodically to ensure each piece of wood is cut precisely. If you’re crafting a freestanding rack, you may also need to cut supporting legs or a base platform.
Assembling the Frame
Position the newly cut pieces on a flat surface. Verify their alignment with a carpenter’s square, then secure them together using screws or wood glue. This skeleton forms the main structure of the rack, so confirm each joint is firmly attached to prevent any wobbling when coats begin to accumulate.
Attaching the Hooks
Mark evenly spaced points where you plan to install hooks. Each hook should rest at a consistent height to create a visually balanced rack. Drill pilot holes to avoid splitting the wood, then fasten the hooks using the recommended screws. Stagger the hooks if you desire a more playful design, but ensure there is enough clearance for bulky winter coats.
Finishing Touches
With the structural work done, transition to refining the surface. Thoroughly sand the entire rack, starting with coarser grit paper to eliminate rough patches, then switching to a finer grit for a polished finish. Apply a stain or paint that harmonizes with your interior’s color scheme, and consider topping it off with a sealant or varnish to bolster its resilience against daily wear.
Mounting Your Coat Rack
A coat rack must be firmly secured to a stud or sturdy wall anchor to support heavy coats without sagging. Use a stud finder to locate an appropriate mounting point, then mark the precise height and horizontal placement. Drill pilot holes through the rack and into the wall before inserting screws or bolts. This extra care helps distribute weight effectively and keeps the rack from shifting over time.
Maintenance and Care
Regular upkeep ensures your coat rack remains both functional and visually appealing. Dust the hooks and wipe down the wooden components using a gentle cleaner designed for finished wood surfaces. If you notice any rough spots developing, lightly sand and reapply stain or sealant. Periodically tighten screws in case they loosen due to fluctuating humidity levels or heavy usage.
Troubleshooting Common Issues
- Loose Hooks: If a hook begins to wobble, remove its screw and add a drop of wood glue into the pilot hole, then reattach the hook and tighten firmly.
- Wobbly Frame: Inspect each joint and add extra screws or brackets if necessary to reinforce stability.
- Surface Scratches or Stains: Sand lightly and reapply the finish to maintain a smooth, cohesive look.
Conclusion
Mastering How to Build a Coat Rack not only brings a sense of accomplishment but also enhances your home’s organization and aesthetic appeal. A well-crafted coat rack stands as a silent sentinel in your entryway, ready to receive guests’ outerwear while reflecting your personal taste. By carefully selecting materials, adhering to precise measurements, and adding a creative twist through paint or stain, you’ll have a timeless piece that suits your lifestyle.