A well-hung coat rack is more than just a functional piece; it’s an anchor of organization and style within your home. Beyond holding coats, hats, and bags, it adds a structured element to your decor, reflecting both aesthetics and practicality. Understanding how to hang a coat rack ensures not just stability but enhances the overall design of your space, seamlessly blending utility with charm. Whether you’re creating a minimalist modern look or aiming for a rustic touch, proper installation sets the foundation.
1. Why Properly Hanging a Coat Rack Matters
Proper installation isn’t just about keeping your coats off the floor. It ensures stability, preventing accidents that could occur from falling racks, which could cause injuries or damage to items. Secure mounting protects your walls from unnecessary damage, such as cracks or unsightly holes, especially if heavy coats are involved. A correctly hung rack also enhances the room’s aesthetic, offering clean lines and symmetry. Most importantly, it prolongs the life of both the coat rack and the wall, ensuring they withstand daily use without loosening or sagging.
2. Tools and Materials You’ll Need
- Essential Tools: Drill for creating holes, screws for secure mounting, wall anchors to provide support in drywall, level to ensure even placement, measuring tape for accuracy, pencil for marking, and a screwdriver for tightening screws.
- Optional Tools: A stud finder to locate wall studs for extra stability and a laser level for precise alignment, especially for longer racks.
- Safety Tips: Wear protective eyewear to guard against dust and debris. Make sure the drill bit is tightly secured before use. Always double-check the type of wall you’re working on to choose the right anchors and screws.
3. Choosing the Right Spot to Hang Your Coat Rack
- Entryway Placement: Creates an inviting and functional first impression, making it easy for guests and family members to hang coats as they enter.
- Bedroom or Closet: Ideal for organizing personal items like scarves, belts, handbags, or even jewelry.
- Mudroom or Hallway: Maximizes vertical storage, especially in narrow or small spaces, where every inch counts.
Considerations include the standard height for coat racks (typically 60-70 inches from the floor), ensuring it’s accessible for all household members. Check proximity to doors to avoid interference and ensure there’s enough clearance for hanging bulky items without overcrowding.
4. Step-by-Step Guide: How to Hang a Coat Rack
Choose the Right Location
Assess the available wall space and the room’s layout. Consider accessibility and functionality, ensuring it’s placed where it will be used most. Aim for a height around 60-70 inches from the floor, adjusted based on the average height of household members. For kids’ spaces, consider lower placements.
Marking the Wall
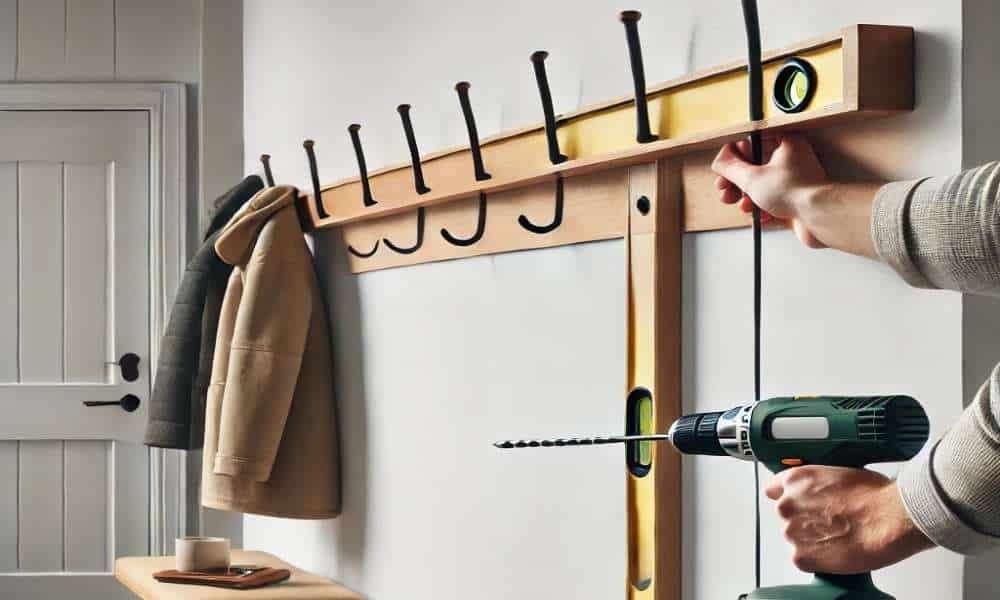
Use a measuring tape to mark equal distances on both sides for symmetry. A level ensures the rack will hang straight, preventing a tilted appearance. Lightly mark drill points with a pencil to guide your drilling without leaving permanent marks.
Finding Studs (or Not)
Use a stud finder to locate wall studs for the most secure mounting. If studs aren’t available, wall anchors provide the necessary support, especially for drywall installations. Anchors distribute the weight evenly, reducing the risk of the rack pulling away from the wall.
Drilling Holes and Inserting Anchors
Choose the correct drill bit size based on wall material:
- Drywall: Use standard wall anchors to prevent the screws from pulling out under weight.
- Plaster: Drill slowly and carefully to avoid cracking the plaster.
- Brick or Concrete: Use masonry bits and heavy-duty anchors designed for dense materials.
Insert anchors gently, ensuring they fit snugly without damaging the wall surface.
Mounting the Coat Rack
Align the coat rack with the marked holes. Insert screws through the mounting holes into anchors or directly into studs. Tighten screws securely but avoid over-tightening, as this could damage both the rack and the wall.
Final Adjustments
Double-check the level and make slight adjustments if needed. Ensure the coat shelf feels firm without wobbling. Test its stability by gently tugging on it to confirm it’s securely anchored.
5. Hanging on Different Surfaces
- Drywall: Ideal for lightweight racks. Use strong anchors to distribute weight evenly, especially when studs aren’t available.
- Brick or Concrete: Requires masonry drills, anchors, and screws designed for hard surfaces. Drilling into brick needs patience and the correct drill settings.
- Wooden Surfaces: Simplified process using wood screws directly without anchors. Ensure the wood is sturdy enough to hold the rack and the items it will support.
6. DIY Coat Rack Ideas for Inspiration
- Rustic Charm: Reclaimed wood with antique hooks adds a cozy, vintage feel.
- Minimalist Modern: Sleek metal bars with hidden mounts create a clean, contemporary look.
- Upcycled Creativity: Repurpose vintage door knobs, pallets, or old hardware for unique, eco-friendly designs.
- Industrial Edge: Pipe racks with matte black finishes offer a bold, urban aesthetic, perfect for loft spaces or modern homes.
7. Creative Placement Ideas for Coat Racks
- Above a Bench: Creates a cozy, organized entryway nook, perfect for sitting while removing shoes.
- Gallery Wall: Integrate hooks with framed art for functional decor that blends seamlessly into your living space.
- Staggered Design: Use multiple small racks at varying heights for a dynamic arrangement, adding visual interest.
- Kid-Friendly Heights: Install lower hooks for easy access in children’s rooms, fostering independence in organizing their belongings.
8. Common Mistakes to Avoid
Common mistakes include overloading the coat rack, which can cause it to pull away from the wall, especially if improper anchors are used. Neglecting to use the correct type of anchor for your wall type leads to instability. Skipping the leveling process results in a crooked appearance that can disrupt the aesthetics of the space. Failing to check for hidden pipes or electrical wiring behind walls before drilling can also result in costly damage and safety hazards.
9. Maintenance Tips for a Long-Lasting Coat Rack
Regular maintenance ensures the longevity of your coat rack. Periodically check and tighten screws to maintain stability, particularly if the rack holds heavy items. Clean the rack based on its material: dust wooden racks with a soft cloth to preserve the finish, while metal racks benefit from occasional wiping with a damp cloth to prevent rust. Avoid overloading the rack beyond its recommended weight capacity to prevent strain on both the wall and the mounting hardware.
10. Troubleshooting Installation Issues
If your coat rack feels loose after installation, consider reinforcing it with stronger anchors or re-drilling into a wall stud for added support. For uneven mounting, slightly loosen the screws, adjust the rack using a level, and then re-tighten securely. In case of wall damage from incorrect drilling, patch holes using wall repair kits, and for more severe damage, professional repair may be required to restore wall integrity before reinstallation.
Conclusion
Properly hanging a coat rack combines functionality with aesthetics, enhancing the organization and design of your space. By following these steps, you ensure a secure installation, whether it’s in an entryway, bedroom, or mudroom. Embrace the process with confidence—each coat shelf hung is a testament to your DIY skills and attention to detail. Explore related guides on home improvement, storage solutions, and DIY projects to elevate your living space even further.